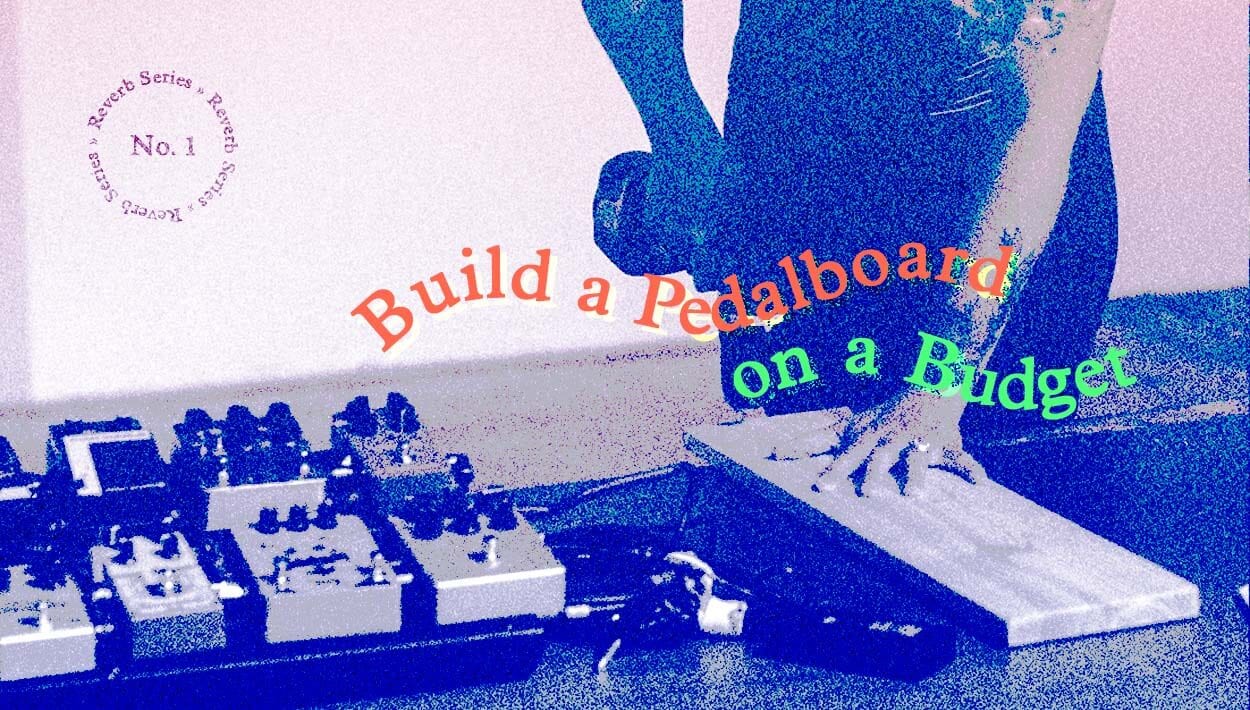
The Guide to Building Your Own Pedal Board on a Budget
DIY pedal board and the essential gear you’ll need (while being thrifty) to create a clear plan.
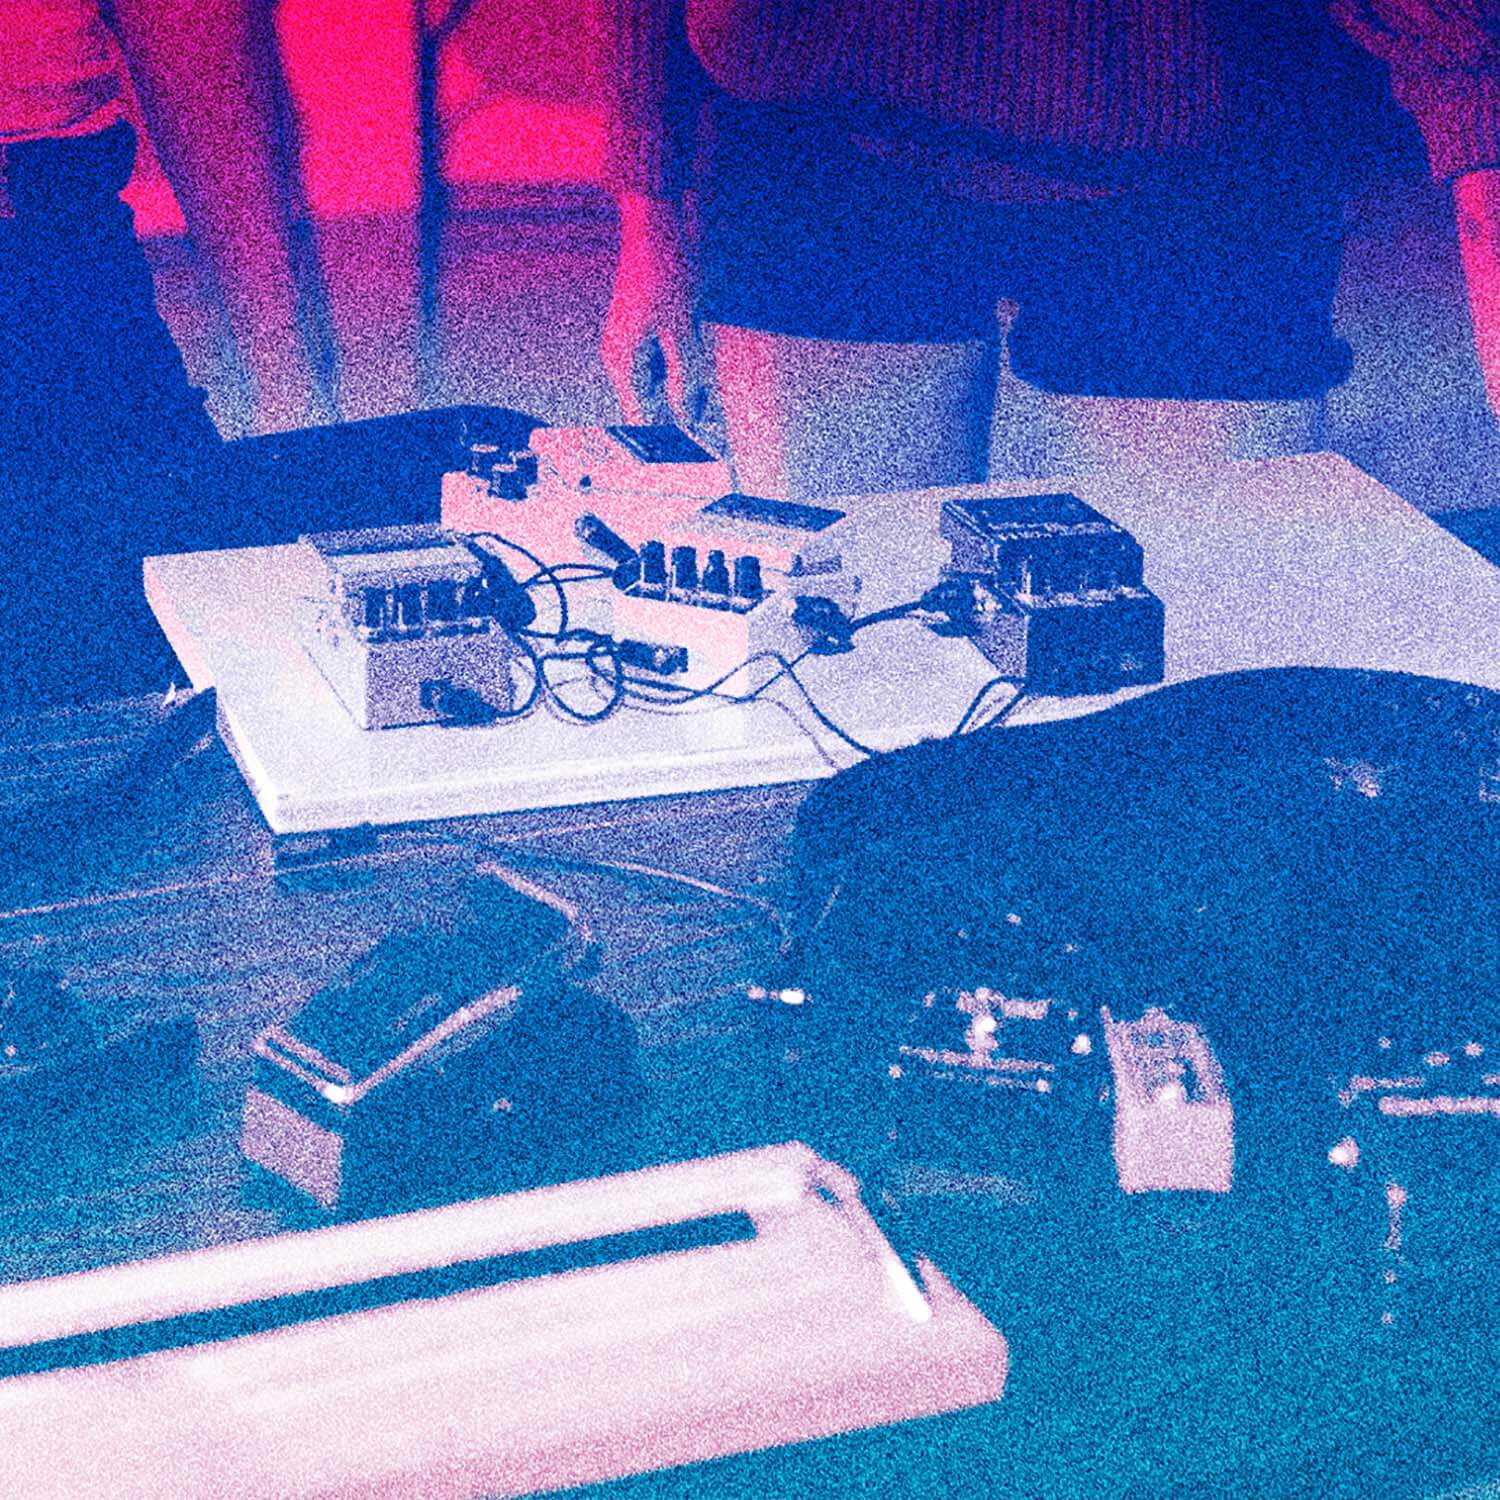
Building a great pedal board requires a little bit of planning and patience, but once you understand the basics, it becomes easier to put together the perfect rig for your needs. The defining qualities of a reliable pedal board go beyond just providing a better way to store your pedals: they make your setup time much faster, and keep your tone free of excess noise and interference. In this guide, we’re here to lay down the foundation that you’ll need to take the mystery out of putting together your first pedal board.
THE BOARD ITSELF
Size
Whether you’re buying your first pedal board or building from scratch, you’ll need to think about the pedals you’ll want to use in terms of space (don’t worry, we’ll get into specific pedals, too). Be sure to factor in room for at least one extra pedal; it might be a bigger investment, but having that extra space will be helpful when it comes to setting up everything neatly and adding wiring and a power supply. The extra space also comes in handy if you decide to add on extra pedals in the future, or if you just want to swap around pedals.
Dimensions
Now, consider the angle and height of the board in relation to how easy it will be to reach the pedals while playing standing up. If you already own the tools required in the plethora of DIY templates available online (including this tutorial we posted last year), then building your own board can be quite an affordable and rewarding experience. Over the years I have seen pedal boards made of everything from plain slabs of plywood, vintage suitcases, repurposed pieces of Ikea furniture, and the like. In every case, the owner had exactly just what they needed.
With that being said, if you’re not the handy type and prefer to buy a board, the Pedaltrain Nano+ is 18” and can be found for under $75 new (and even less) on Reverb. It’s just large enough to accommodate about five pedals and also comes with its own case.
CHOOSING A POWER SUPPLY
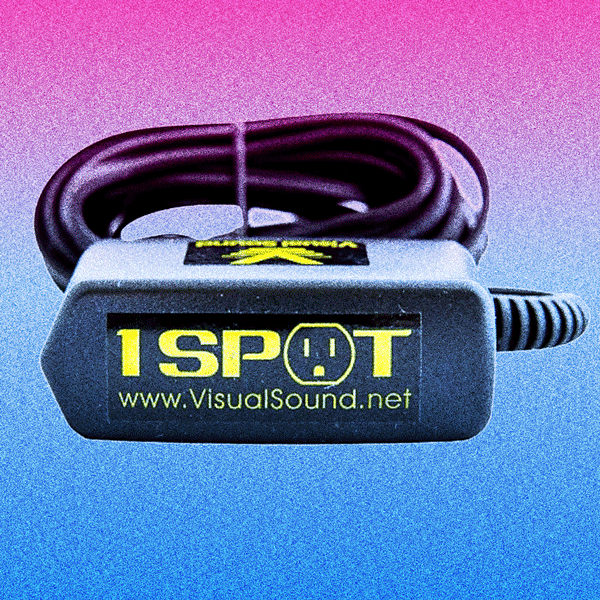
While most pedals can run on 9-volt batteries, doing so should only be a last resort or as a backup at a gig if your other power supply craps out. Replacing batteries is unsustainable, and a quick way to lose money if they’re not rechargeable. The two most popular power supplies for a pedal board are daisy chains and isolated power supplies.
Daisy chains like the TrueTone 1Spot adapter are very affordable (on average about $20-35) but they offer the least resistance to noise because every pedal shares a ground. Isolated power supplies like the Voodoo Labs Pedal Power 2 Plus are more expensive (around $100 and up) but are popular in professional setups because they’re less noisy than daisy chains—and there’s nothing more frustrating than a disorderly rig that ruins a performance!
CABLES
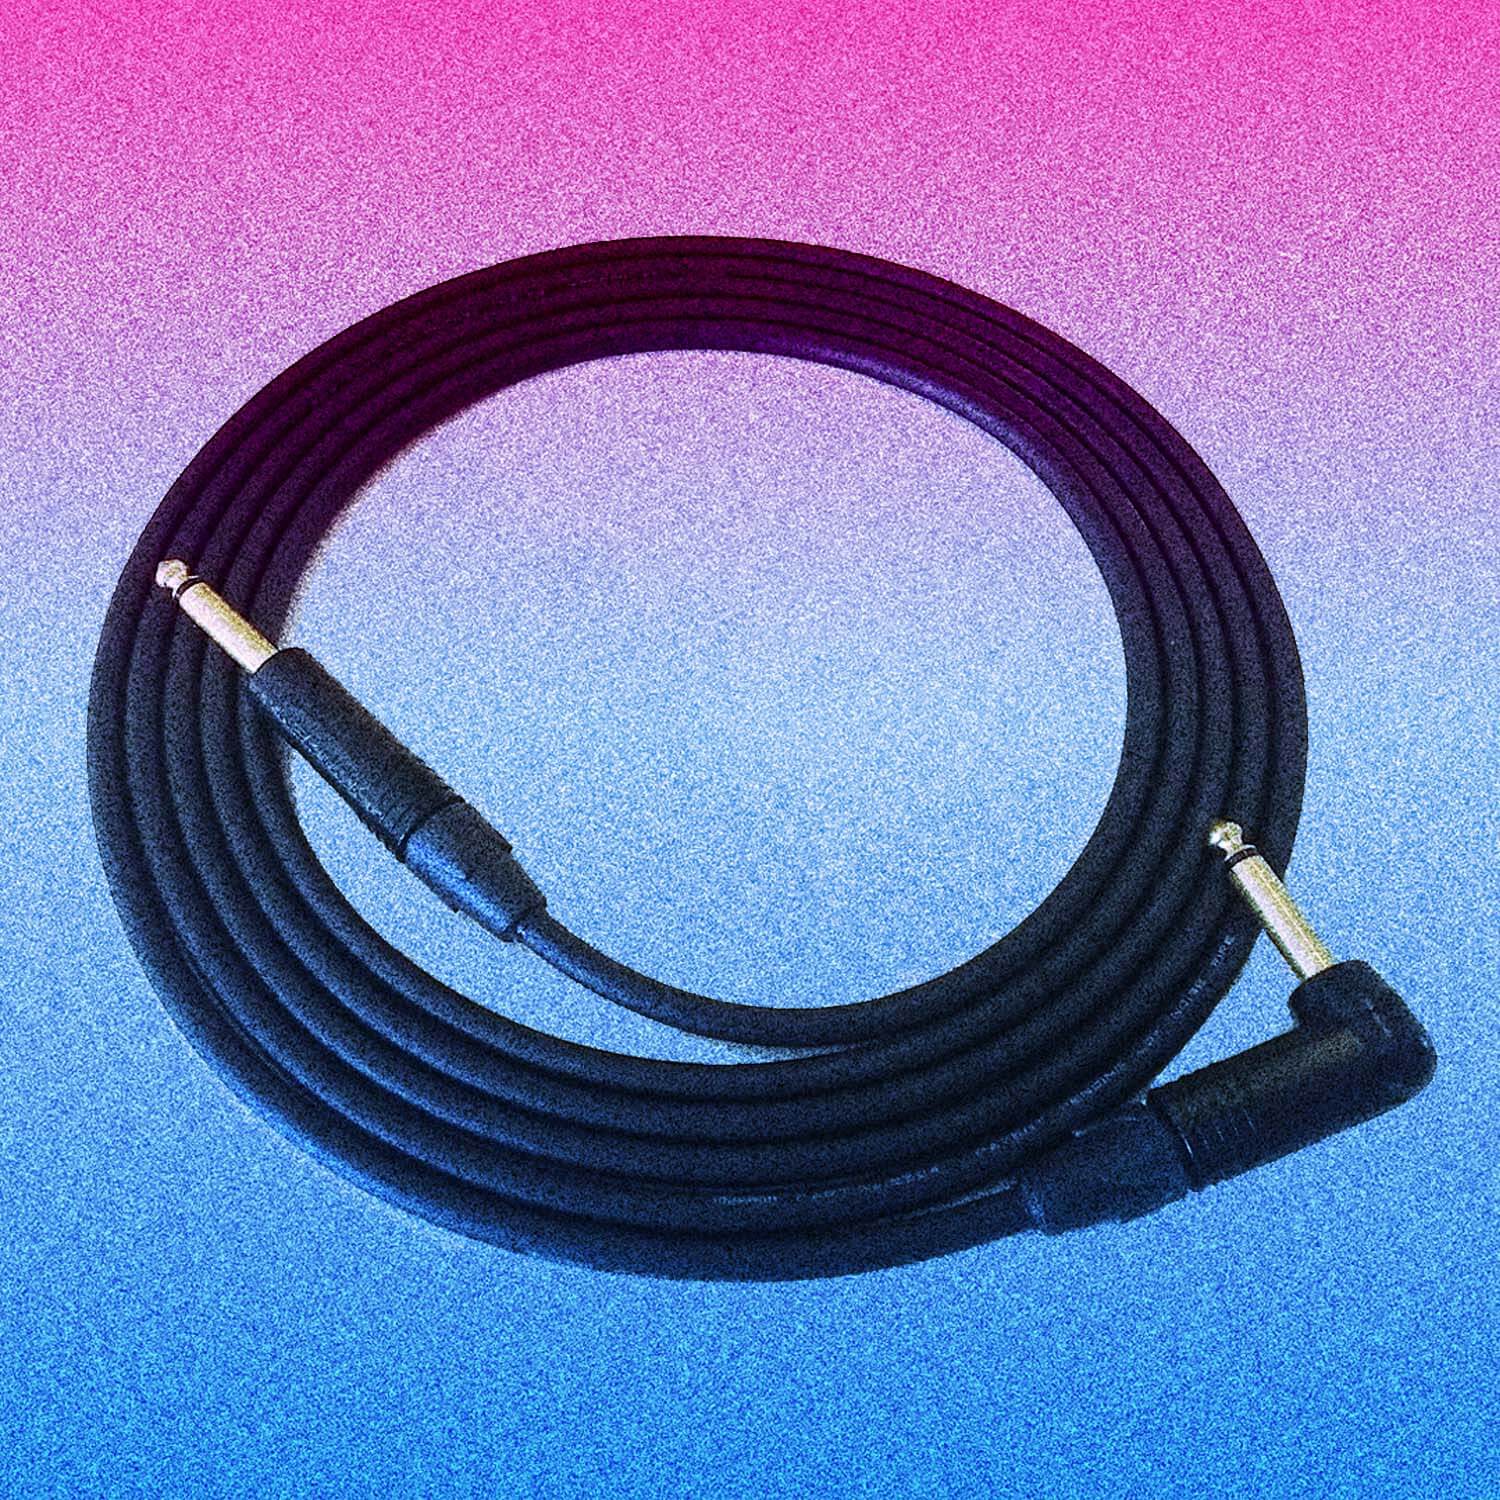
The trick to keeping a pedal board as noise-free as possible is to understand what causes noise and signal degradation in the first place. Power is roughly half of the equation, while the other half relies on cables.
Not all cables are created equal, and the cheap ones won’t do you any favors when it comes to performance. Mogami cables are not cheap, but they’ve become the industry standard because they are extremely durable and have a lifetime warranty in which you can exchange a broken one for a new one at any of their retailers or by mailing them back. If you’re on a tighter budget, bigger chain stores will offer lifetime warranties on their house brand cables, which tend to be cheaper. Be sure to equip your entire rig with the same type of cable, as mixing and matching brands and qualities is not ideal; the weakest cable will effectively cancel out the benefits of better cables, such as lower noise floors and better durability (since they all share the same signal path).
The ends of the connectors themselves can make a large impact on the amount of space taken up on the board. There are 3 types of connecters:
- Straight connectors are the most commonly used to get from your guitar to your board, and then from the board to the amp. I don’t recommend them on the board itself because they take up far more space then necessary.
- Right-angle connectors are perfect for many applications where space is a concern. The tips break at a L-shaped right angle and are recommended for connecting the pedals together throughout the board.
- Pancake connectors are by far the most compact. They are also right-angle jacks, but the part of the plug that sticks out of the pedal are flattened like a pancake. Sometimes these can even save you enough room to squeeze in an extra pedal on an already cramped board.
CHOOSING PEDALS
The first step to building a pedal board is obtaining the pedals themselves, and shopping second-hand at places like Reverb is a great way to save money on used pedals (and in some cases, it can even be the spot to find rare and/or vintage pedals that are no longer in production). You may even find that it’s a great place to sell your own pedals when you grow tired of them and want to essentially flip them for something else you’ve been eyeing.
Listed below are some of the most popular and essential effects. Many guitar pedals hold their value, which makes it easy to trade them around and experiment without spending tons of money. Buying used saves you, on average, about 27-35% off the price of a new pedal, and most sellers on Reverb report getting around 85% of their initial investment on a used pedal after they sell it.
Tuner
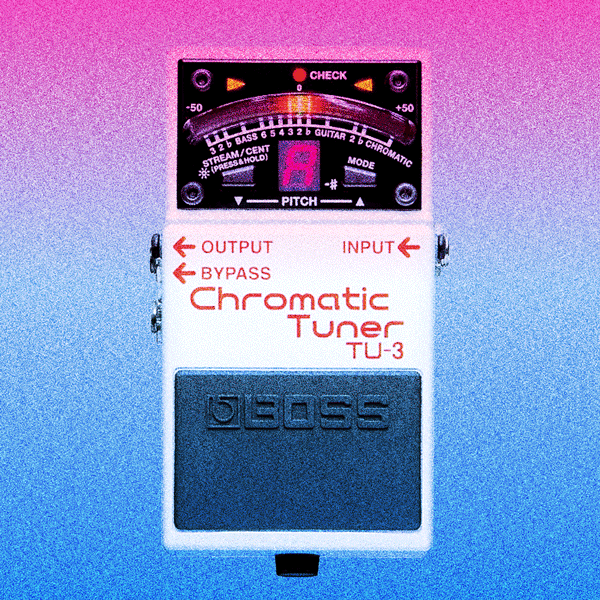
I would suggest getting a good tuner with a display that you can easily see in both high and low lighting. On average, tuners go for $100 new and $60 used. Since they’re often first in line on most rigs, you’ll want to get one that’s known for keeping your tone pure and unaffected, such as a Boss TU-3, TC Polytune, or Peterson Strobe. Some tuners offer both buffered and true bypass switching, and in some cases may even have outputs for powering more pedals. It’s worth noting that if you’re visually impaired, you may want to consider a headstock tuner, which is a bit closer to the eyes.
Overdrive
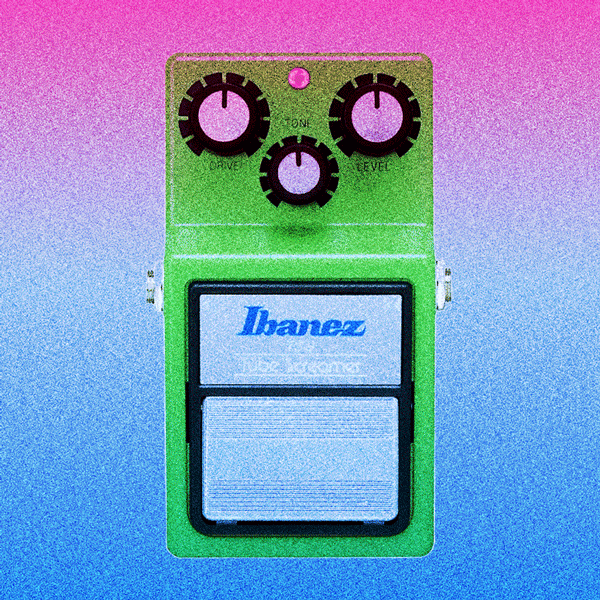
The Ibanez TS9 Tubescreamer, which goes for an average of $60 on Reverb, is one of the most popular overdrive pedals of all time. Initially, these were popular with blues guitarists who favored the ability to send any clean amp into a smooth overdrive, rich with sustain. This not only allowed players to achieve a cranked up tube amp sound at lower volumes, but it also enhanced the sound of amps that were already on the verge of breakup. Although the pedal on its own will not provide enough gain to push an amp into full on distortion (aka hi-gain), surprisingly, it’s very common to find these pedals on the rigs of modern metal guitarists. Taking advantage of the Tubescreamer’s ability to maintain its clarity, a lot of these players are using this pedal to tighten up the low end frequency response that sometimes causes a guitar to get lost in a mix. Typically this is done by turning the level of the pedal all the way up and the drive all the way down. The tone knob is dialed in the most pleasing spot to the players ears. The resulting sound is quite subtle on its own, but using this setting with a cranked up hi-gain amp like a Peavey 6505 and the effect is immediately felt—and this, along with a noise gate, is what practically defines today’s modern metal sound. The secret to getting a good sound with a Tubescreamer is to get an idea of how the level and tone knobs interact with each other; in general, the pedal will sound better with the output cranked higher than the drive knob. The position of the tone knob itself plays a large impact in the overall character of the sound which can range from thick and syrupy to quite bright but not quite ice picky.
Fuzz vs. Distortion (If You Can’t Have Both)
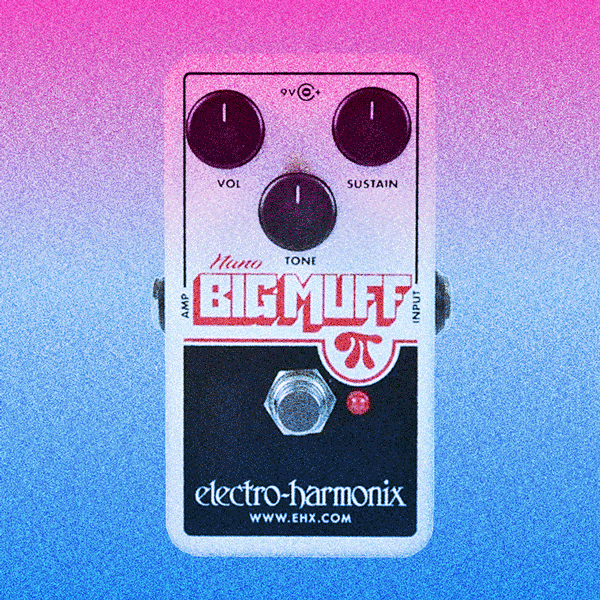
Unless you only want to play clean (or rely solely on what you can get out of your amp), getting a distortion pedal is practically mandatory. The type of distortion pedal you choose has a huge impact on your sound. Fuzz is a bit more retro and perfect for capturing the wild electric guitar sounds of most ‘60s and ‘70s rock. In some cases, fuzz pedals are popular with players who are drawn to the bold wave-like sound that the Nano Big Muff Pi (average at $60 used on Reverb) provides, whereas players that are seeking a tighter sound might go for something like a Boss DS-1, which can be found used for an amazingly affordable average of $35.
Reverb & Delay
These two effects are used to add a sense of depth to guitar tone. Reverb emulates a sense of space, like a concert hall, while delay simply repeats the signal from your guitar for a short period of time. Used together, you can get some stunning results, but some players may feel they only need or the other.
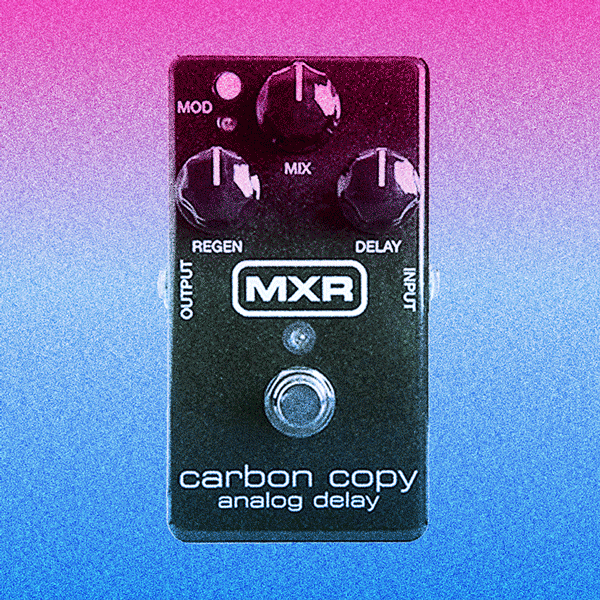
The MXR Carbon Copy is an analog delay that is extremely popular due to its warm, lush sound. On average, they go for around $95 used, which is a great price. Delay can also be used to add a more rhythmic feel to single note passages or giving a guitar solo a little something extra to stand out.
The Electro Harmonix Nano Holy Grail Reverb is a natural choice for someone looking for a simple yet versatile reverb. These pedals sell for around $70 on Reverb and offer emulations of both spring and hall reverbs, as well as a unique setting called “flerb,” which introduces a slight flanging effect.
Modulation
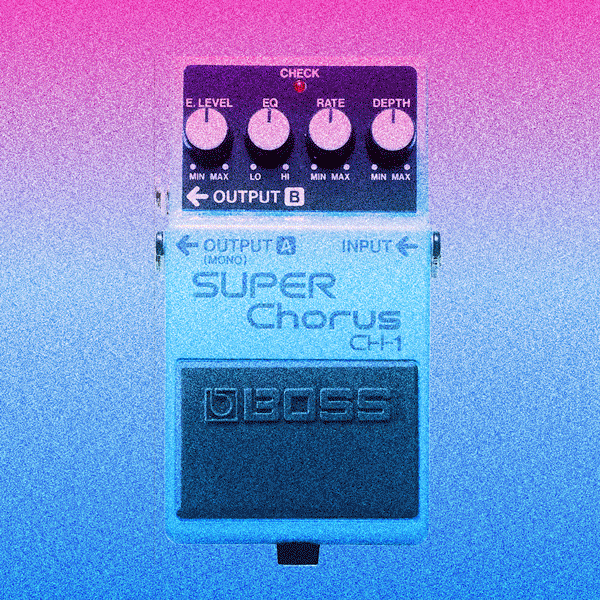
Modulation effects—otherwise known as chorus, phasers, flangers, and tremolo—can be used to add a little bit of movement to both clean and distorted tones. Usually, just having one of these types of pedals can add a lot of variety. I would recommend trying each of the following before purchasing to see what you like: the Boss Super Chorus ($50 used), the MXR Phase 90 ($45 used), the MXR Micro Flanger ($65 used), and the Boss TR-2 Tremolo ($65).
PUTTING IT ALL TOGETHER
The final thing to consider when putting your board together is the layout of the pedals. Industrial strength Velcro from your local hardware store is both affordable and practical, allowing you to quickly move things around as needed while still safely securing the pedals in place. You’ll want to experiment with your pedals in different configurations to find out what sounds best in what order, but generally, effects that alter the gain are placed early in the chain, and effects like modulation are placed last. There is no right or wrong way to go about doing this, so you’ll want to trust your ear on this one, but you may find better results by following this order (from right to left):
- Tuner
- Filter-based effects like wah-wah
- Overdrive, distortion, and fuzz
- Modulation effects: chorus, phasers, and flangers
- Volume pedals
- Ambient effects: reverb and delay
- Tremolo
- Loopers
Top Important Things to Consider:
- How many pedals you plan on using
- The amount of power each pedal draws
- How much space each pedal will take up once cables and power are installed
- The layout of the pedals
Be sure to check out Reverb for all your used gear on their Facebook, Instagram, Twitter, and LinkedIn! #foundonreverb

More posts
-
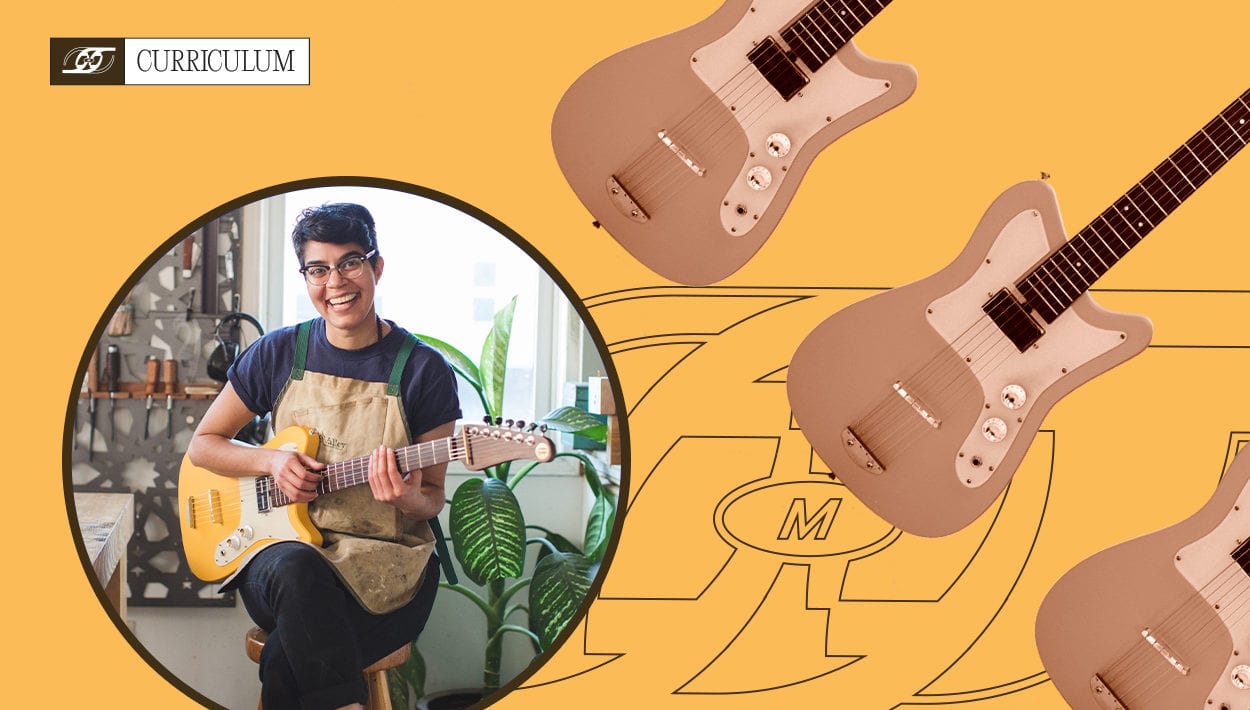
 By: Cynthia Schemmer
 -
Powered By: Fender
-
By: Cynthia Schemmer
-
By: Cynthia Schemmer
-
By: Leila Sidi
-
By: Leila Sidi
-
Powered By: Reverb
-
Powered By: Marshall Amps
-
Powered By: Positive Grid
-
By: She Shreds


Comments
Nice write-up. For balance I think it’s worth mentioning that some people believe that pedals sound better when powered by batteries.
Comment by Stuart on August 3, 2019 at 11:30 amLolz
Comment by John Bierman on August 16, 2019 at 5:16 pmIndustrial strength Velcro from local hardware store is both affordable and practical.
Comment by Jaimie on August 28, 2019 at 12:34 amhttps://lennyface.co/
[…] DIY Balling on a Budget Pedalboard-view plan […]
Pingback by 10 Free Diy pedalboard plans and ideas- Cool Diy Pedalboard Kits on November 28, 2023 at 10:35 pmJust as you strategically select pedals to create the perfect sound, winning money in a casino involves strategic decisions and a bit of luck with fun – https://pley.gg/news/best-low-volatility-pokies-guaranteed-fun
Comment by Lauren on December 22, 2023 at 2:34 pmThe thrill of hitting the jackpot mirrors the satisfaction of assembling the perfect pedal chain, creating a symphony of success in both musical and gaming endeavors