How To Change Your Ukulele Strings
Changing your ukulele strings for the first time?
At the tail end of the 1800s, Portuguese immigrants from Madeira and Cape Verde who were inhabiting the Hawaiian islands began to introduce the instruments that we now know as ukuleles today. Inspired by other small guitar-like instruments such as the cavaquinho, timple, and rajão, the four string ukulele quickly became popular not only on the islands, but within the entire world itself.
These days if you are a musician or simply know someone who is, then you have probably been around a ukulele at least once due to its immense popularity. For many, the ukulele becomes something of a companion that is taken everywhere and played often. Playing often requires changing strings often, and sometimes you may find yourself in a position where the job might need to get done quickly.

Traditionally, ukulele strings are tied on the bridge of the instrument in a manner similar to a classical guitar. The process of tying on strings can be tedious even for the experienced hand, so players might not change them as often as they should. As ukulele strings are played, the pressure from the frets along with microscopic dirt and debris eventually compromise the instrument’s ability to stay in tune. The string may also simply start to sound dull, altering the timbre of the instrument in a negative way. It is for these reasons that it is recommended to change all the strings at the same time whenever one breaks so that you can have consistent tuning and timbre across the entire fretboard.
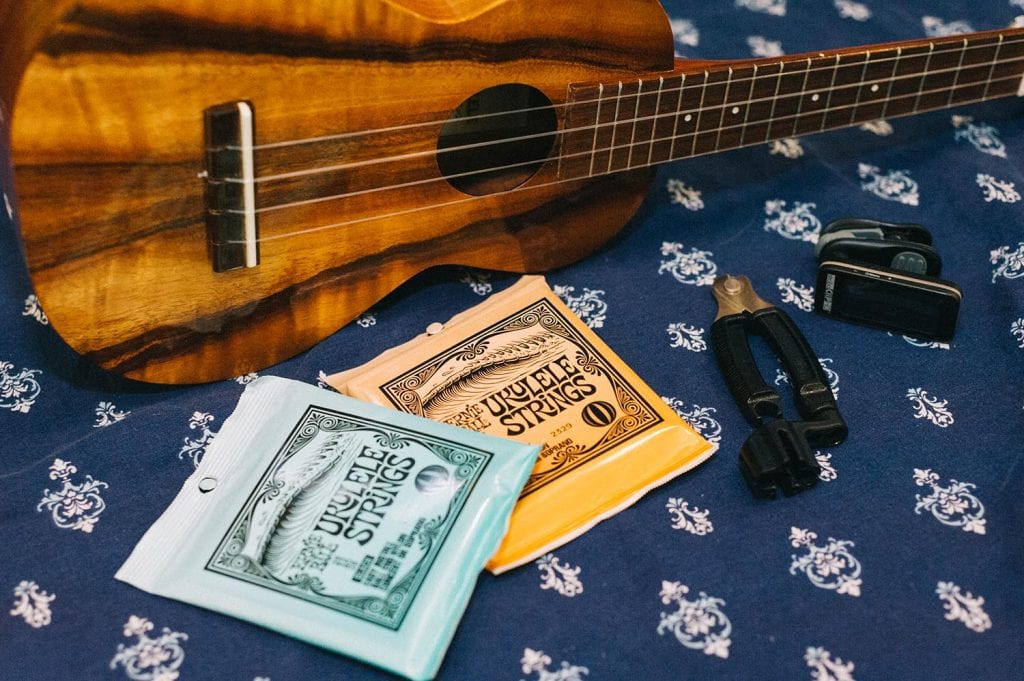
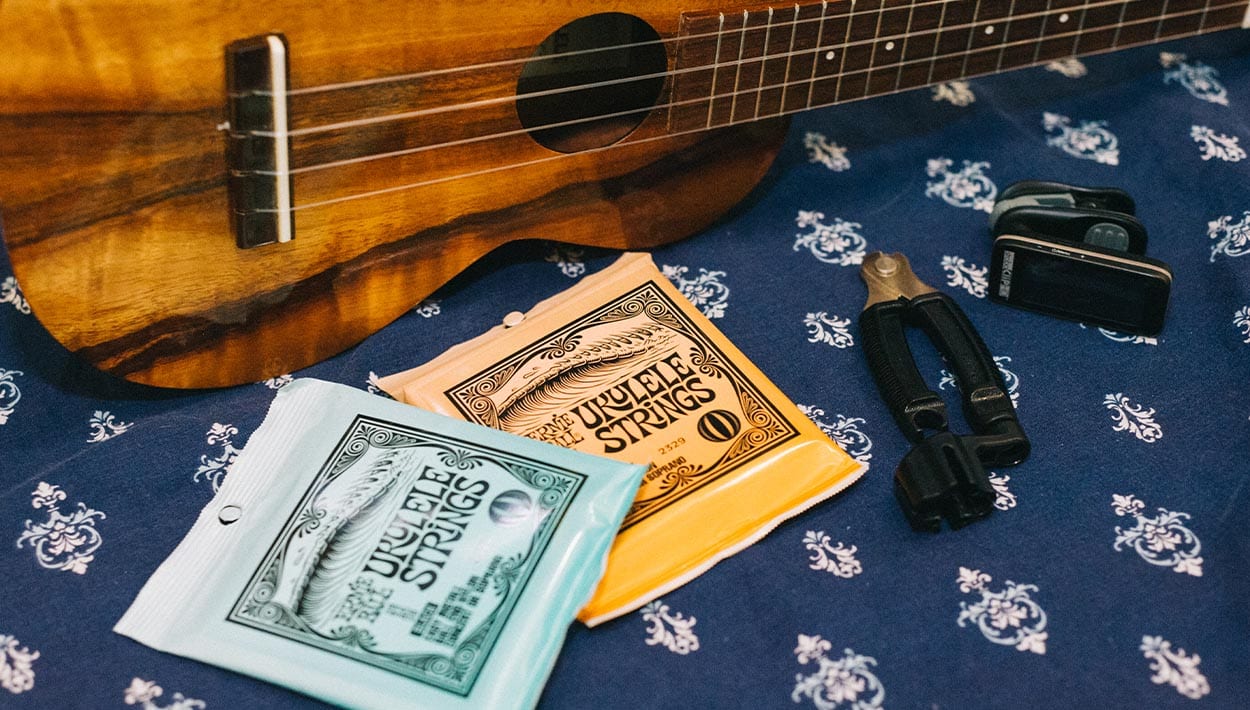
The easiest way to go about changing your ukulele strings only involves a few simple tools and a bit of practice. It might take you 30 minutes to an hour to change your strings for the first time but eventually you might be able to get through it in less than 10 minutes. All you need is a fresh set of strings, a string cutter, peg-winder, tuner, and a clean place to work where the ukulele will not be susceptible to damage. For this example we will use the new ukulele strings available from Ernie Ball which are made of fluorocarbon and feature a ball end. These strings are an excellent choice because they eliminate the need to tie the strings on to the bridge. They are available in both black and clear fluorocarbon which have a very balanced sound. I find the clears to have a little more presence in the lower mids while the black ones are quite snappy and perhaps a little more articulate in the upper frequencies. It’s worth it to try out both formulas to see which sounds best on your ukulele. Both packs provide a generous enough length to accommodate any ukulele.
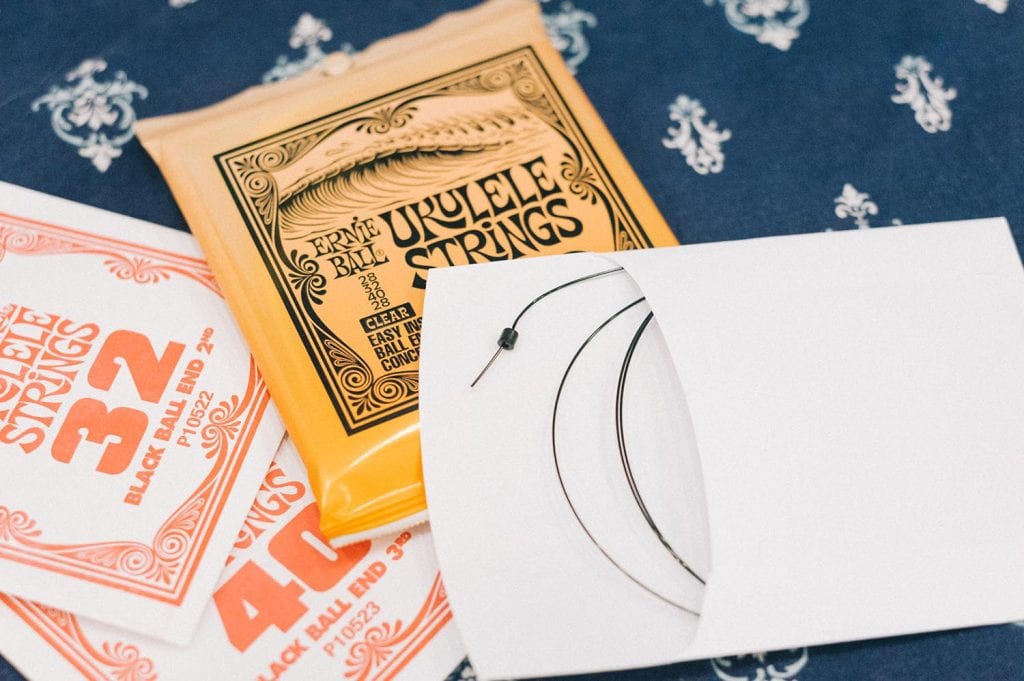
Inspect and determine which type of bridge the ukulele has, the two most common are tie-on, and slotted bridges. Bridges with pins to hold the strings in, like the ones used on steel-string acoustic guitars, are quite rare but do pop up from time to time. Remove all of the strings by using the peg winder to loosen all of the tension out of them one by one. When the strings are off you’ll have a good opportunity to really clean up the instrument and it’s always a good idea to do so. The strings themselves come packaged with labels indicating which string is which, but it’s useful to remember that the “1st string” is the one closest to the floor when you are holding the instrument in the playing position and the “4th string” is the one closest to the ceiling. If you are using a tie-on bridge, thread the string through the hole on the bridge which you would normally tie onto and pull it through until the ball end meets the end of the bridge. The ball end will hold your string in place instead of having to tie it on. If you are using a slotted bridge than you can simply cut the ball end off and tie one small knot at the end of the string. The knot itself can just be a simple single loop.*

After you tie your knot, slide it into the slot of the bridge and pull up until the knot keeps the string from popping out of place. If you are working with a bridge that uses pins then you will need to remove them first. Place the string inside the hole and slowly push the pin back into place while simultaneously pulling up on the string until the ball end locks the string into place. Once your string is secured to the bridge then you’ll want to lay one of your hands around the third fret using a gentle karate chop motion. You’ll find that using your hand as a guide like this will always result in the perfect amount of wraps around the tuners of many stringed instruments.
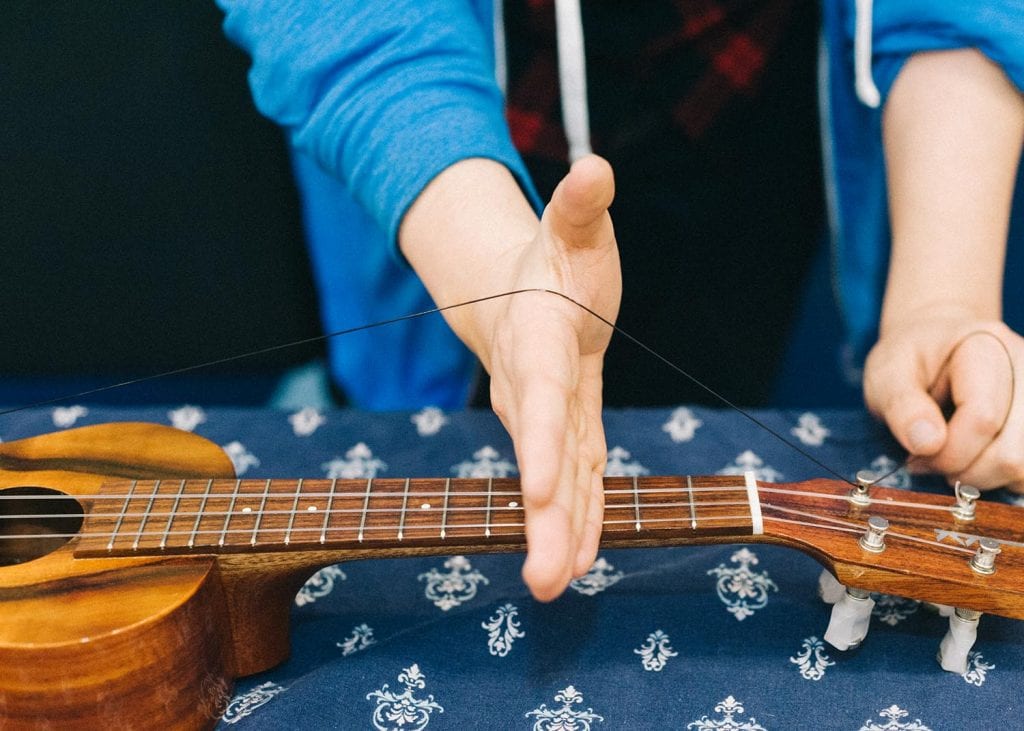
With your other hand guide the string inside of the hole of the tuner and pull it through until the string begins to have some tension. While still holding that tension take note of the direction that you will be turning the tuning key. Take the end of the string that is sticking out and from the opposite direction that you will be turning the tuning key, wrap the string once underneath itself and pull up. Start winding the tuning key and guide the windings into place as you turn it so that all of wraps are stacked on top each other instead of over each other.
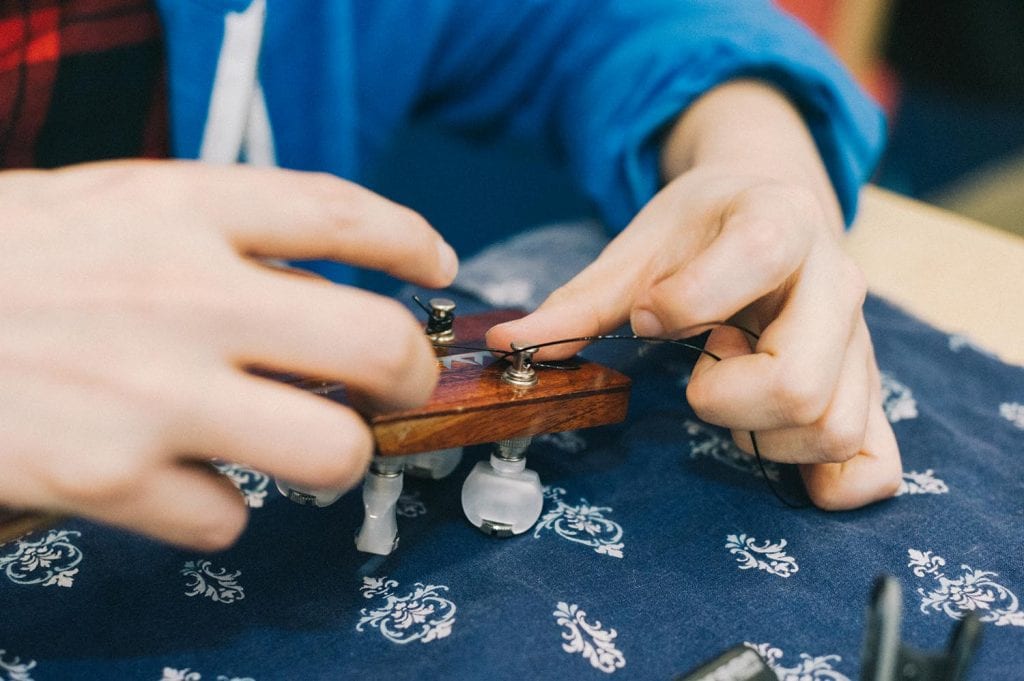
This will result in a winding that is far less likely to slip and increase your tuning stability. Cut the remaining ends off the strings with the string cutter and bring the instrument to pitch. Gently tug and strings and re-tune until the instrument starts to hold the tuning. Recycle the packaging and enjoy the fresh sound!

More posts
-
 By: Cynthia Schemmer
 -
Powered By: Fender
-
By: Cynthia Schemmer
-
By: Cynthia Schemmer
-
By: Leila Sidi
-
By: Leila Sidi
-
Powered By: Reverb
-
Powered By: Marshall Amps
-
Powered By: Positive Grid
-
By: She Shreds


Comments
[…] Library, where patrons can take out acoustic and electric guitars; basses, banjos and bongos; ukuleles, violins, electronic keyboards, drum pads, steel drum kits, güiros, maracas, tambourines, […]
Pingback by She Shreds Media on June 12, 2020 at 11:59 am