In case you missed it, in January, Reverb, the online music gear marketplace, sponsored part one of our series “Tones of the Unknown,” wherein Livvy of Mamalarky was sent a box of mystery effects pedals to explore.
Now we’re back, this time with Cathy Begien of Datachoir. Cathy was sent some truly incredible pedals from Reverb, and we’re excited to share more details of these stellar effects.
All of Mastro Valvola’s effects are designed and built in Italy, a country well-known for their impressive craftsmanship and design. And Mastro Valvola’s pedals are no different. “This thing feels very sturdy and slick,” Cathy remarks as they first take a look at the LFO Optical Tremolo during their unboxing.
Featuring an impressive 16 different tremolo waveforms, the Mastro Valvola LFO Optical Tremolo gives players the warm, vintage tremolo tones found in valve amps, but with added modern functionality and flair.
So what is optical tremolo? Many vintage tube amplifiers employed optical tremolo, which uses a light-dependent resistor (aka photocell), to create their tremolo effects. Light=optical. So, essentially, the LFO (low-frequency oscillator) turns a light bulb on and off, which varies the resistance in the photocell, turning the volume up or down. The characteristics of optical tremolo are smooth, pulsating, and somewhat lopsided.
In the Mastro Valvola LFO Optical Tremolo, the photocell is managed by a “digital brain,” which enables its 16 waveforms, tap tempo (so, as Cathy points out, you can change the speed on the fly with your foot) with three selectable subdivisions, and the ability to alter the shape of the 16 LFO waveforms via the symmetry control.
Cathy shows off a few of the settings in their video, getting a fluttery “purr” out of the Mastro Valvola LFO Optical Tremolo as they ramp up the speed in a sawtooth wave shape. They also show off some of the trippier settings in a square wave shape by adding some drive and increasing the rate of the LFO, creating a sound that borders on that of a ring mod.
At $399, the Mastro Valvola LFO Optical Tremolo is a premium tremolo pedal with high-end features. If you’re in search of a versatile, smooth, vintage-voiced tremolo with modern touches and a bevy of waveforms, this is an excellent option to consider.
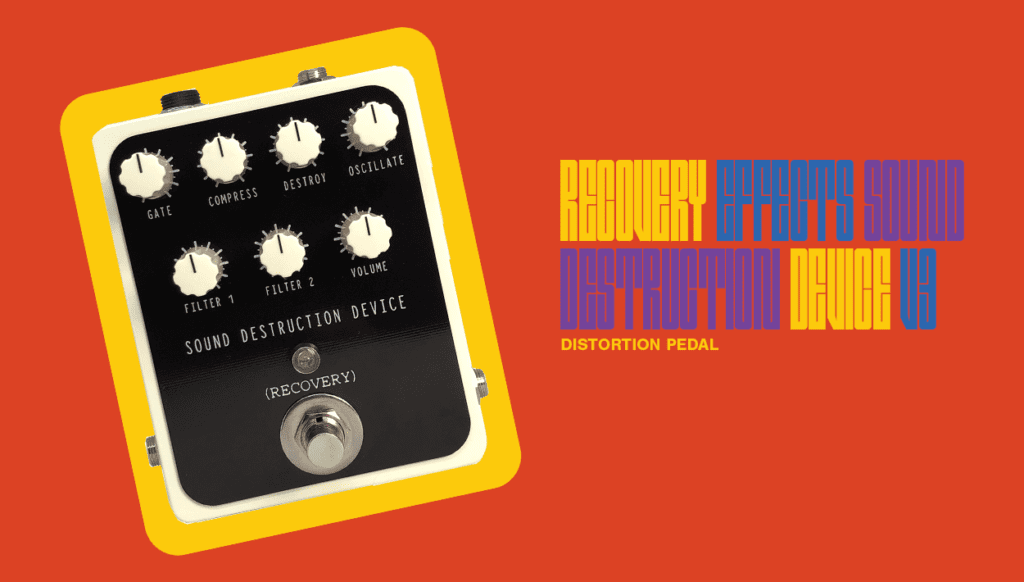
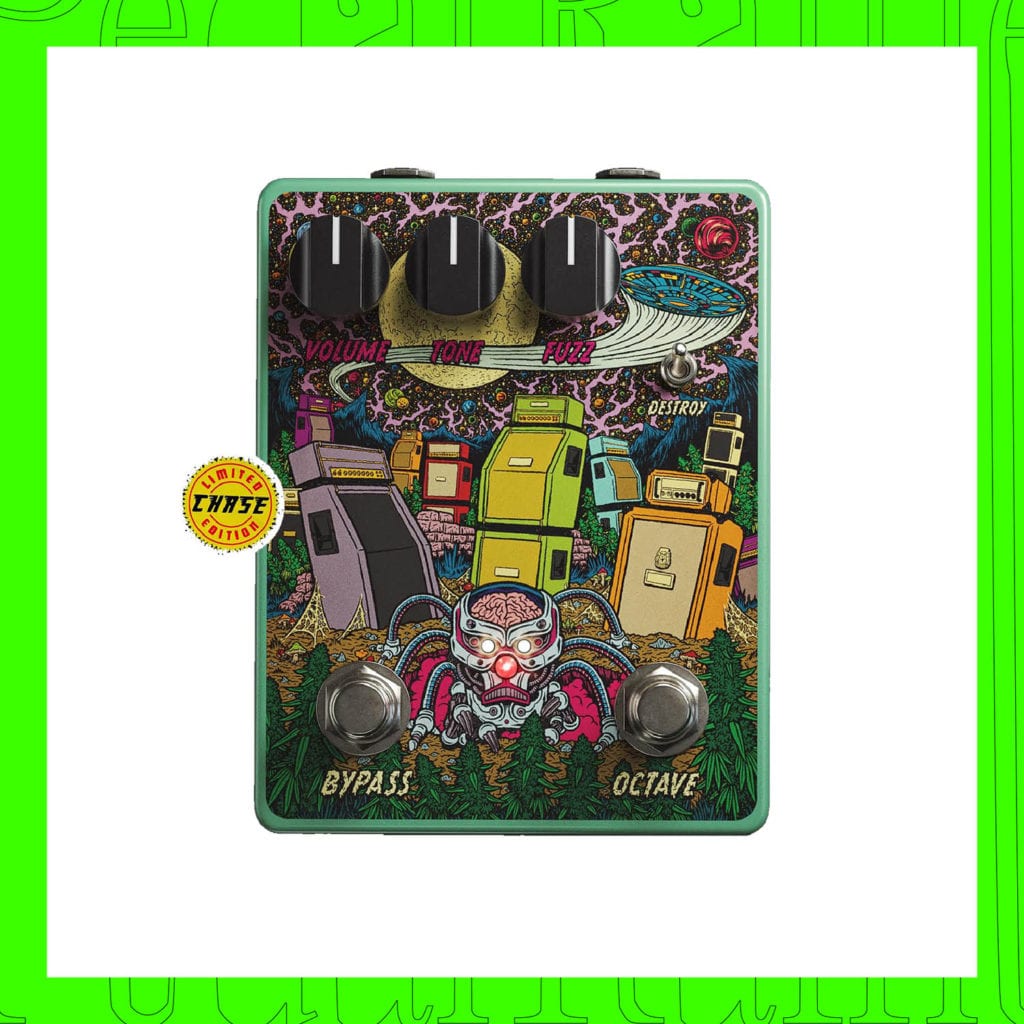
Though Cathy was quietly hoping for their Cutting Room Floor during their unboxing, they were sent the Seattle-based Recovery Effects’ hand-wired fuzz, filter, and oscillation pedal, Sound Destruction Device V3. So, does the Sound Destruction Device live up to its name? Oh yeah, it definitely does.
More than a fuzz or gain pedal, the Sound Destruction Device delivers glitchy, splatty, voltage-starved sounds that can be shaped with its two filter knobs. It offers a wide host of controls in addition to the filter knobs, giving you—if nothing else—the feeling of control over elements including gate or threshold, amount of distortion, compression, and oscillation. The oscillation can even be controlled by an external expression pedal.
Cathy wastes no time getting gnarly noises out of the Sound Destruction Device via their Fender Jaguar and Benson Monarch. “It’s great for S.O.S. noises,” Cathy remarks, using their Jaguar’s pickup selector controls as a kill switch. If you’re looking for something untamable, check out the Recovery Effects Sound Destruction Device, which retails at $229 and is hand-made by the husband and wife team out of Seattle, WA.
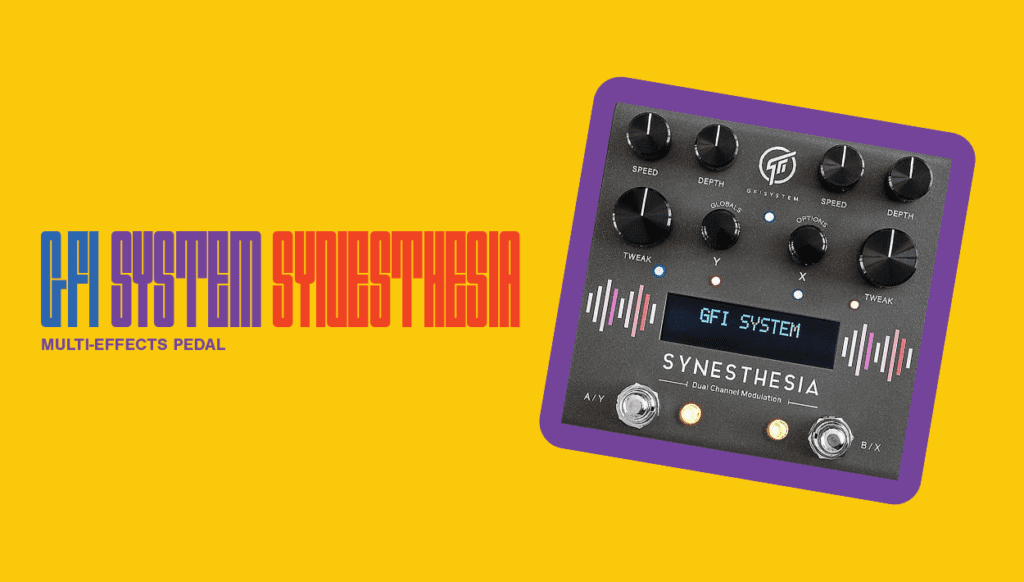
One thing we haven’t seen until now in Tones of the Unknown: Screens. That changed when Cathy unboxed the GFI System Synesthesia, a dual-channel multi-modulation engine that can run two different modulation algorithms simultaneously.
Named after the condition of experiencing one sense through another—such as seeing color in music—the GFI System Synesthesia features an impressive 38 classic and modern modulation effects and 32 presets out of the box.
Those effects can be broken down into six categories: amplitude (namely, types of tremolo), filters, swirls & shimmers (such as chorus and flangers), phase (phasers and univibe), sequencers (arpeggiators), and a miscellaneous bucket that includes the warbly “Record Antics” and “Phono Filter” modes Cathy showed off in the video.
For those looking for maximum versatility in their pedals, Synesthesia also features flexible DSP routings, tap tempo, MIDI in and thru, expression and cv in, and aux switch expansion, making it extremely features-rich for its relatively small footprint.
Though Cathy opted against connecting the Synesthesia to their computer via the included cable, you can do so to update the firmware and use GFI System’s proprietary editing software.
Being essentially two pedals in one, it’s not too surprising that the Synesthesia retails at $399. If you’re looking for a multi-modulation solution that can run two effects simultaneously with MIDI capability that runs on standard 9v power, it’s a solid choice.
Thanks to Reverb for sending these pedals and to Cathy for showcasing them! If you’re looking to pick up any gear from Reverb, please be sure to use our affiliate links—it’s a great way to support She Shreds just by stocking up on gear.
Who doesn’t love a good mystery?
For our two-part series “Tones of the Unknown” in partnership with Reverb, the online music gear marketplace, Livvy of Mamalarky was sent a box of mystery effects pedals to explore. We have to admit, she got some real winners. Don’t worry, we’re only a little jealous. Here’s a deeper look at what she got in her mystery box.
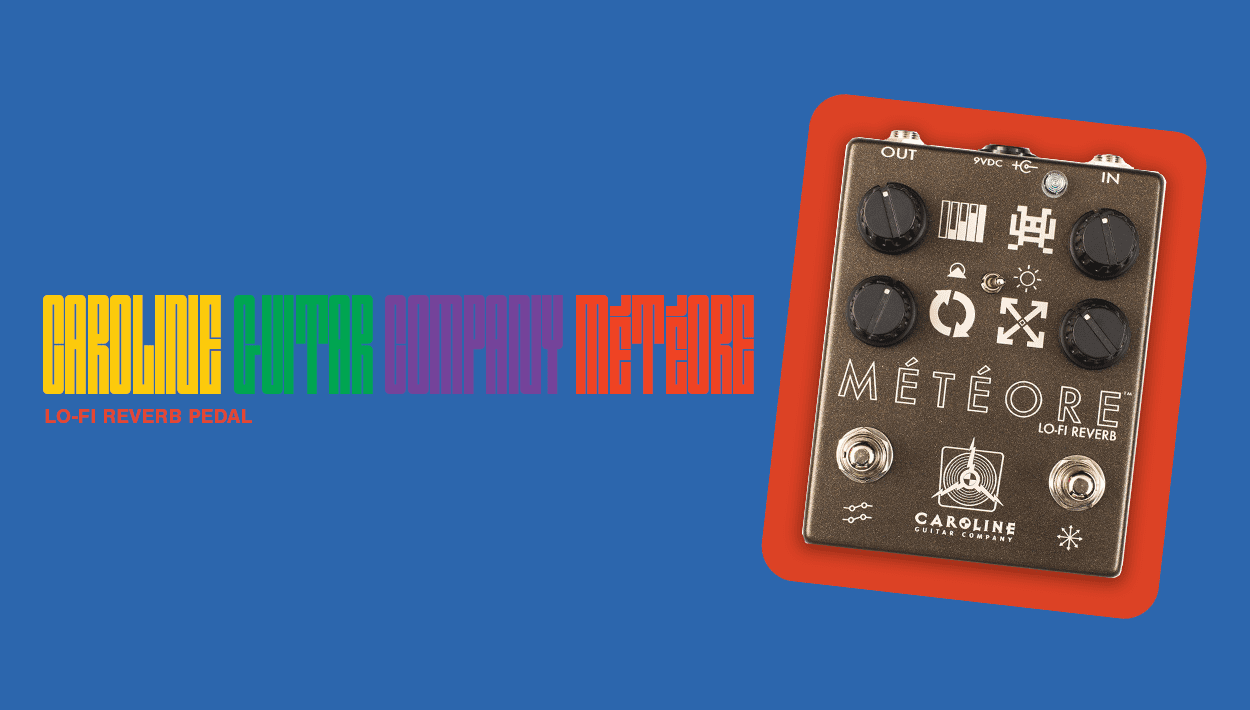
Despite having symbols instead of words to describe its control parameters, the Caroline Guitar Co. Météore is an easy-to-dial-in lo-fi spring reverb pedal. As Livvy says, the Météore “has a lot to say,” and can do everything from “gorgeous, understated, beautiful,” tones to complete havoc at the press of a footswitch—conveniently named havoc.
The “sun” and “mountain” settings Livvy describes are the bright and dark voicings of the effect, and the “space invader” is the attack control, which controls the amount of gain going into the preamp—the lo-fi heart of the pedal. The controls, especially the preamp, interact heavily with each other. For example, if you set the attack (that’s the preamp we talked about earlier) and the regen (the decay, or how long the reverb lasts) high enough, the pedal can enter self-oscillation without having to engage the havoc switch.
Even though Livvy already has a spring reverb in her amplifier, this pedal isn’t a redundancy. What really sets the Météore apart from a simple digital spring reverb emulator is its ability to impart gritty lo-fi character without overwhelming your sound (until you want it to). If you’re looking for a reverb pedal that can balance on the edge of clean reverb tones and descend into a whirlwind of feedback—and back again—the Météore can do that and more.
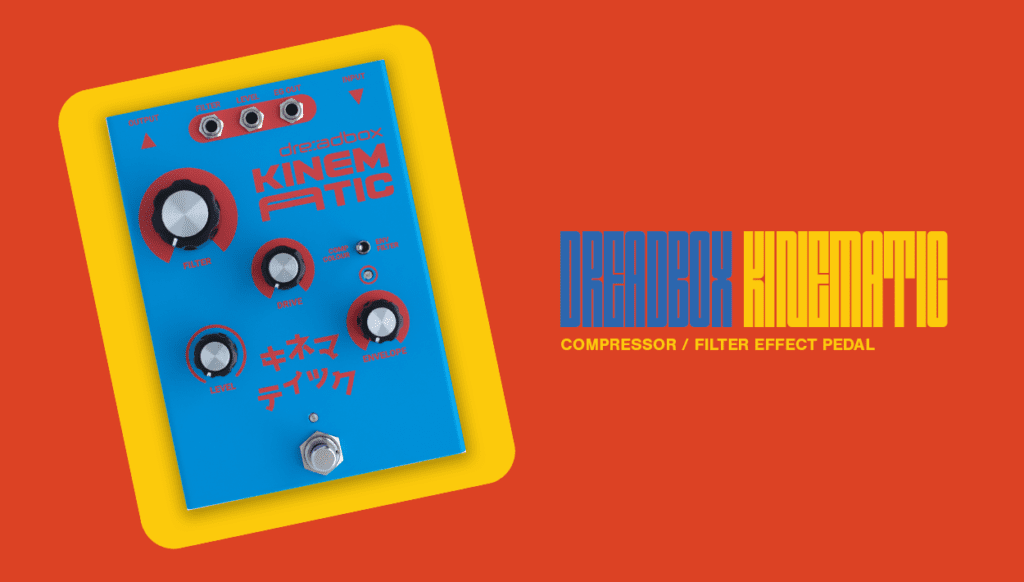
Named after the Greek word for motion, the “gnarly” Dreadbox KINEMATIC is a VCA-based compressor and envelope filter in one. And those eagle-eyed viewers might notice that it has three patch points, making it equally usable for Eurorack users and guitarists alike.
Livvy shows off both modes in her demo: the Comp Color mode (that’s the compressor) and the Envelope filter, which you move between via a toggle on the face of the pedal.
In the Comp Color mode, the pedal acts as—you guessed it—a VCA-based compressor with an extreme compression ratio. VCA stands for voltage-controlled amplifier, which is an analog compressor. Essentially, it’s an amplifier (in this sense, an amplifier is anything that amplifies audio signal) that alters its gain in proportional to a control voltage or modulator signal.
Knowing exactly how it works is probably less important than knowing that VCA-based compressors have extremely fast attack (that’s the intensity with which a note is plucked or strummed) and release (that’s the decay or how the note stops) parameters. Attack Magazine describes VCA compressors as “fast and punchy on rhythmic material” with the ability to “smooth out peaks without squashing everything in sight.”
The Dreadbox KINEMATIC also serves as a frequency booster and has up to 18 dB of boost potential. In other words, it gets LOUD.
The Envelope Filter mode is a 12dB low pass filter with an auto-wah. It has a slow envelope curve and it is weird, funky, and a ton of fun. Oh, and did we mention that it has an overdrive circuit and can also effectively function as a distortion pedal? The KINEMATIC has a lot going for it and is a real workhorse on a pedalboard.
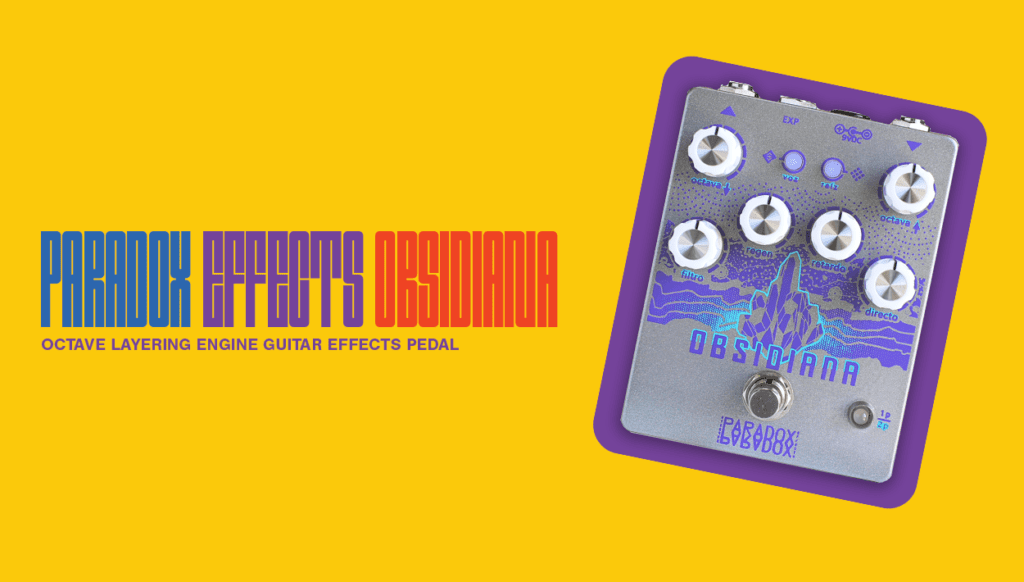
“I have a feeling this one is going to be strange in a very good way.” Paradox Effects makes some astounding pedals, and the Obsidiana Octave Layering Engine is toward the top of the list. As the name implies, it’s an octave pedal and its polyphonic nature ensures that it responds equally well to single notes and chords alike. Polyphonic means it can translate multiple notes at a time, unlike monophonic octave pedals which only allows one note to be played and sent and octave up or down at a time.
As you can hear from Livvy’s demo, the Obsidiana does more than simple octaves up and down. Firstly, it has two modes for filtering options: one pole low pass mode and two pole resonant low pass mode. The one pole low pass filter mode is a more traditional fixed low-pass filter—the filter knob is brighter to the right, darker to the left. For the two pole resonant low-pass filter mode, you get more resonant synthesizer-esque tones as you sweep the filter control.
But its most unique feature is the branching octave trails that build syncopated rhythms or layers of octaves and pitches. As Livvy says, “That’s kind of what my brain sounds like when I’m trying to fall asleep.”
At the top of the controls, you have octave up, octave down, a direct control for the wet/dry blend and filter as well as regen (controls feedback of the octave trails) and lag (varies by mode). Like the KINEMATIC, the Obsidiana is the type of pedal you can take a deep dive into.
Thanks to Reverb for sending out that Mystery Box and Livvy for showcasing those incredible pedals! If you’re looking to pick up any gear from Reverb, please be sure to use our affiliate links—it’s a great way to support She Shreds doing things you already do.
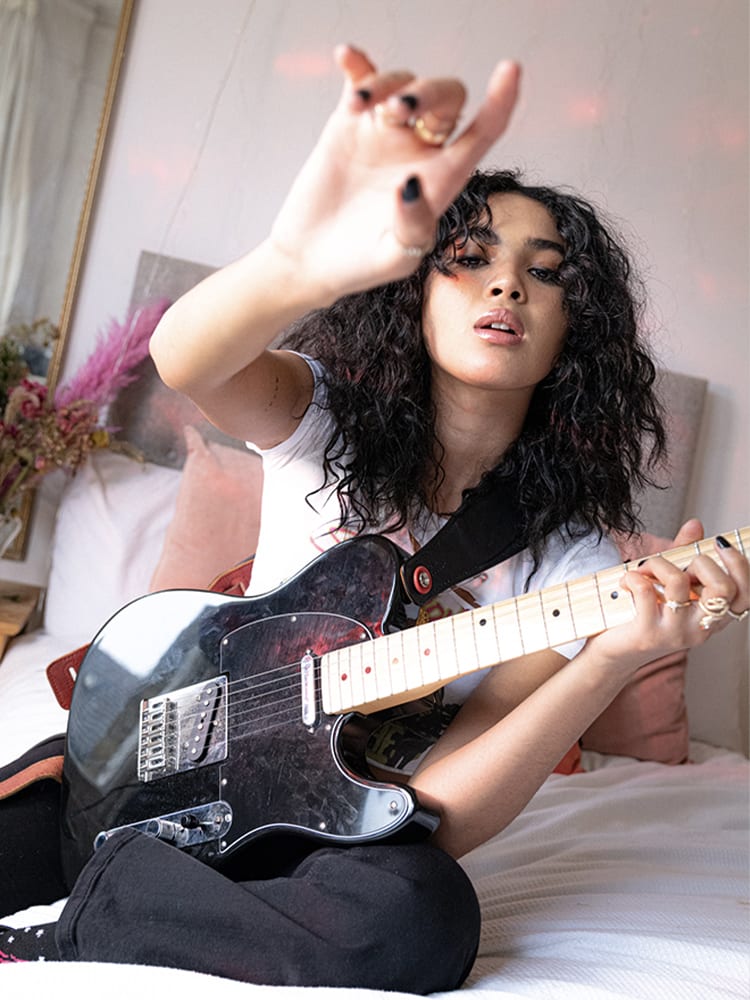
Aziya is here to reveal herself—as she is, and nothing less.
During the last year, the 21-year-old musician and producer has used the lack of live shows to post riff-heavy and genre-expansive covers on her Instagram, garnering attention from Grimes with a cover of “Oblivion.”
“I was doing the video covers for people to catch on to the music that’s inspired my tracks that are coming out,” says Aziya. “So everything you see there, there’s an influence on the music I’m making.”
Last week, Aziya premiered her first single with an accompanying video for “Slip!”, a roving rock track written and co-produced by the musician, showcasing her heavy riffs and powerfully dynamic vocals. The single explores the wax and wane of feelings that come with hasty romantic infatuations, and displays the technical skill and creative bounty Aziya has devotedly cultivated over the last decade.
“A lot of the hunger comes from me wanting to change the norm and make it clear to people that hear my music that it’s me writing and playing,” she says. “I want to be the artist that I didn’t get to see growing up.”
For our four part series in partnership with Reverb, we spoke with Aziya about her musical beginnings, her essential gear for recording and producing, and what’s next.
What is your earliest memory of music in your life?
I grew up in a really musical household in the sense that there was Prince playing in one speaker, System of a Down in another, and Patti Smith in another. One really big memory I have was I would spend a lot of time at secondary school in the studios they had. I remember writing and producing my first song and being like, “I can actually do this. It’s a decent song, a bit of a bop.”
I also remember being quite young and going into the studio and singing with my mom—she’s really cool. She’s not in the music world, she does fashion, but she dabbled in singing. And my dad’s friend was a producer, and got us into the studio. Music’s just always been a part of my life. I’ve always had it there, and I guess when I picked up the guitar around eight and wrote my first song when I was 10—which you know, that stays far hidden [laughs]—and having that freedom to write my own music… Writing that first song did it for me. I knew that this is what I was good at. For me, it was like, I want to do something that I haven’t seen on the screens, a representative of me, and playing the guitar was a way of doing that.
And I still have that guitar. It’s been passed down to my eight-year-old brother now, so it’s still in the family. It’s a small Spanish Chantry nylon-string acoustic guitar. I still play on it, actually.
After guitar, I learned piano when I was like 12. I’ve always found it so much easier to write on guitar. It’s just so much more accessible to me. It’s more personal for me, and easier to navigate in a sense: you can play power chords, and it can give you the basis of the vibe you want. I just love the power that it has, the sound, the timbre. It automatically puts me in the world of indie and rock, and that’s the music I’m into, so I think that’s why I’m drawn to it a lot more.
What did the initial process look like when you first started learning to play guitar?
It was lessons at first, and it quickly became self-taught. I loved the teachers that I had, but having YouTube meant I could go on a journey with the things I wanted to learn. It was more tailored to me. So I was self-taught up until I attended BRIT, and that’s when my playing ability got a lot better. At the time I was not very confident [in my playing] so I didn’t really play guitar in BRIT, I would only sing. After leaving BRIT in 2018 is when the frustration and angst came, because I was like, “I can play, and all I need to do is practice.” You can do it, and you will have the ability to write whatever you want and the ability to explore so many more avenues. So, that’s why I started playing more, because of the frustration of not being encouraged to play it so much in school.
No shade to BRIT—I loved it there. I focused on who I wanted to be as an artist, and the sound I wanted to create. I always loved rock and guitar music, but going to BRIT hashed that out again. So naturally, leaving BRIT, I wanted to be able to play this music and confidently solo on stage. I was grinding to find any sessions I could. Out of the frustration I’d go home and be like, “This can’t be the way anymore. You need to practice your craft, get sick at producing, get sick at playing guitar, and come back and have a really confident idea of what you want to do as an artist.” The development of my guitar playing also came from meeting friends in bands, jamming with them, asking them how they played this chord…
Your Instagram videos are so energetic, and there’s such a wide range of genres that you cover. Can you talk about the process of recording and filming?
I’ll never do a cover that strays from my sounds. Any cover I do, I want to make it my own so people start to hear my voice, the tones my voice and guitar has. For example, the Kate Bush song [“Babooshka”]: she’s a queen and she did that shit, so I didn’t have to do anything, but I asked myself, “What would I do if I wrote this song?”
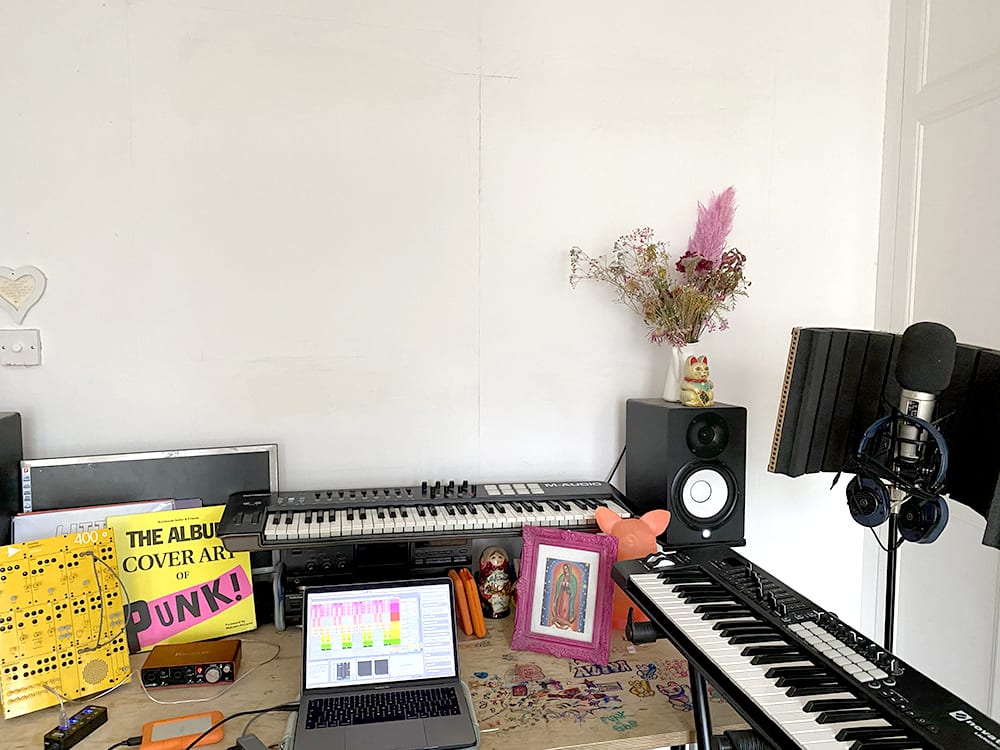
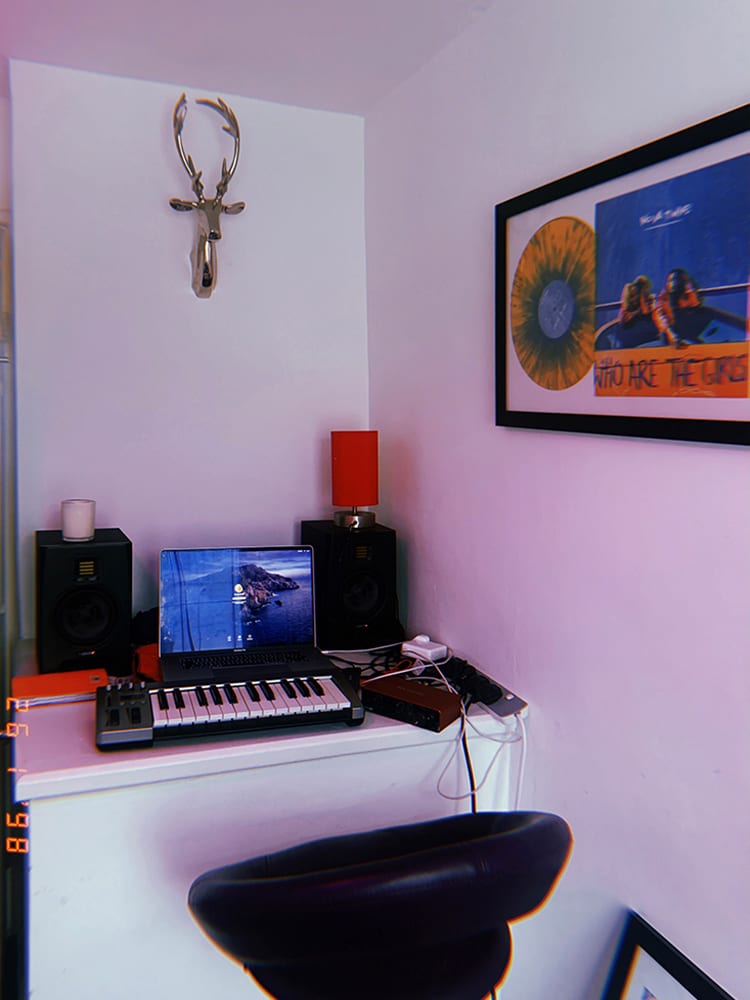
In terms of gear for the videos, I use a M-Audio Oxygen 61 v4 keyboard(New from $229) because you can trigger different beats and loops. It’s really great if you’re starting out and triggering different sounds and drum beats, as it’s very responsive to touch. I use it for most of my videos—an OG piece of equipment!
Previous slide
Next slide
I also use myFocusrite Scarlett 2i2(New from $159 ; Used from $145)that is essential for plugging in the microphone and guitar. And then for a DAW I switch between Ableton Live 10 and Logic Pro X.
Previous slide
Next slide
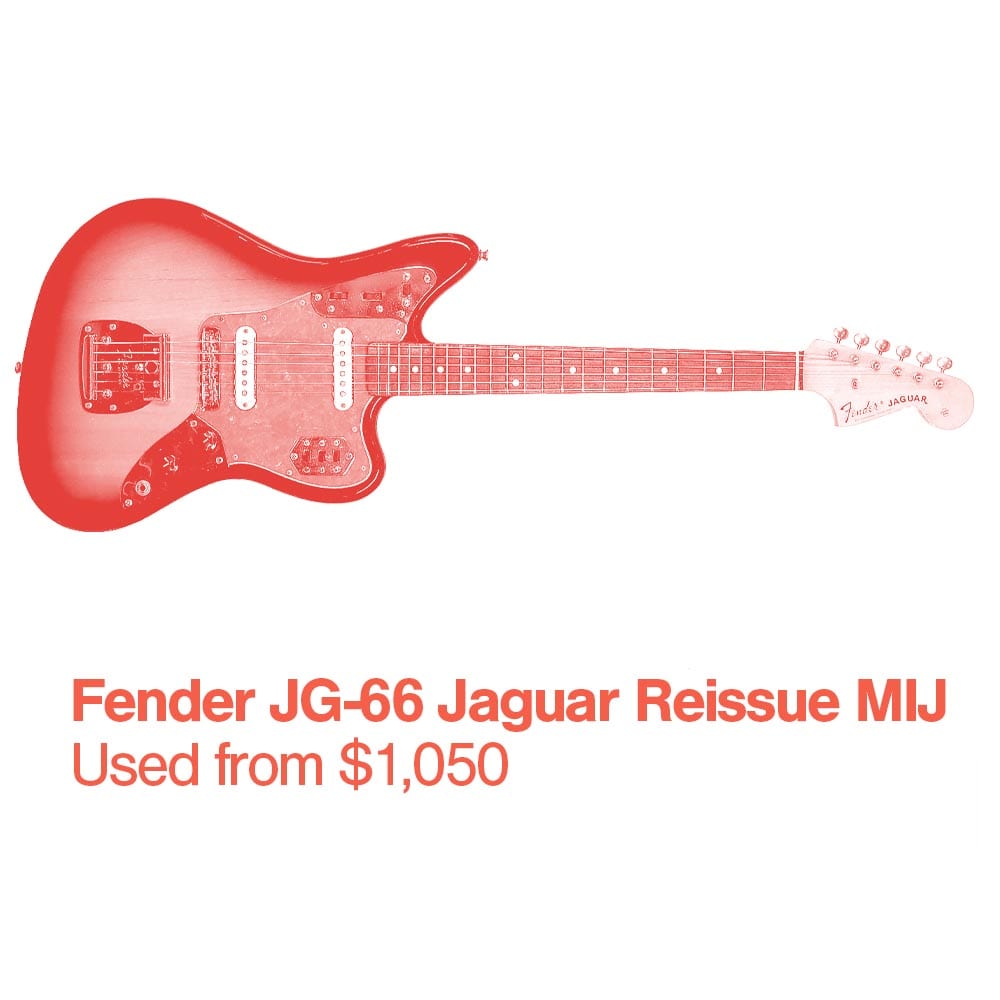
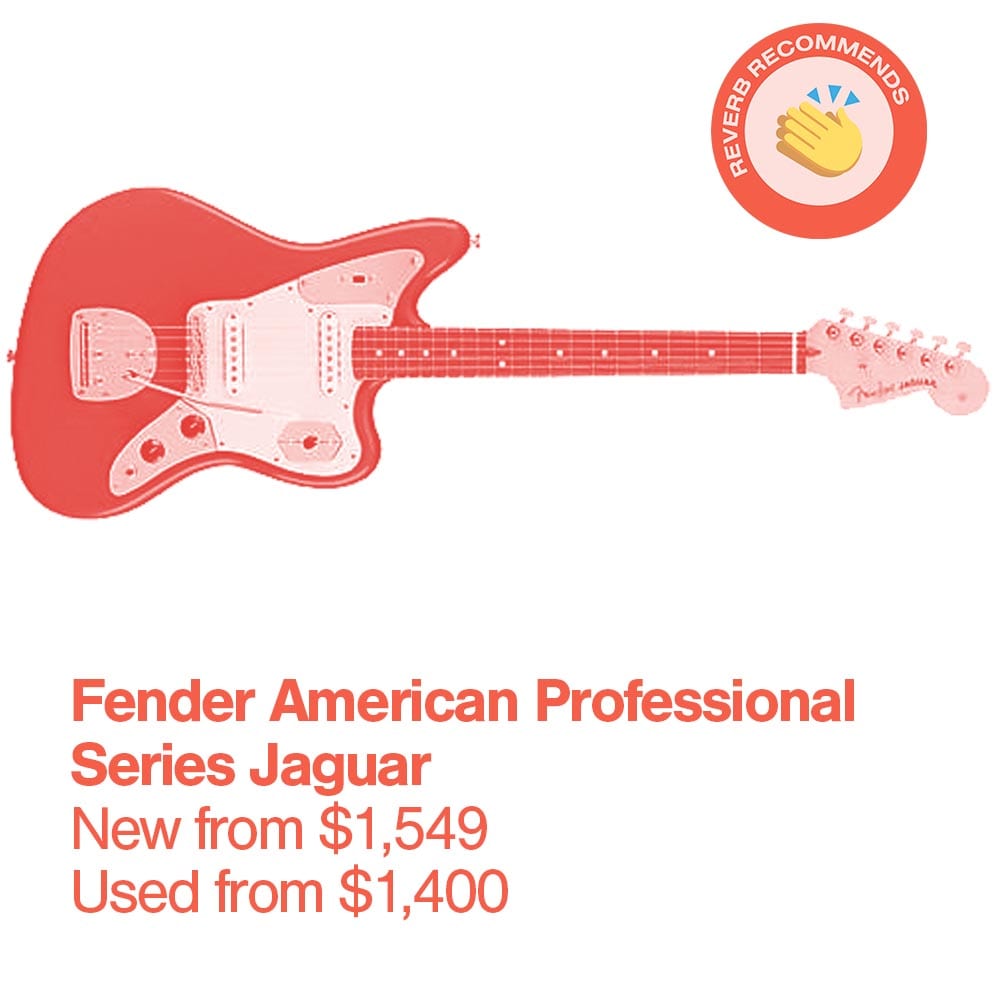
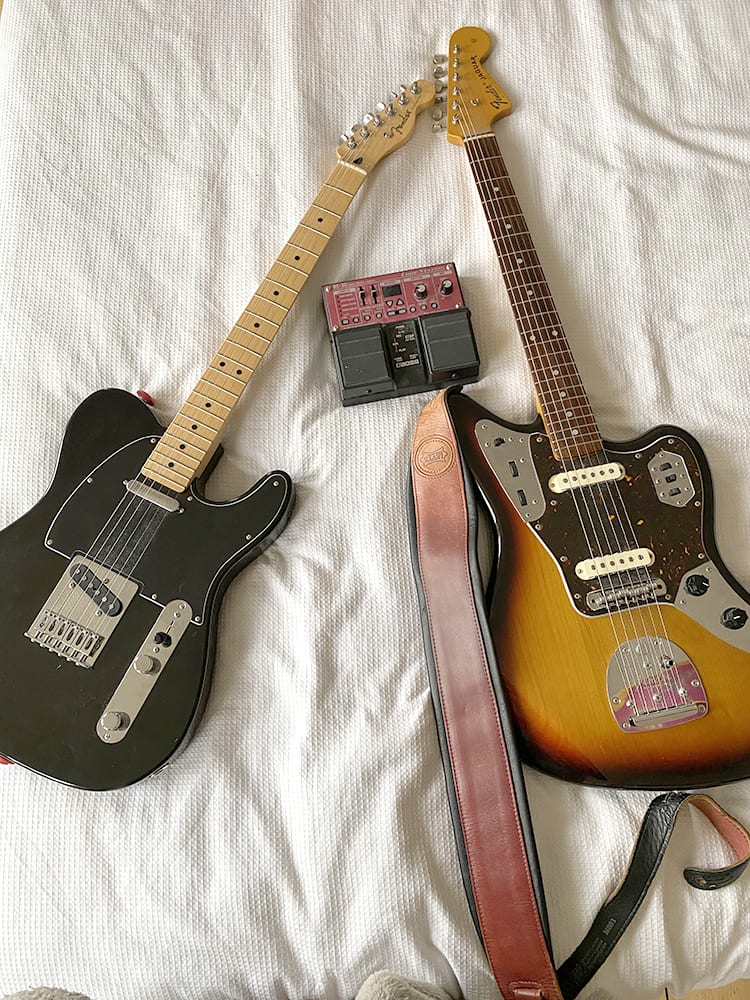
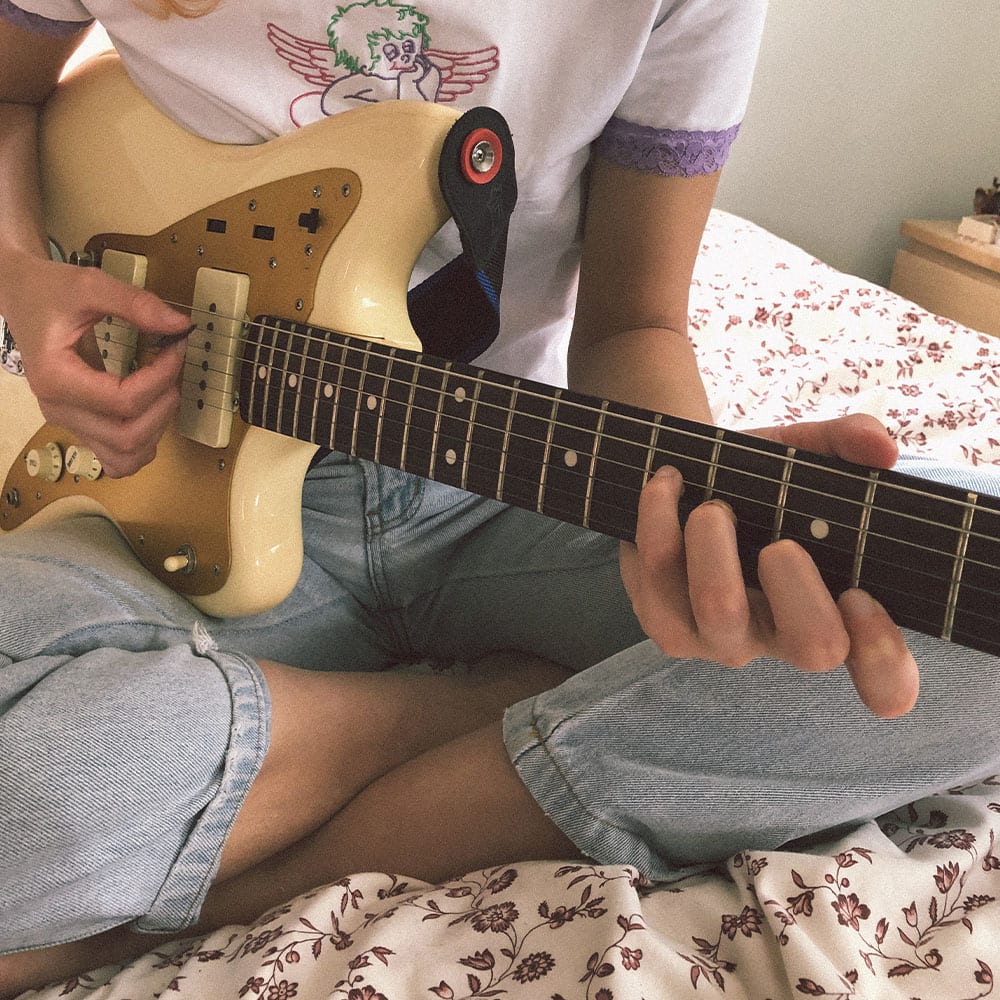
I usually use my Fender Jaguar(Used from $1050)for the covers—it’s my favorite guitar because I love the tone. It was one of those magic moments in any guitarist’s life where you go into the guitar store and it was gleaming, had a certain spark to it. It just felt right. I like tone that’s a bit obnoxious and sharp. I love warm jazzy tones, but for me, personally, to play the music I do, I prefer when it’s a bit sharper and pushes through the mid. Viv Albertine… I love how she describes in her book how she found her tone: she didn’t have a breadth of knowledge, she just knew that she wanted that sharp obnoxious tone, and I was thinking the same thing when I went into the guitar store.
I’m very blessed to play such an amazing amp like the Fender Hot Rod Deluxe (Used from $420). It’s my favorite—the sound is so vintage, rusty, and it’s got a good tone to it. You literally just need to turn the volume up to two and it’s blaring. I’ve also got a new Fender Mustang (New from $150 ; Used from $130) which Fender really nicely has given me. It’s deceivingly light, I can take it around with me all the time.
Previous slide
Next slide
Previous slide
Next slide
What other gear is essential to achieving your signature tone?
In terms of going straight through my amp, a ProCo RAT 2 pedal(Used from $131)does the job. This was my first pedal, a friend gave it to me, and to this day it’s still my favorite.
Previous slide
Next slide
You recently co-produced a song with FKA Twigs’ producer Liam Howe. How has producing informed your songwriting? And what is some essential gear?
It was a progression from learning guitar. When I went into secondary, like I said, the studio was at our dispense. We actually had to produce for a grade, so from that I realized that this is quite straightforward: it’s daunting to look at, looks very robotic, but once you get into it it’s actually quite a fun process. At that point I didn’t know how to use plugins, I just knew this was a way of putting down audio. It was very self-taught, often asking my mates how to use plugins, developing the sound, trying to get better at creating my own tone. But the underlying reason for learning was so I could have a professional way of putting down ideas. Now it’s become an ambition to produce, write, and mix my whole body of work—that’s the goal, to do an album completely produced by me.
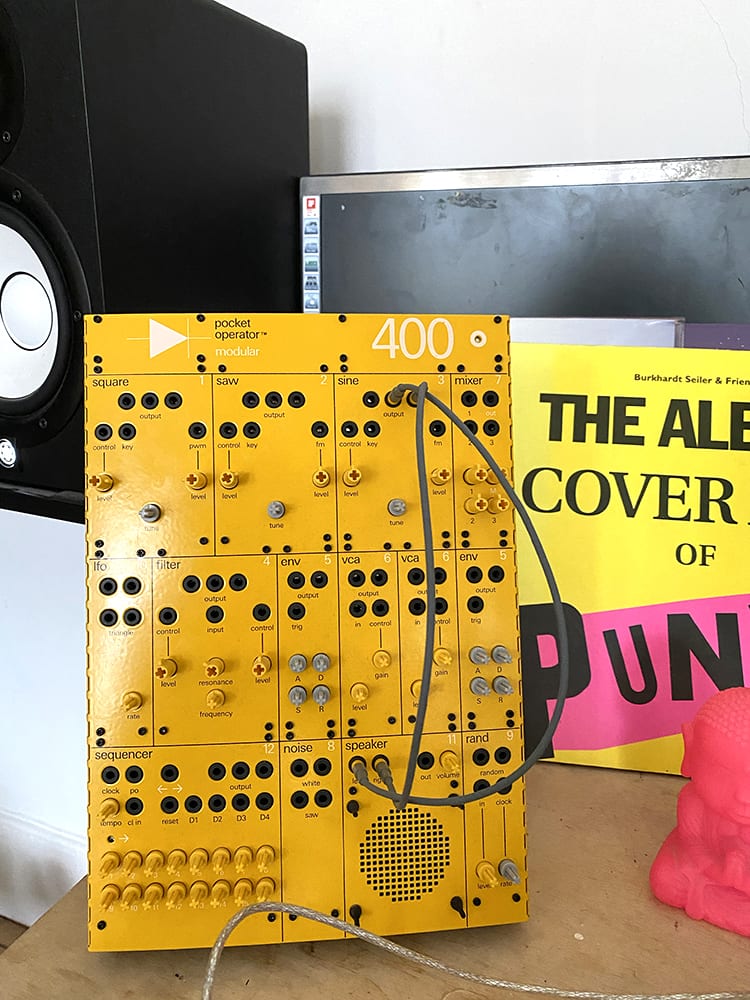
A new thing that I gotis theTeenage Engineering Pocket Operator Modular Synth 400(New from $599 ; Used from $364). It’s a mini synthesizer, and that’s great fun. It saved me over lockdown because you have to build it yourself, like adult lego. I eventually want to have a studio that’s just packed full with old analog synths, so it’s a good place to start.
Previous slide
Next slide
Last week you released your first single and video for “Slip!” What can we expect from you in the future?
My forthcoming music is quite colloquial, going on a journey of different relationships that I’ve experienced. Whether that be romantic or friendship or family, it dives into different dynamics of human life and interaction, and trying to work out as a 21-year-old girl how to navigate these situations. It’s very inspired by Tame Impala, but at the same time it’s heavily inspired by a lot of British indie ‘90s bands like Stone Roses, but then equally it’s got a bit of PJ Harvey. It’s quite a mix of sound, but it’s definitely a psych rock sound with a contemporary vocal on top.
RAT distortion pedal (maybe an 1989 model as it has the mini jack power instead, which I believe is only on older versions)
Focusrite Scarlett 2i2 (3rd Gen)
Ableton Live 10
Logic Pro X
Yamaha HS8 Active Studio Monitor
Rode NT2-A Studio Condenser Microphone
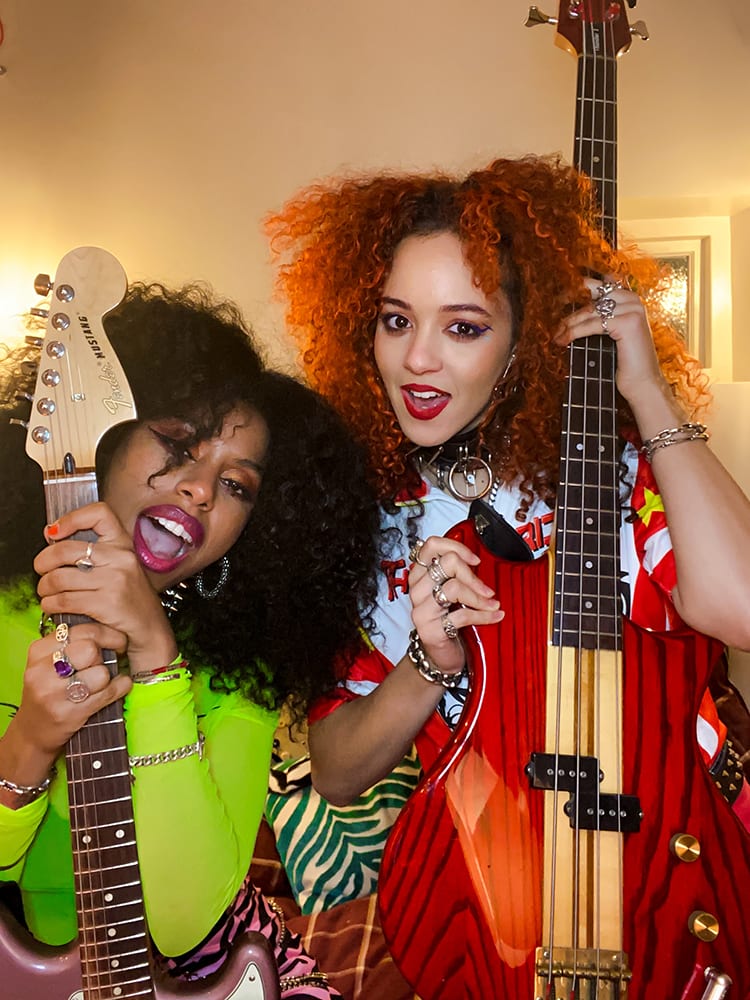
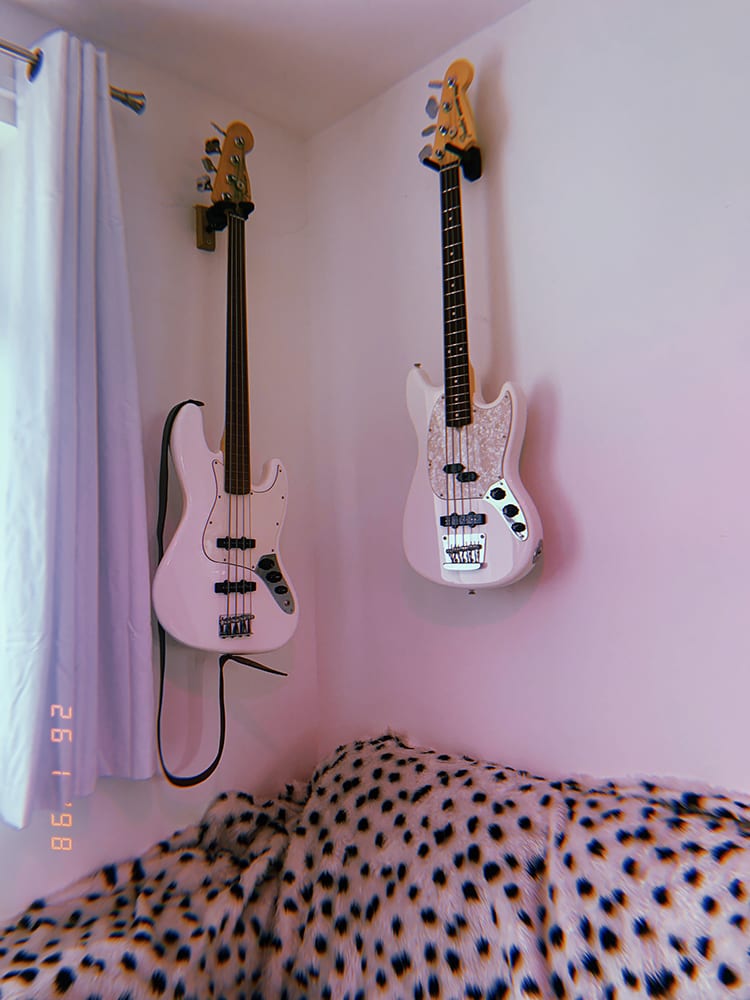
Nova Twins are a genre bending duo from London who broke into the scene with their heavy metal sound and brazen lyrics. Made up of vocalist/guitarist Amy Love and bassist Georgia South, Nova Twins have been steadily pushing the envelope with their electrifying sound (created with the help of top secret pedalboards that mark their signature sound).
Since their 2016 self-titled debut EP, Nova Twins have gone on to perform at festivals in Europe and America, such as AfroPunk, Prophets of Rage, and more. In 2020, they released their full-length debut, Who Are The Girls? (333 Wreckords Crew), including the single “Play Fair,” a musical rollercoaster of emotions with a thrilling instrumental arrangement and transcendent vocals that demand the listener’s full attention.
“Who Are The Girls? is about unapologetically celebrating diversity,” says Love. “Ourselves and many others have come up against adversity whether it’s to do with systemic issues, fascism, racism, etc. We wanted a space that broke down those boundaries, where we could celebrate each other in all our glory.”
For our four part series in partnership with Reverb, we spoke with Nova Twins about their essential gear, their song-writing process, and how they keep energized.
Nova Twins are such an inspiration to a lot of young alternative musicians. What inspired you to choose rock music to begin with?
Amy: I don’t really think it was a conscious decision—it wasn’t like we wanted to be “rock” players. It was literally something that happened between us: we wrote the song, “Bad Bitches” (unreleased and one of the first songs we wrote as a band), Georgia had the bass, and I did the vocals. That was just our sound, and it’s just our world.
Georgia: Yeah, the energy ended up being heavy and got heavier and heavier the more we experimented and got into the band.
Your music has such a sharp and electric sound. What are some things you like to keep in mind when looking for gear?
Georgia: For me, personally, I don’t really like gear that sounds super specific. I’d rather it be something that you can tailor yourself, rather than hearing a pedal and knowing what [pedal] it is. Even if it’s more basic, you can mix it and make it into your own.
Amy: I think something that tracks really well is when you start getting into different sounds, it has to work with your other gear—not all pedals do. Sometimes they’re quite selfish and don’t like to work with others, but we like friendly pedals. Tracking is really important. Just something different, something out of the box.
What are your top five gear essentials right now?
Georgia: Obviously our pedalboards are a massive part of our sound and our show—we don’t go into what they are, but they make all the sounds happen.
Amy: [laughing] They are the show…
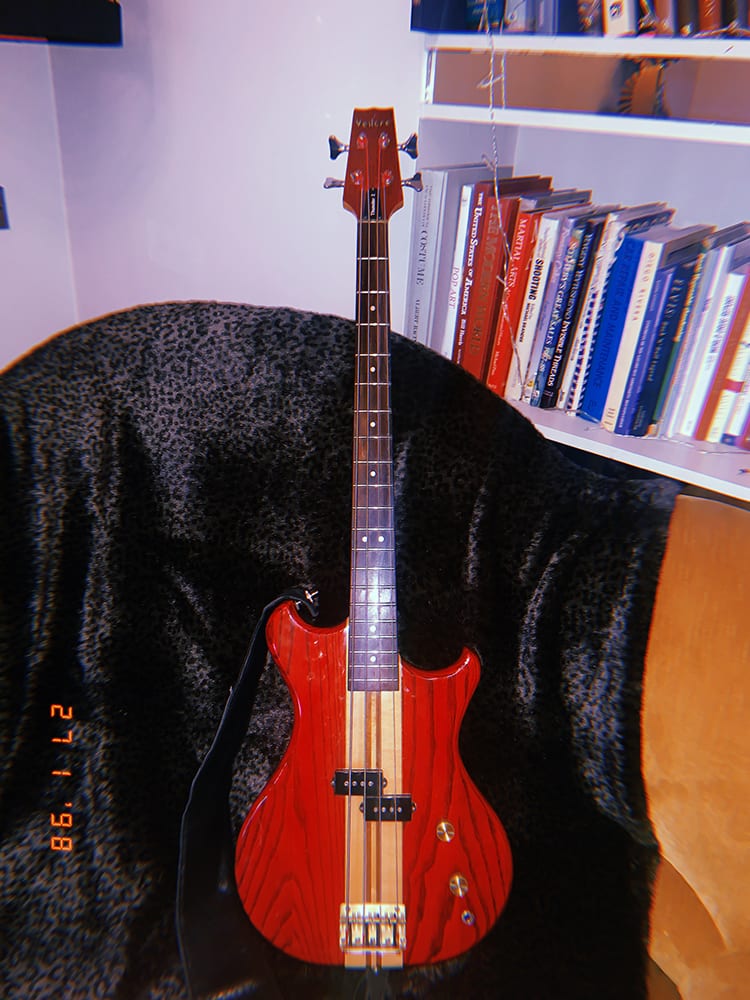
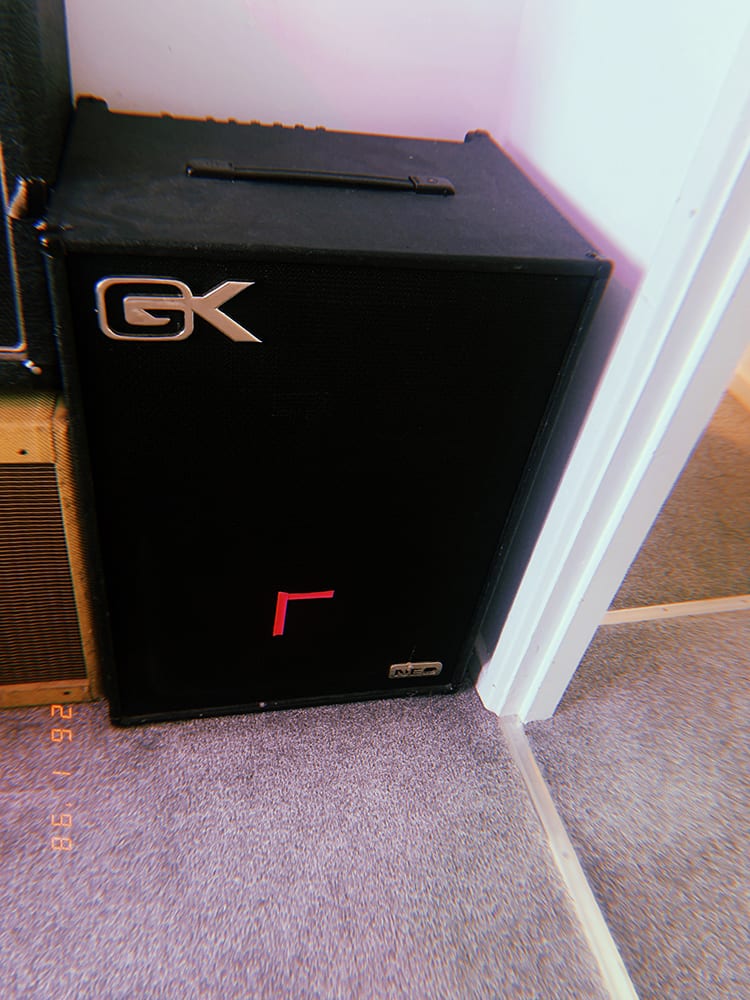
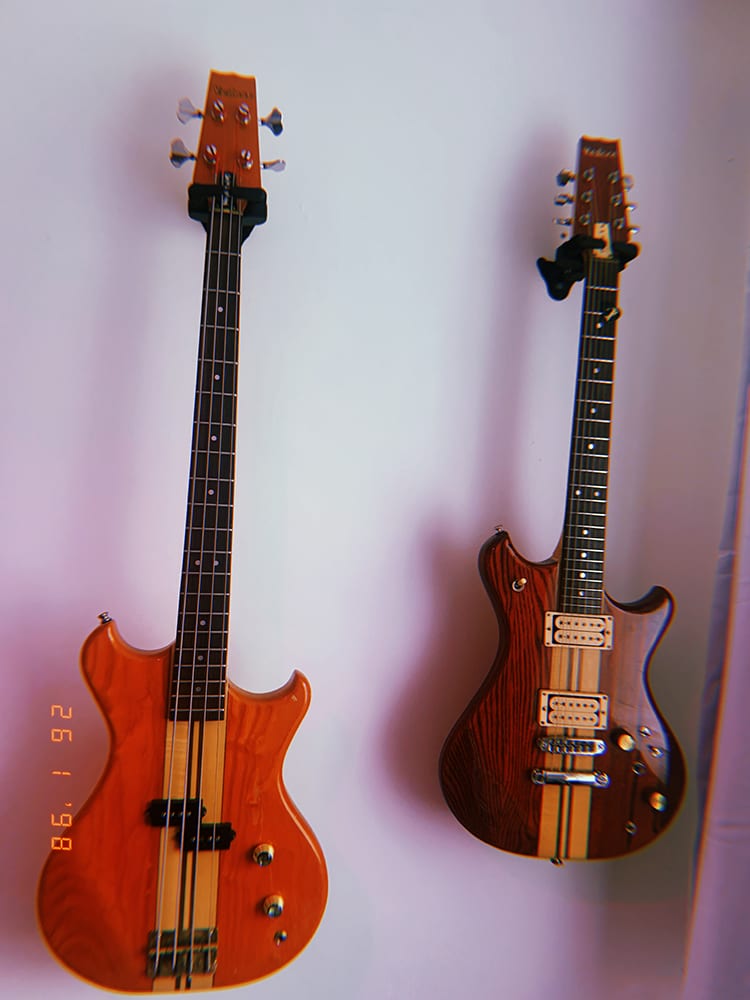
Georgia: In terms of gear that we can share, I have a Gallien Krueger MB 212 II combo amp and a Marshall Valvestate amp which I split—those are quite essential for the shows. With Who Are The Girls? we set ourselves with the challenge of not adding any other instruments, as we wanted it to sound as close to our live sound as possible, so I recorded with these and my Westone Thunder 1—my OG bass guitar. I absolutely adore it and always will. The tone, the look, the rosewood… It’s a rare gem as they don’t make them anymore.
Previous slide
Next slide
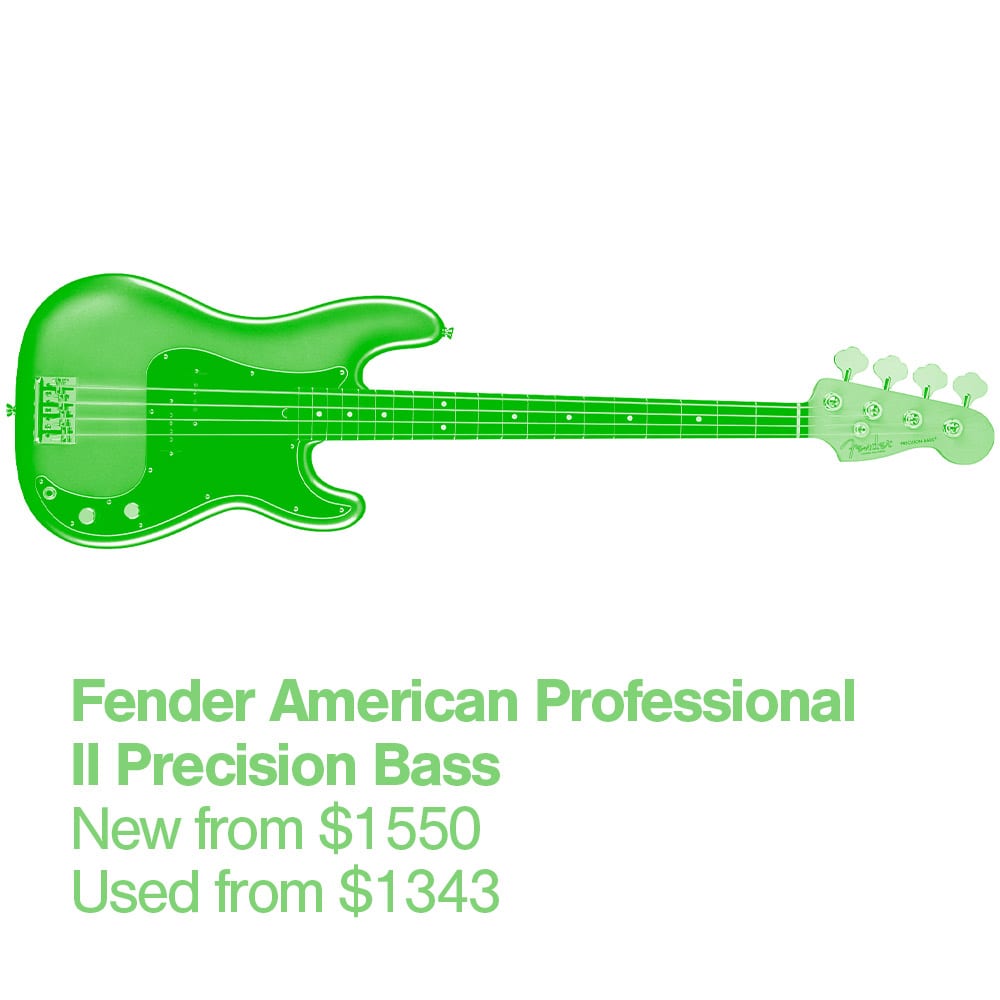
I recently got gifted a Fender American Professional II Precision Bass and it’s sick. I use it a lot to record and write with at the moment as it’s a very different feel to my Westone; I find it has a much lighter feel, a different tone (a more clangy/crunchy tone), and is super easy to play. I played all of Who Are The Girls? on the Westone, so it’s nice to play a different bass to generate new fresh ideas and get you out of the same headspace.
Over lockdown, I bit the bullet and invested in a new MacBook Pro 2020 as all of our demos on my old laptop kept crashing and it was just a nightmare. It was a sting buying it, as it was pricey, but it has been so handy having a speedy, reliable computer to work on!
I love Logic X! I’ve been learning so much and think it’s a great piece of software for musicians to work on—it’s easy to get around if you’re a beginner, and has loads to offer for advanced peeps too. We write all of our demos on Logic, and we’ve both got a Focusrite Scarlett 2i2 Studio to record our instruments in with.
My Marshall Monitor Bluetooth headphones are so sick! They’re great to mix tunes on as they’re not too bassy or toppy. Also, my walls are paper thin so I can’t be blasting out bass and tunes all day, so I just whack these on and it’s a party in my head all day.
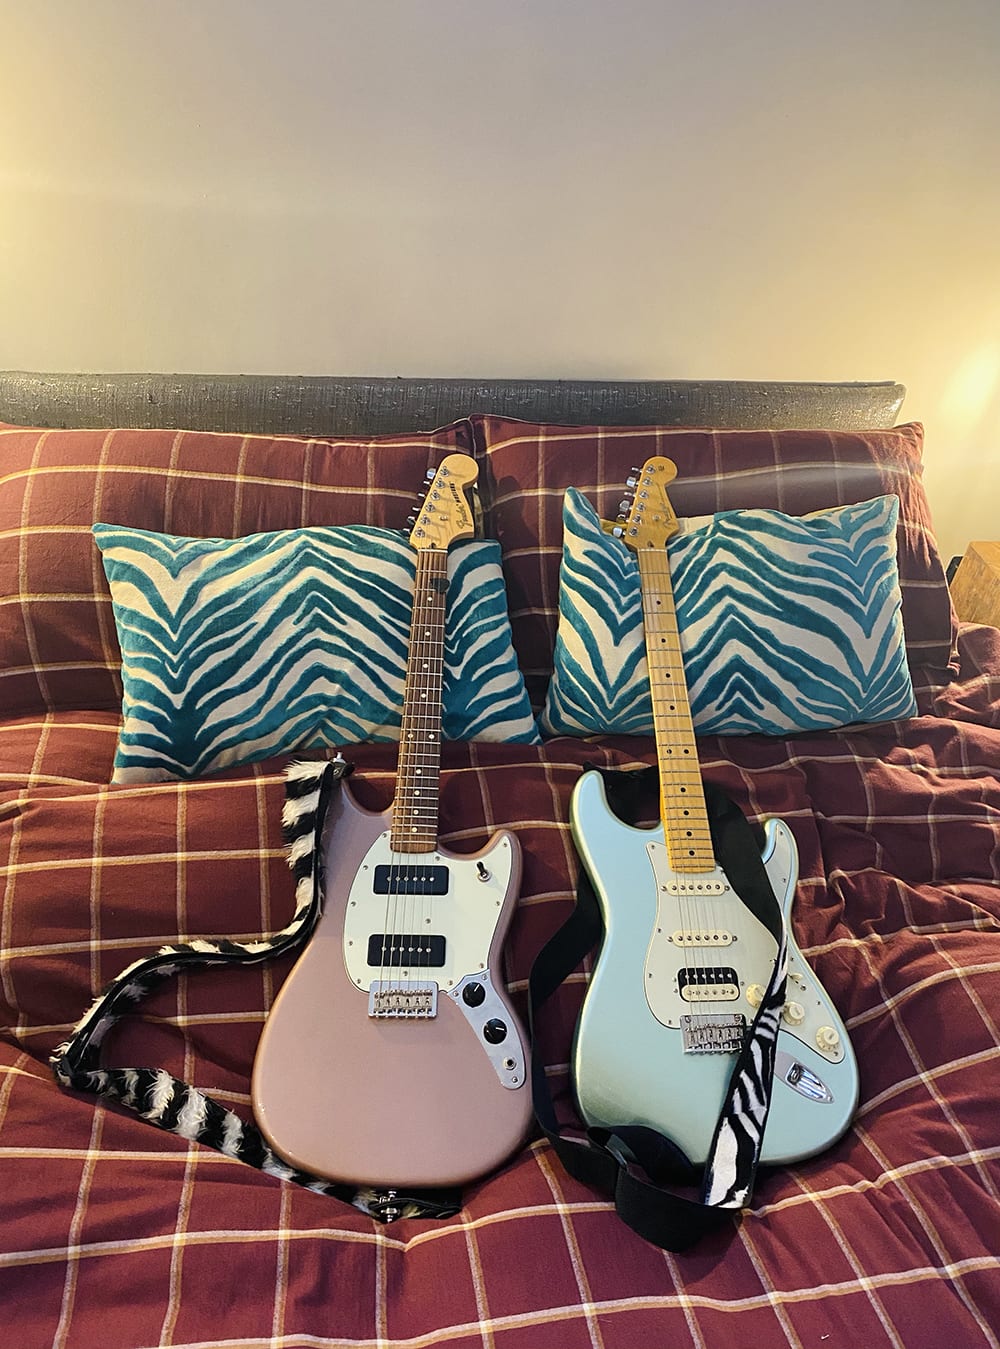
Amy: We’ve recently been working with Fender, and I’m really in love with my Player Mustang 90. It fits my body shape like a glove, it curves and is short scale so it’s super comfortable to play when we are running around on stage. The P-90s rip and really compliment my board, giving it more of an edgy rocker’s sound. I’m really excited to use that on the new record. And I love my Stratocaster HSS.
Previous slide
Next slide
Previous slide
Next slide
My Fender Hot Rod Deluxe IV is a relatively small amp, but it really packs a punch! It’s very true sounding and I love the clarity; it allows space for the sounds that you put through it, which is ideal when you have a load of pedals.
Previous slide
Next slide
Focusrite Scarlett 2i2 Studio is really reliable and great if you are on the move all the time, as it’s compact. It also came with a few great free plugins, which have been really useful.
My Swanflight pedalboard is nice and sturdy, and keeps my pedals in place with a thick handle that supports your grip. I love that they come in fun colors too, as gear design can lack in imagination sometimes, so this was perfect for us!
I have a master playlist of songs I’ve been trying to learn, and Nova Twins’ “Mood Swings” and “Hit Girl” have been on it for months now. How do you usually go about writing your music?
Georgia: I think it’s all different, really! For Who Are The Girls? we would just be in one room and really kind of worked on it together. We would vibe off each other. It’s so funny, because when we don’t feel the vibe, we both don’t feel it. We’ll both know, “Oh, this isn’t working…” and then change it up.
Amy:I think we bring who we are to the table, and obviously the world around that grows. A lot of the time, Georgia deals with the music and I do a lot of the top line. Then we sort of bring it together and finesse it, add this and that.
I watch videos of your shows, and they seem to be such high energy experiences. What do you keep in your studio space to emulate that feeling when you’re practicing or creating?
Georgia: Backstage before shows we make sure to jump around and really get ourselves warmed up. We only discovered that recently, because we’d do shows and afterward, on tour, we would really hurt so much…
Amy: …and halfway through the set it would really hurt when we didn’t warm up!
Georgia: It was only when we got overly hyped before a show once, and we were running around, we thought, “Oh no, we’re so tired now. We’re out of breath before the show’s even begun!” But when we went on stage, it ended up being so beneficial. We were looking at each other during the set like, “Wow, we’re actually more energized than ever.”
Amy: Warmups are really essential. Good food is essential. I can’t do greasy foods pre-gigs—I just throw it up, it’s really weird. Any other day I can have a veggie burger or chips, but if I do it before a show and then I sing, for some reason I end up vomiting. It’s happened many times, so I’ve learned the hard way not to do it again!
So good food, exercise, and good tunes! And our playlist before we get on stage to get us warmed up: Ho99o9, Fever 333, Princess Nokia… just all of our favorite bangers!
Georgia: The song before you go on stage has to be ready for war. [Laughs.] We have to feel like we’re ready.
So what advice would you give to musicians who are trying to stay inspired right now, trying to stay in that energized space?
Georgia: Don’t be afraid when you don’t feel inspired. When you don’t [feel inspired] you feel really anxious and guilty for not doing it that day. It’s like, “Why am I not being productive?” You get so bogged down about feeling shit about yourself—it’s draining. Allow yourself to go out for a walk, let it be for a few days and then go back to it. Don’t try to force it when it’s just not happening.
Amy: That’s good advice. It depends what you’re doing. Sometimes you can play something, or listen to something, different than what you usually do. Sometimes when I’m working and I’m like, “Okay, I’m not getting anywhere with this,” I just try to jam and listen to something completely different. Then it’s just like no pressure, take the pressure off. Then I’ll go back to it.
What are you both looking forward to in Nova Twins’ future?
Amy:New songs!
Georgia: And to go back on tour again.
Amy: It’ll be scary, but it’ll be great! This pandemic has made us have to think out of the box even more. We’re looking forward to seeing how we have to evolve given the circumstances we’re in now. It could lead us anywhere, down any path that we wouldn’t go normally. Usually we have our whole year set up. We assumed we would be doing festivals like Glastonbury this year, our own tour, and a couple of supporting slots, but they’ve all been cancelled. Now we know what that’s like from 2020—and in 2021, anything is possible! We managed to navigate our way through. I think keeping an open mind is your best bet, and not getting bogged down about what didn’t happen. Seizing the opportunity, and thinking anything could happen!
I agree. I’m really hopeful to see what you guys do—everyone is!
Georgia: We want to travel and come to America soon. We’ve gigged in LA and New York and it was great.
I was planning to go to AfroPunk last year, before it got cancelled.
Georgia: It was so fun.
Amy: Next time.
Gear List
Amy
Previous slide
Next slide
Georgia
Previous slide
Next slide
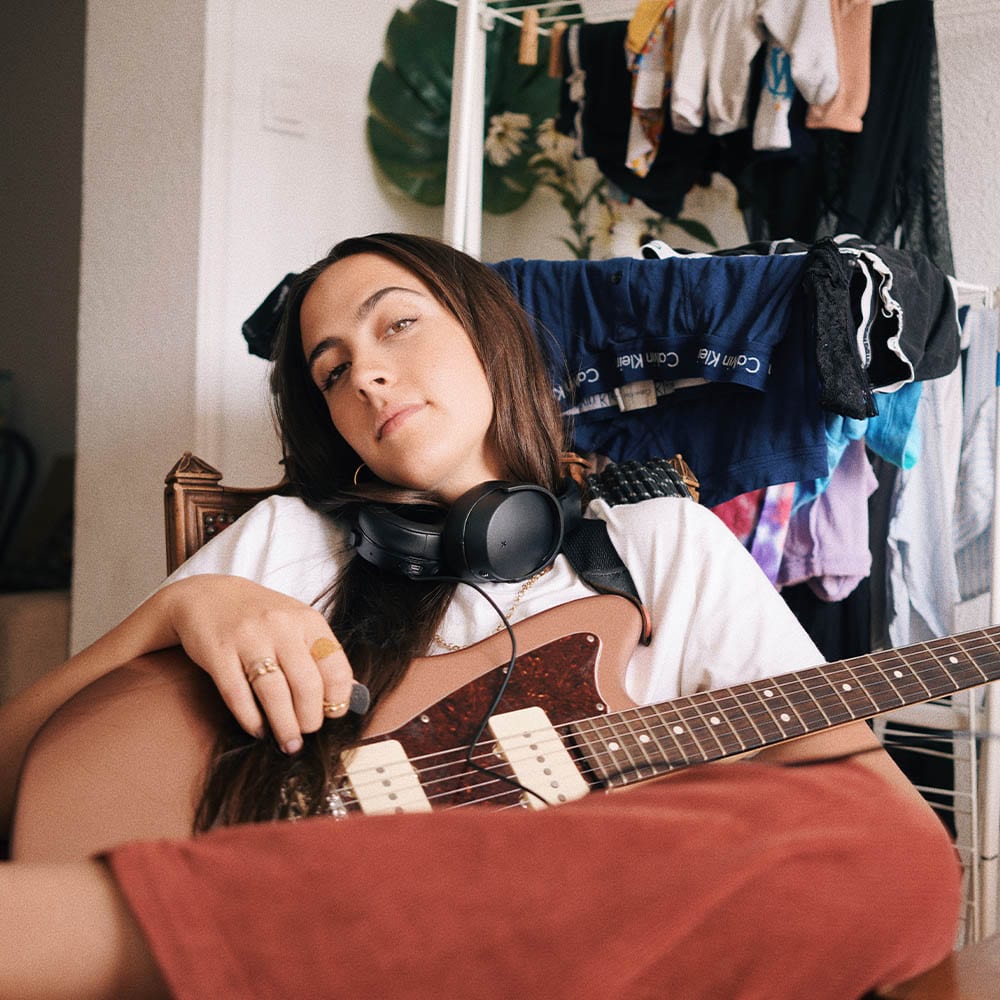
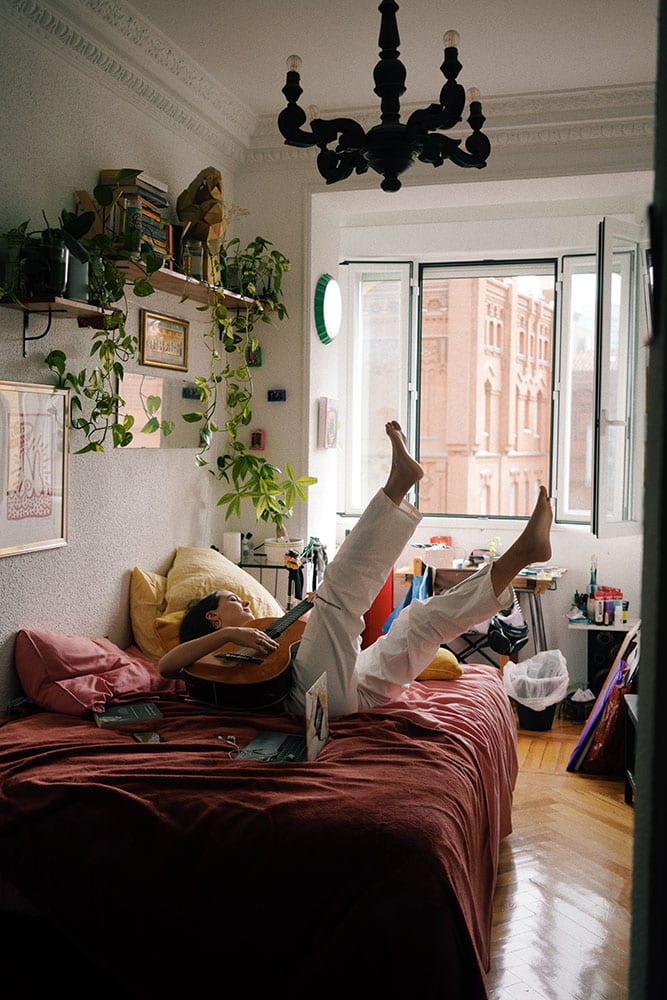
Whether it’s their music or outlook, Hinds always walks on the sunnyside. Formed in 2011 on the Spanish coast, Ana Perrote and Carlotta Cosials took a beach trip with borrowed guitars and zero expectations, and they returned home to Madrid buzzing and determined to start a band—unknowing of just how far they would go.
After the release of their EP Demos in 2014, the duo brought on Ade Martín (bass) and Amber Grimbergen (drums) to create a lineup that has released three studio albums, opened for the Strokes on two days notice for a handful of European shows, collaborated with Chai on “UNITED GIRLS ROCK’N’ROLL CLUB,” and toured the world. This summer, Hinds released their third album, The Prettiest Curse, which saw the band expand both their instrumentation and production. The result was their finest work to date, evolving their bright and warm sound to include more keyboards and more Spanish, both lyrically and musically.
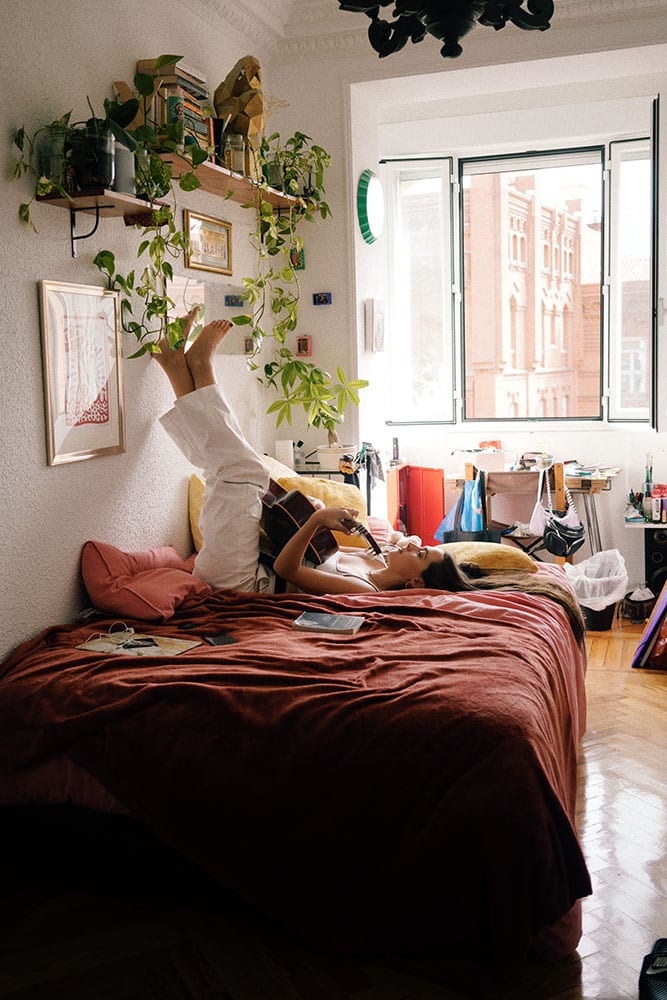
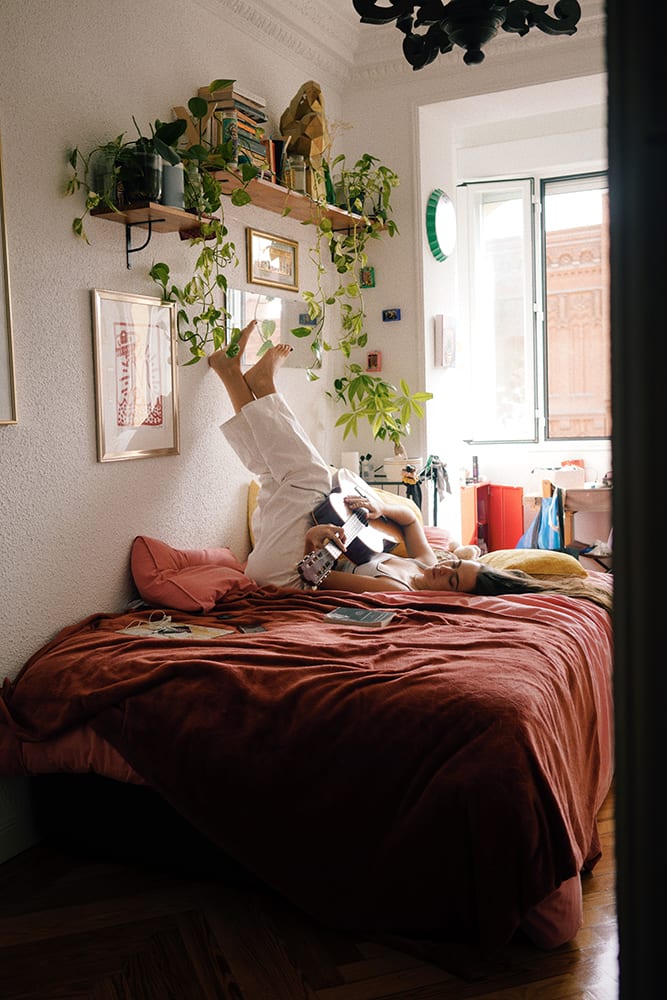
For our four part series in partnership with Reverb, we spoke with Ana Perrote from her home in Madrid about the beachy beginnings of Hinds, Spanish guitars, gear essentials, and The Prettiest Curse.
Photo by Keane Pearce Shaw
Tell me about your beginnings in music, about the initial spark.
I started out with an acoustic guitar, and my first was a gift from my boyfriend when I was maybe 13. I always liked listening to music and wanted to play, so he gave me a Rochester acoustic, and for a 13 year old that was a very big deal—an expensive teenage gift! I remember I went to one month of classes with my brother and didn’t really like it. The teacher was very boring, and it didn’t excite me that much, so I dropped it. And then it wasn’t until I was 17 or something when I started playing covers—just three chords all over again—and that’s when I met Carlotta [Cosials, vocals/guitar]. Our boyfriends had a band together, and we used to be obsessed about them: mega supportive, go to all of the shows… I remember spending so many hours watching them rehearse and [neither of us] mentioning that we could pick up a guitar or try doing something together.
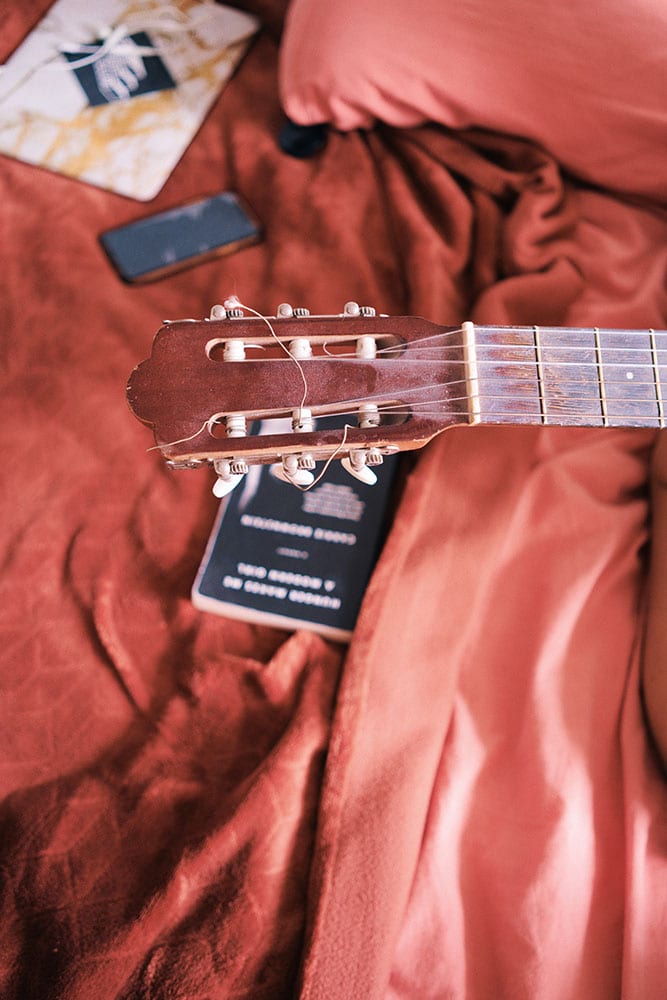
It was actually when Carlotta broke up with her boyfriend that she was like… [it was] one of those moments where you just want to live in the city you’re in and have fun and get some fresh air, so we drove to the Spanish coast. We had a lot of space because we drove Carlotta’s mom’s van, so we brought a classic nylon Spanish guitarthat my uncle gave me and a guitar of Carlotta’s brother. My uncle’s guitar is the prettiest one [I have]. The [tuning pegs] are literally impossible to turn from how old it is; I need a tool to do it. It’s all beaten up and has so much sentimental value because this is the one I started the band with.
The first night I taught her the three chords to play “It Ain’t Me” by Bob Dylan. I remember repeating it and repeating it together, singing different parts and doing dynamics—one of the most signature things of Hinds that we still do. We got totally obsessed, and when we went to the beach we were rehearsing and had sunburns with the shape of the guitar because we were so addicted to the feeling. It was literally just one song, but for us it was like we were discovering such a magical thing.
Photo by Keane Pearce Shaw
That’s basically everything we did on that trip. Everytime we went to the beach and started playing, people started giving us money, and that money paid for the gas—it was already so exciting. We could have totally spent those days partying, you know, that’s usually when you would, when you’re going through a breakup, but I just remember spending hours playing and playing. It’s so beautiful because we didn’t realize what was happening. It was so natural and spontaneous. At the end of the trip we set a goal, which was to play a show by the end of the year, and we did.
Previous slide
Next slide
Can you talk about Hinds’ songwriting process?
Usually we come up with them together. It starts with me and Carlotta: what we prioritize in this band, and it’s always been like this, is voice melodies. We realized that it takes less time if we start with the melodies, and once we know in some chords or rhythms that we have melodies, then we can change it a bit. Sometimes we write the whole thing with lyrics before we go to the rehearsal space, or sometimes we have an idea and some melodies and it’s ready to be played with the four of us. We’re meeting to write rather than jam with ideas.
Hinds released The Prettiest Curse in June, the band’s third studio album. In an interview with BBC News you say, “Everything felt really different and exciting. We worked with different people and there’s different instruments…” Can you talk about this progression of Hinds?
Great question, because it has been such a journey…
OnLeave Me Alone, our first ever album, we recorded and mixed the whole thing in 10 days. I remember going to the studio—up until then we had been writing songs and playing shows, never been to the studio—and that feeling of your first album that’s like, “I’m going to change the world,” such an empowering feeling. And I remember totally seeing my whole world falling apart with all these questions and options… it was so overwhelming. We wanted to maintain the Demo sound, our first two songs we released: lo-fi, trebley, very DIY, very raw.
The Epiphone SG Special I had been using, Carlotta’s brother’s old guitar—something I didn’t even choose, it was basically the only free available electric guitar. It’s so light, literally like a feather. At some point, one of the screws from the pickup started falling out, and anytime we played anywhere and it started feedbacking, the tech guy would come up to me and be like, “What the fuck?” and I was like, “It’s the only guitar I have!” [Laughs.] I actually played Glastonbury Festival with this guitar—I didn’t care, it was my guitar! So it came with me for a year and a half or so when we first started touring, but I knew it wasn’t good enough for recording.
The Epiphone ET was the first guitar that I bought, which was such a big moment for me. It was right after Leave Me Alone came out, and I bought it at a second-hand store in the East Village. I still didn’t know what kind of sound I wanted, and we were there with [Donald Cumming] from the Virgins—we used to be incredibly big fans of him even before we were a band—and he was a friend of a friend of a friend, so he came on the guitar shopping day that we had. To me, it was so scary, and I was trying a couple, not really sure, and I picked this one up and it felt good. I asked him, and he was like, “Do you feel powerful when you play it? That’s the most important thing you need from a guitar. Sound is nothing compared to how you’re going to feel and how it’s going to make you feel on stage. You’re going to play and sound how you feel more than any technical thing.” That piece of advice just stuck with me to this day, and I bought it and recorded with it on I Don’t Run.
Photos by Keane Pearce Shaw
In between Leave Me Alone and I Don’t Runwe toured for two years. It was complete madness; we didn’t sleep, we didn’t breathe, we didn’t do anything that wasn’t touring, touring, touring. On I Don’t Run, what we wanted to prove, because we had gotten a lot of shit in the Spanish press and media about our sound—being DIY, how bad we sounded, couldn’t keep a tempo… Basically everything we did was shitty, so I feel like subconsciously (it wasn’t something we talked about) we were like, we’re going to prove that we know how to play like a rock band. We took pride in the fact that we didn’t need production—meaning like, we were just going to sound how we sounded live, and recorded with the gear we toured with. That’s just how we were, pure rock. But obviously, that was with a bit more confidence [than with Leave Me Alone].
With The Prettiest Curse everything has been shaken up. We were like, [our past records are] mega cool, but we’re not even there anymore. I think that’s something that happens with musicians: you take so much time writing and working on a piece, and it takes so long to be released that by the time it is you’re already miles away from where you were. So we were like, fuck it, we’ve already proved we can do a good album, we want to experiment. We had never tried writing on top of a beat, a keyboard, or literally nothing that wasn’t two guitars, bass, or drums. And very quickly it started taking us in different places, and we started realizing that even if you play the same chords on guitar or keyboard, you write different melodies. The vibes are different, and tempo is such an important thing. For example, I noticed that because we weren’t writing all the songs in our rehearsal space (ours is really bad—classic, shitty, can’t hear any vocals, that wall of sound) and were writing in the studio where we weren’t playing live, the tempos were much slower and the tones were lower. Little things like that make such a difference.
I got my Fender American Performer Jazzmasternot too long ago—I haven’t properly toured with it—and I’m really, really happy with it. I feel like I finally found the guitar for me. Like I was saying before, it’s something that really stresses me, and I have many skills, but picking gear and sound is not one of them. It takes me so long to realize if I like the sound or not, and with this guitar finally I feel like I found the one. It sounds strong and heavy. Also, it’s very easy to slide for solos, and I never realized how hard the Epiphone was to slide with. With the Jazzmaster, it feels like swimming. I think it works really well with Carlotta’s Gibson that’s more sharp and straight to the point. With The Prettiest Curseand these two guitars, we found the two different sounds that compliment each other. Before we were both going in the same direction, with a lot of reverb and very similar to each other. Gradually I took the role of being the heavy bass and she’s more like the sharp knife.
We also knew that we wanted someone new, to include someone in the writing and producing from an early stage for The Prettiest Curse, because we’re very stubborn. Usually, when we finish songs and say, a producer dare give their opinion, we’d be like [gasps] so offended! Because we were already so attached to those things we had been working on for months. We were like, we need to stop and listen—let’s trust. And it worked really well. We found Jennifer Decilveo, the producer of this album, and the day we met we fell in love with her. She’s a very good keyboard player—that’s her instrument, synths and stuff—so it was perfect because that was what we wanted to try. I feel like an angel appeared to us; it had been so many years without having someone fully to rely on. It feels like a bit less of a weight on my shoulders because I had a professional producer telling me her opinion.
Photo by Keane Pearce Shaw
You started playing keyboard with The Prettiest Curse, and I’m wondering what initially drew you to it.
The tickle in my stomach started when we started writing some songs with beats or other sounds that were so different with Jennifer. Again, like I was saying before, even if it’s the same chords it sounded like a different thing. It was so interesting to me when I saw people play those notes [on keyboard]. The sound is so magical, and it’s everything together in one. But also, I think I had too much respect. I thought it was going to be so, so hard. In all my surroundings, I never really knew anyone who plays keyboards, it was always guitars, bass, drums—pure classic rock. It seemed more posh. I had such a weird conception of what keyboards were.
My best friend has some keyboards, and one day we were chatting about them… I started being curious about it. For my birthday last year, my friends—my best friend, all the girls in the band, my roommate, friends from school—all pitched a bit of money to give me a Casio CTK 3500. It took me so long to learn and to feel confident on my guitar playing, I thought it was going to take another six years to get confidence on keyboards. I don’t know if it’s because guitar is harder or maybe it’s just me, but keyboards are so much easier to progress on. It takes months for you to really scale up on guitar, and on keyboards, from one day to another, I really feel such a big difference. Three months in I was already really confident and getting obsessed and excited about playing keys.
During quarantine, I started investing in stuff, because I can’t really tour with the little Casio. I started asking around, and decided I wanted a Nord Electro 6D 61. Jen, our producer, was like, “If you get an amazing keyboard, it’s going to sound so good that you’re going to get obsessed and want to play more.” And that’s literally what happened. I was very nervous about such a big purchase, and a bit stupid as well—it has so much shit inside, it’s almost like a computer. It’s such an advanced and professional keyboard for someone who had literally just started, but lucky me, I had a friend who would come for a beer and [teach me].
Previous slide
Next slide
About the new album’s single, “Come Back and Love Me <3,” the band describes it as “our most romantic song doesn’t need an explanation, it only needs Spanish guitars.” Can you tell me about the two guitars you used on this song?
On the demo, we used Carlotta’s guitar, and we wrote it straight in her old house, just her and I on Spanish acoustic. It was the first time we were like, “This sounds perfect. I don’t think it makes sense to do electric.” It’s such a romantic, almost classical Spanish song. So we were like, this definitely has to be a Spanish guitar. So when we chose Bunker Studio in Brooklyn to record, we were like, “What do we do? Do we bring a guitar?” It’s so expensive to fly guitars, and Carlotta’s nylon-string acoustic sounded really good but it’s not technically the best. So when we went to the studio we asked, and they didn’t have any nylon guitars. So we texted our management in Brooklyn and asked them to find us a guitar: “Ask all of your friends! It has to be nylon, it can’t be acoustic, it’s not the same!” [Laughs.] So they found one—where it came from is a secret—and we recorded the solo and gave it back.
OnLeave Me Alone we added a rhythm layer of nylon guitar on top of every song in the background. It’s something we’ve stuck with, and I think it became part of the spectrum of Hinds’ sound because it’s obviously Spanish, and to me feels sunny and warm. Sometimes we put it so low [in the mix] that it’s hard to recognize it, but on “Come Back and Love Me <3” it’s very there. We used the same magical secret guitar.
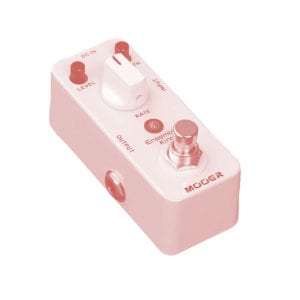
Mooer Ensemble King.This one is my oldest pedal, and I love the fact that it’s so small for traveling. I think all of my favorite solos that I’ve recorded were with this pedal. On I Don’t Run, I love the solo for “New for You”—I did it with a distortion and this one. On The Prettiest Curse, I did the rhythm guitars of “This Moment Forever” to give it a really big spacey sound, and also the solo of “Take Me Back.” It’s really, really precious to me. I think I also have trauma from many years of playing tours and festivals—you know, when you borrow gear, you don’t bring your amps from Spain—and I don’t know what it is with Fender Hot Rod Devilles and Deluxes, but the reverb is always broken, and I really like it to fulfill the atmosphere. It was such a frustrating thing for so many years, and we tried a lot of reverb pedals, but it altered too much of the actual sound or sometimes the volume would drop a little bit. I feel like this pedal has saved me a lot for solos.
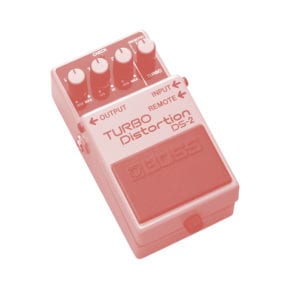
Boss ODB-3 Bass Overdrive.Thisis a new purchase. I’ve had like five different distortion pedals, and I’ve never really liked them but wasn’t sure what I was looking for. We recorded “Riding Solo” [The Prettiest Curse] in London at Strongroom Studio and they had this pedal there, and I tried it and was like, “Whoa, that sounds so big.” And it holds the note a lot, which I couldn’t really find with the pedals I had before. The more I listened to that song, the more I was like, “I really need that distortion.” When I was looking for it, I realized there was the same pedal but for guitar, and that I had recorded with the bass one. I was like, “Am I wrong? Are you meant to do this?” so I texted the engineer and asked if my guitar was going to explode. [Laughs.] Like I was saying before, I like my tone so low I had to go to a bass pedal.
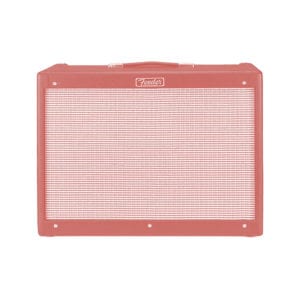
Fender Hot Rod Deluxe IV.The first ever Fender Hot Rod I bought, when Hinds was transitioning from acoustic to electric—obviously these amps are very expensive—I was a student so I didn’t have an actual job, so I did this thing of testing medicines… you know, test trials before they can be put out and sold. I’m absolutely panicked about hospitals, needles, even pharmacies… I have an irrational fear about it, so this was a very big deal to me, but I heard it was very well paid. So I did it, went to the hospital, stayed the night, had a tube of constant blood coming out, horrible… But everything went well, and that’s how I bought the first amp. That one broke from touring and stuff, but I got the same one again. Very classic, very easy. I keep everything to 7 except volume.
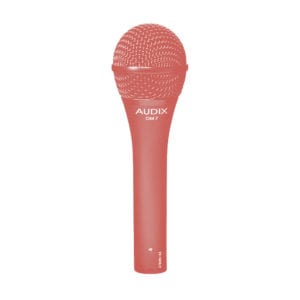
Audix OM7 Dynamic Mic.The guy that does sound for us sometimes in Spain suggested using this because I have a much lower voice than Carlotta. Her pitch is much higher than mine, and a lot of times I struggle to hear myself on stage and it ends up doing feedback. He suggested using this one, which apparently you can push it a bit more than a classic Shure that you would find at a venue. So my boyfriend got this for me for the release of The Prettiest Curse. I haven’t had the chance to use it a lot, especially now with COVID.
Previous slide
Next slide
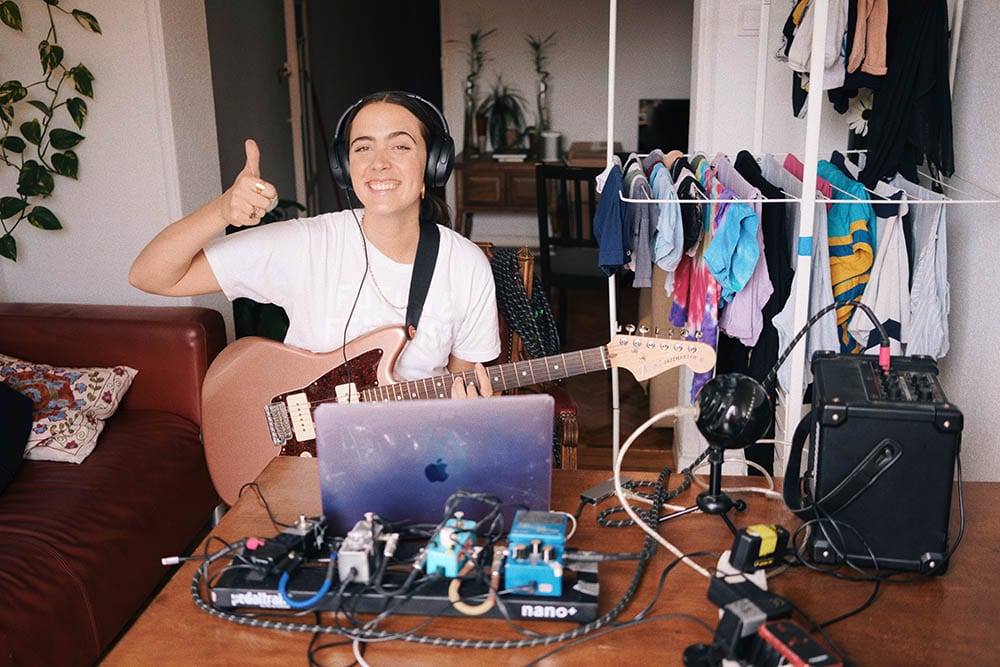
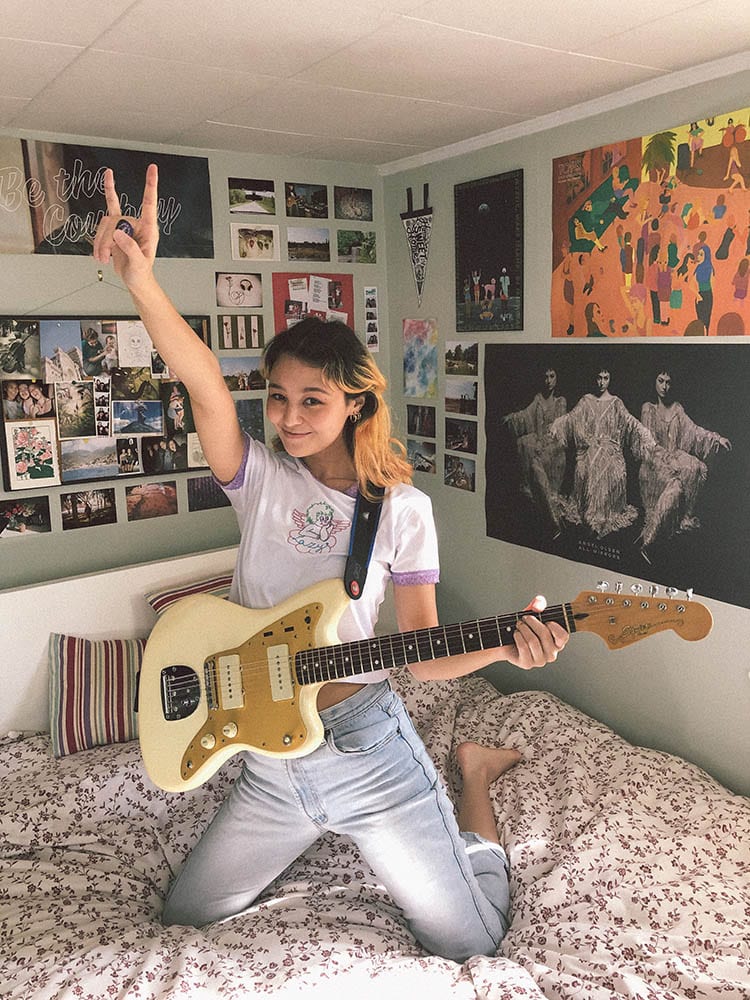
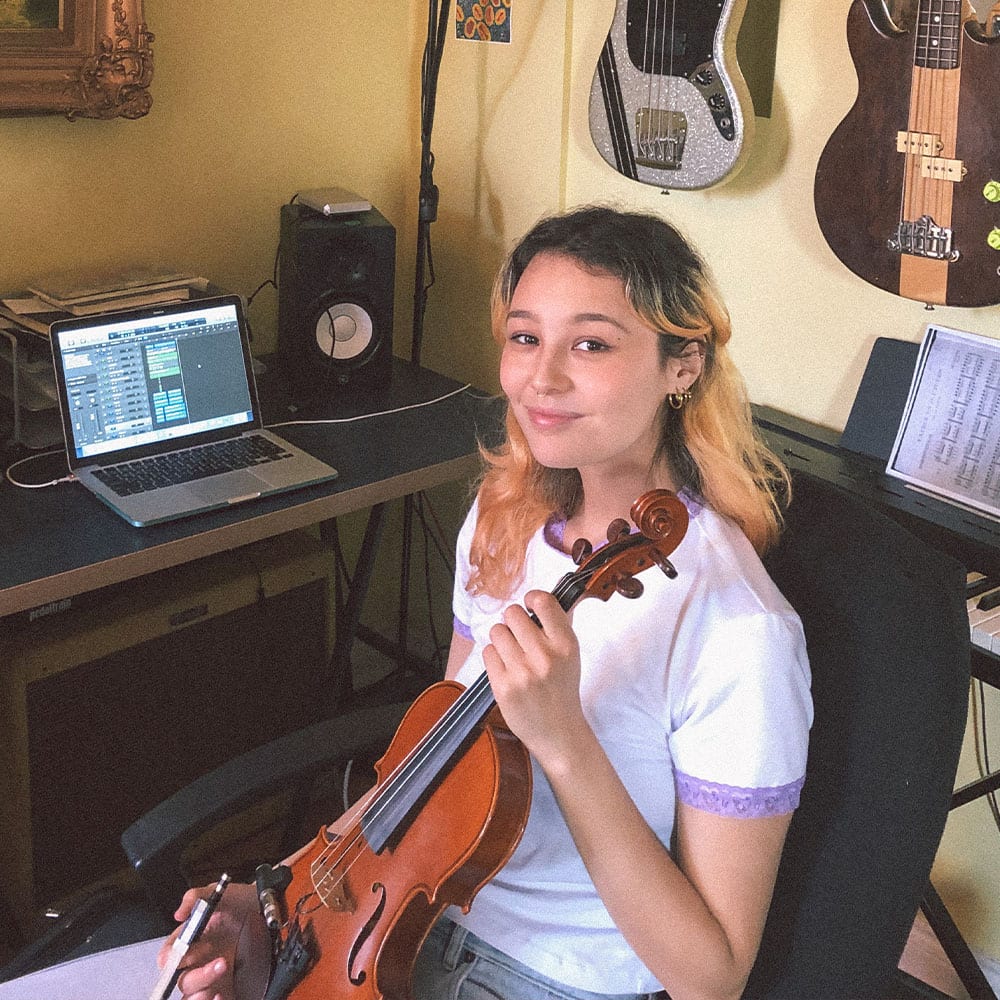
Luna Li can certainly be described as magically unafraid. The Toronto-based musician grew up surrounded by music—her moms run a local music school, giving her the freedom to explore and experiment with an array of instruments. Luna Li’s luscious songs reflect this indulgence with a mixture of guitar and bass, keyboard, MIDI, harp, violin, and more to create hazy dreamscapes that run beneath her celestial vocals.
Lately, Luna Li has been jamming alone in her apartment, creating instrumental pieces and accompanying videos in the periphery of her band that she posts on Instagram: “I find it really freeing to have a creative outlet that doesn’t have the pressure of trying to create a song for Luna Li. It feels like a lot of pressure and sometimes I’ll overthink things. It’s nice to have this separate thing where I can just sit down and think, ‘This can be whatever, I’m just going to explore.’ And a lot of the time those jams end up turning into songs anyway.”
For our four part series in partnership with Reverb, we spoke with Luna Li about the beginnings of her musical journey, what goes into the making of her Instagram videos, and her top studio essentials.
I saw on your Instagram today a drawing you made when you were a kid that read, “I love music! I play the piano!” Can you talk about the beginnings of your musical journey and how it brought you to where you are today?
I started learning piano at age five. My moms ran a music school, and still do, so I was able to try out all different kinds of lessons. After the piano I wanted to learn the violin. It was very classical focused, growing up. I picked up the guitar when I was 12, and that was a bit of a switch for me. I started learning chords, how to play my favorite bands’ songs, and how to write my own songs. I planned to go to McGill University for classical violin, and went for one semester and dropped out because I was like, “I want to start my own project and do my own thing.” The classical work was great, but didn’t feel like it was for me. It was pretty rigid, and didn’t feel like there was room for creativity. Growing up, because I was so immersed in the classical world, it never really occurred to me that starting my own project and having my own band would be feasible. As a woman, I felt not super encouraged to do production. It took a little while for me to find my path.
But after I came back from McGill, I took a one-year program at Seneca College in Toronto called Independent Music Production. It was really helpful because it was all about how to be an independent artist.
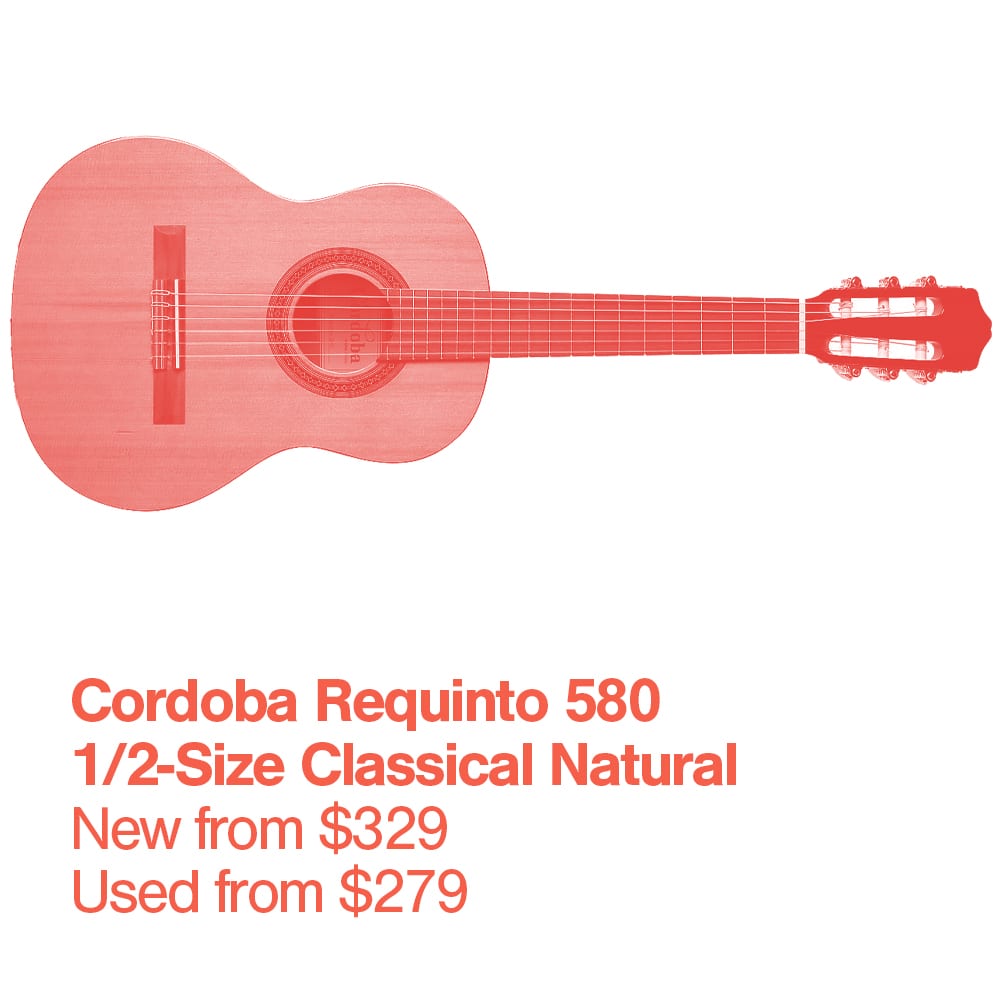
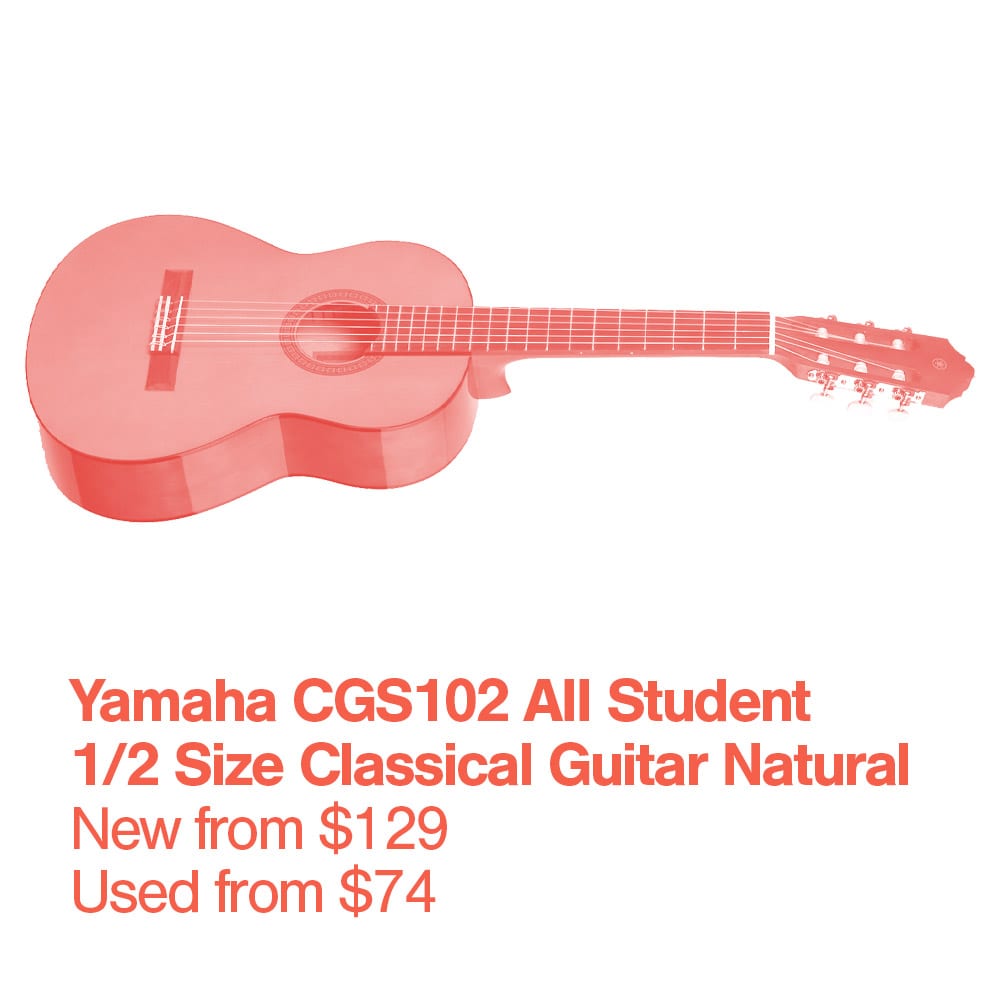
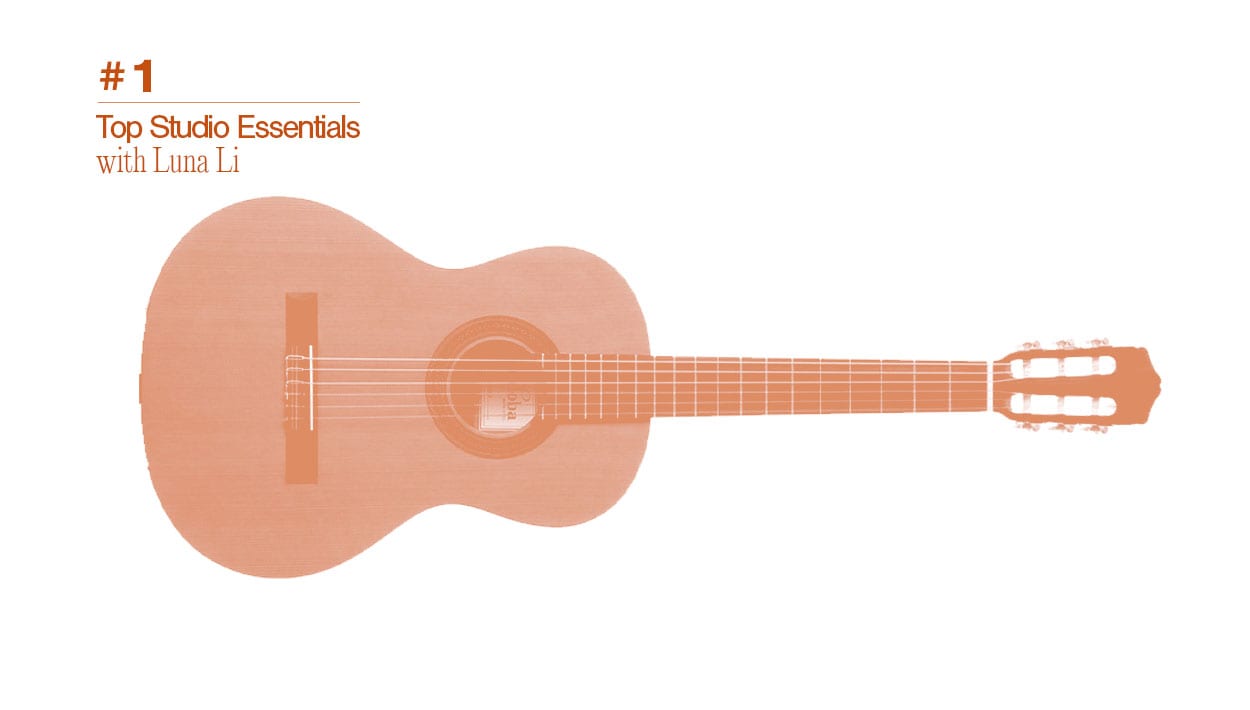
Classical Guitar
If you’re looking for some awesome classical guitars around the same price point that deliver similar sounds, we recommend the Taylor Academy 12e-Nor the Yamaha C40 Classical Guitar. On Reverb you can find some great used options as low as $150 to get that warm nylon-string tone.
As a multi-instrumentalist, do you gravitate toward a specific instrument when sitting down to write a song?
At this point, I have two separate ways of writing songs. One just being I’ll sit alone in my room with my Saturn Classical Acoustic Guitar.I really like the sound of nylon strings, I really like how warm and resonant they are. I don’t use a ton of acoustic guitar in my recordings, so a lot of the time this is the guitar I will take into my bedroom to write something or jam on once in a while, keeping it really simple, focusing on melody and lyrics.
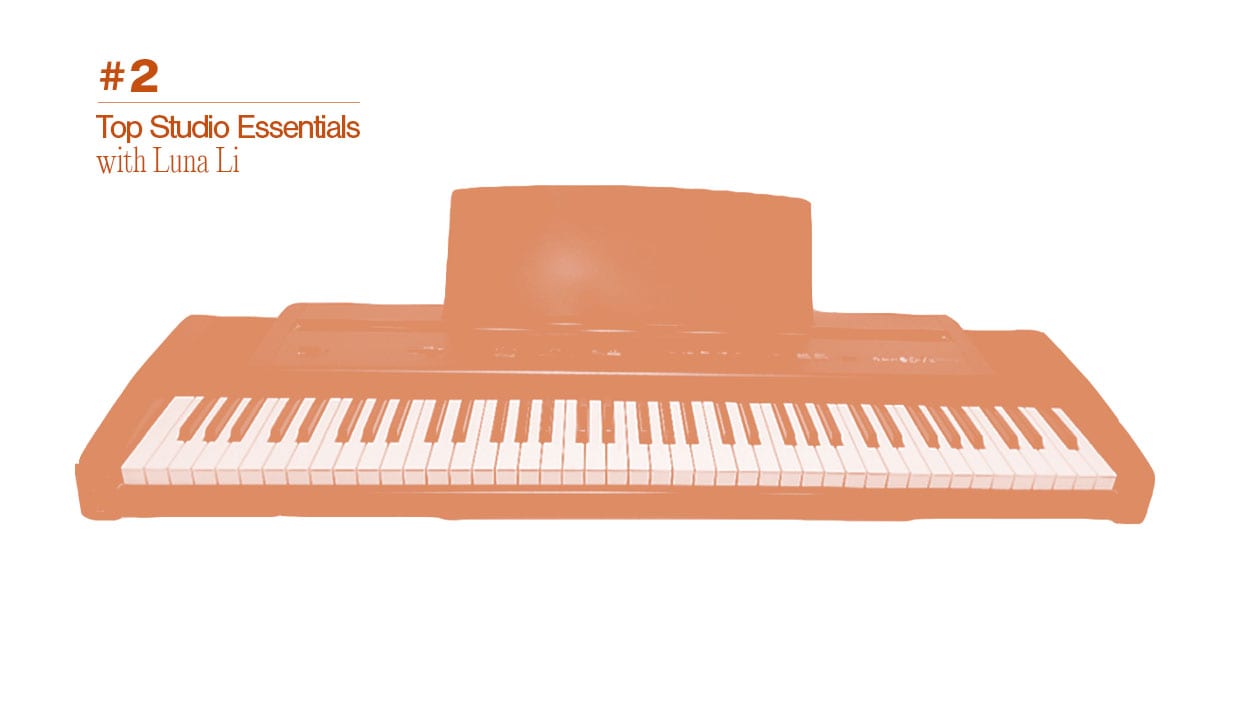
The other version, which I’ve been doing for a long time, my main process, is to open up a Logic Pro X session, try out different sounds to see what inspires me, and build a loop and go from there. Usually with that, I use my Roland EP 7 II—a full digital keyboard that also doubles as a MIDI keyboard. It’s been great for me to have 76 keys because I find really small MIDI keyboards to be so confined. Since I’m a piano player, I like to have space to really move around on the keyboard and get my ideas out. I find it so versatile to have a MIDI controller that can do so many different sounds.
Roland EP 7 II
A similar alternative to this multi-faceted keyboard would be the Roland FP-30 Digital Piano. Like Luna Li said, if you’re looking for a full-range digital keyboard that doubles as a MIDI tool, this one’s for you.
I love that your Instagramvideos show you playing so many instruments used on your songs. Can you talk about the process of making the videos as well as the songs?
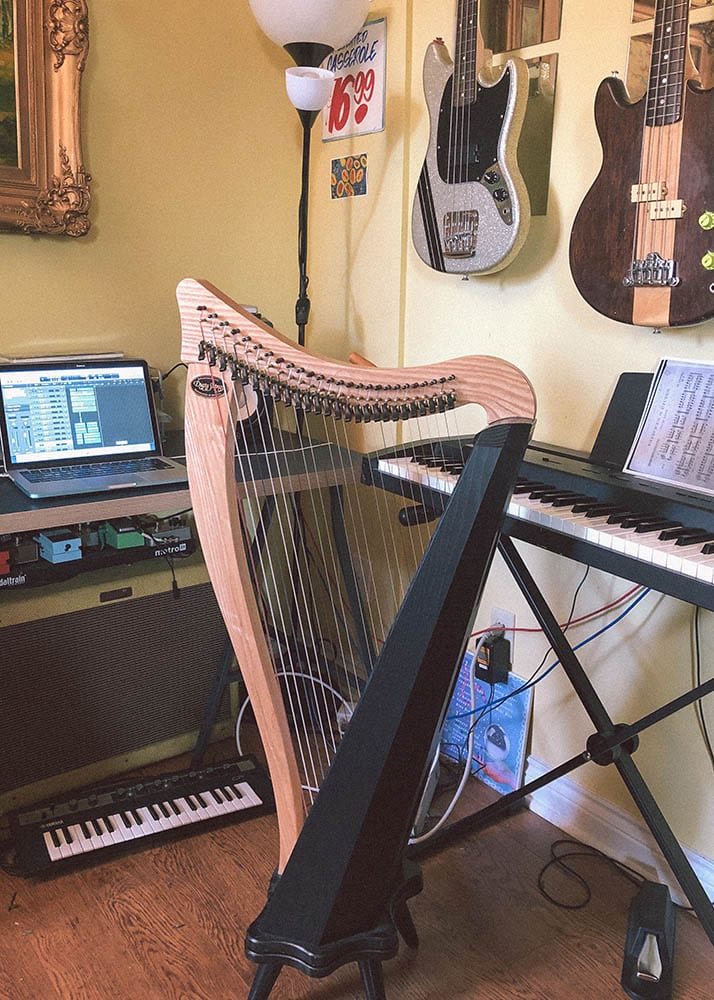
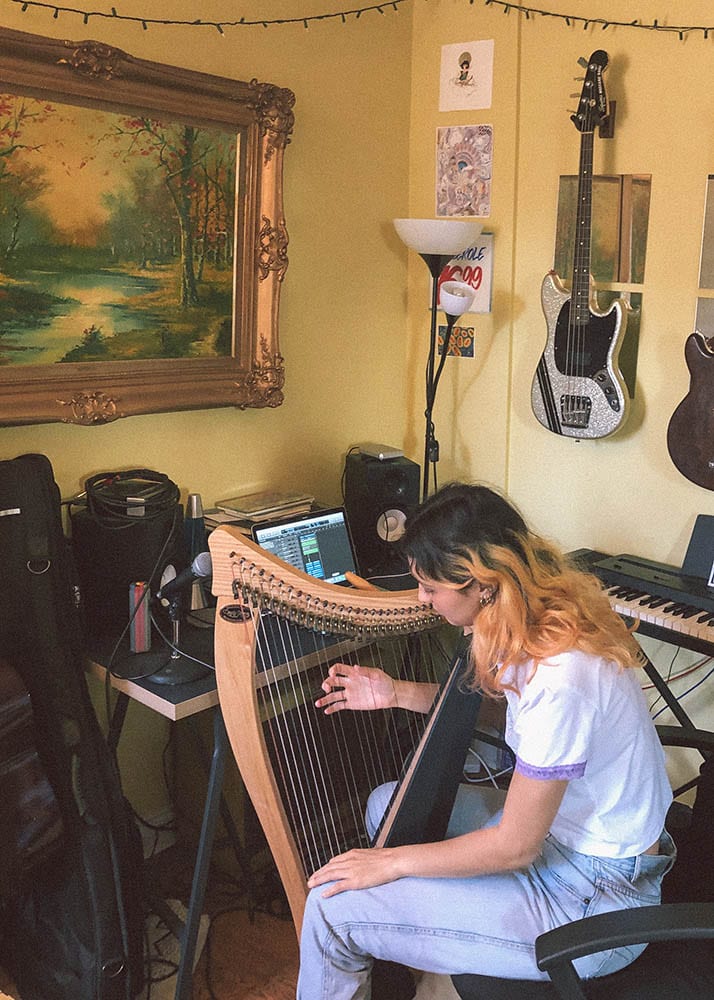
For the video, I use my iPhone to record it and then I edit it in iMovie. Those are the tools that I have, and I just make it work. I film my videos in my bedroom because the lighting is really nice and bright. Where I actually record the songs, there’s not much good lighting. I live in a really small one-bedroom apartment, there’s not that much space, so I have this one corner that is dedicated to my studio.
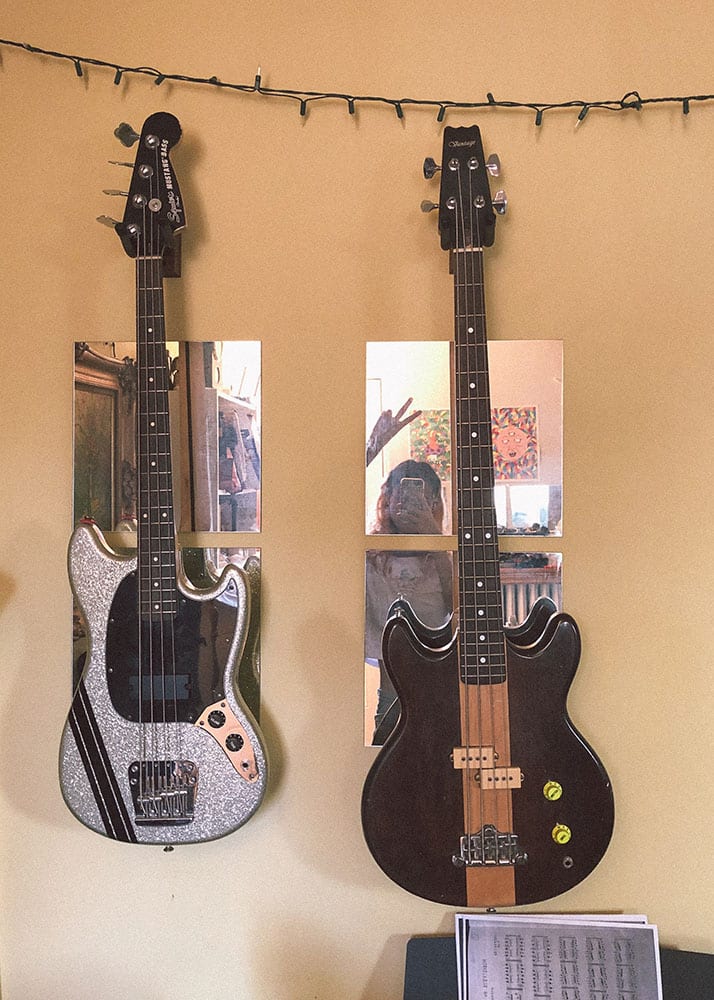
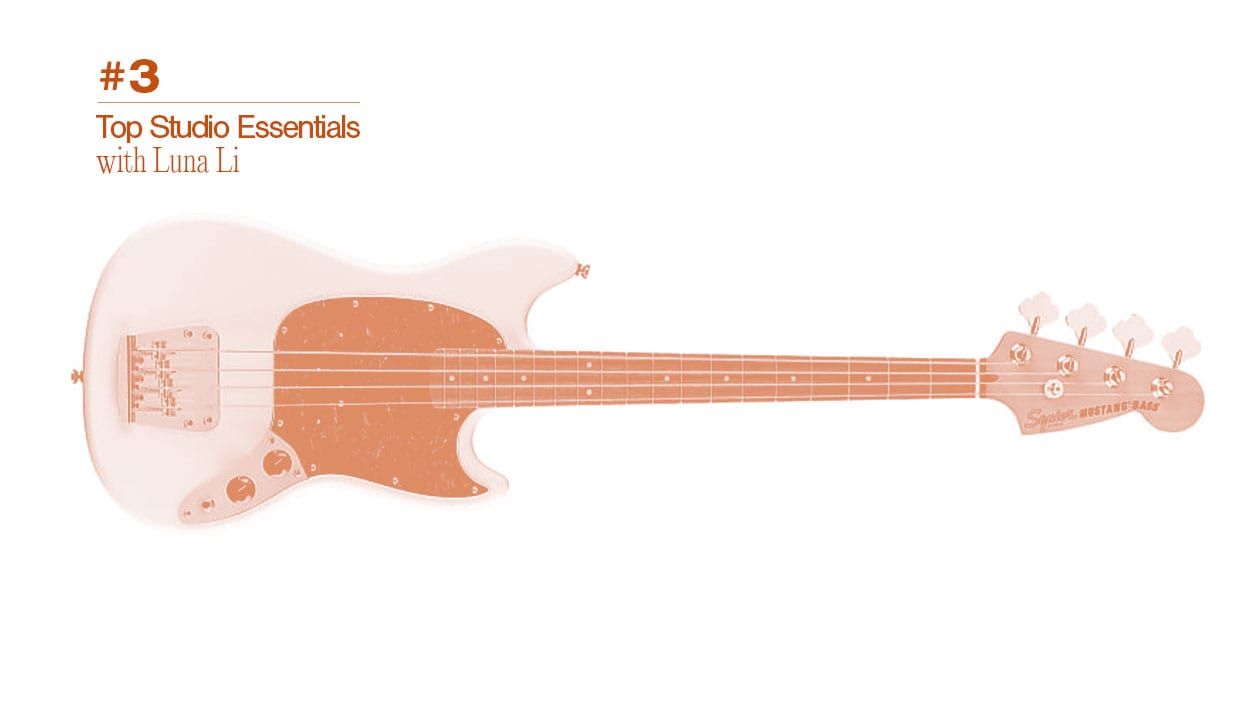
The jam songs are just loops that I make. To start, a lot of the time I use my friend Koal’s (who goes by the Kount) drum samples. I’m definitely new to drums, and still exploring, but I like to try to layer different samples and find new sounds with that. Then I pick up my Squier Mustang Bass,it just sounds really good. It’s got a really great tone, and people will message me [on Instagram] being like, how do you get such a great bass tone, and I’m like, I literally don’t do that much [laughs]—it’s just the bass.
Squier Mustang Bass
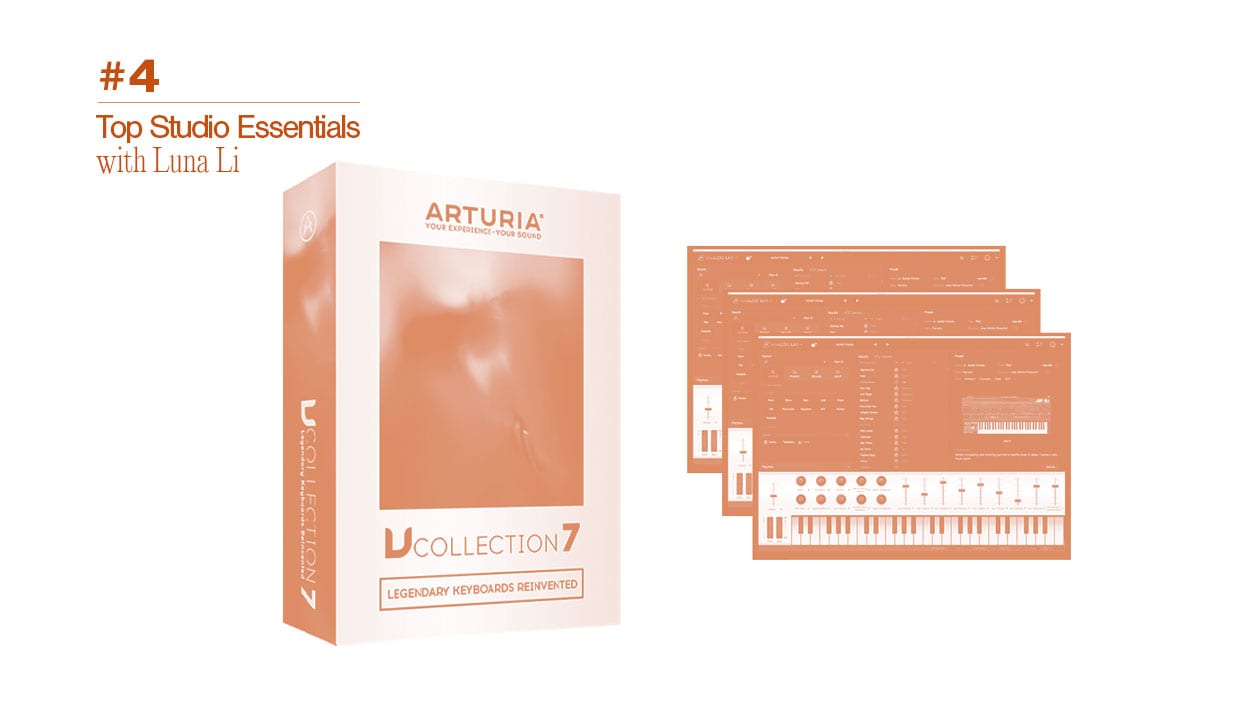
One thing that’s been great is at the beginning of quarantine I got an Arturia V Collection 7,which is a bunch of different keyboard sounds. That’s been a pretty big game changer for me—I find that the more sounds I have, the more creative I feel. I use a lot of the Mellotron plugin included in the Arturia pack because I love creating really lush, orchestral sounding layers. A lot of the time I’ll play live violin but at the same time I’ll have the mellotron’s violins, cellos, and violas going underneath to really make it feel super lush and open.
Then I like to use my Dusty Strings Ravenna 26 harp as a production tool. I think adding a layer of harp gives it a really cool, sometimes folksy element, and definitely super magical and dreamy as well. It’s been a really beautiful thing to add to these songs, like the cherry on top. I definitely wouldn’t say I’m a harp player because I haven’t studied it very much, but recently I’ve been trying to learn a little bit more, and I think I’m going to start taking lessons so I know how to execute everything I want to play. The layout is very similar to piano, so it’s easy to wrap my head around it, but the technique’s a little tricky.
Arturia V Collection 7
Is the environment/look/feel/vibe of your space important to your creative process? And if so, what is the general vibe you like to create in your studio?
I really need to be alone. There can’t be anyone else in the room, in the apartment. I don’t want anyone to hear me; I just want to feel free and not self conscious at all. I don’t really have any specific vibe things, because once I get into it I’m so zoned in that I don’t realize what’s going on around me. The most important thing, for me, is making sure that everything is really accessible; it’s already set up and ready to go so that I don’t lose momentum when I’m having to patch things in and set things up.
Dusty Strings Ravenna 26 Harp
Harps are an ethereal instrument that every musician should have a chance to try out! A great and affordable alternative for those interested in taking up harp is the Rees brand, which makes models like this funky purple Sharpsicle Harp.”
STUDIO TOUR
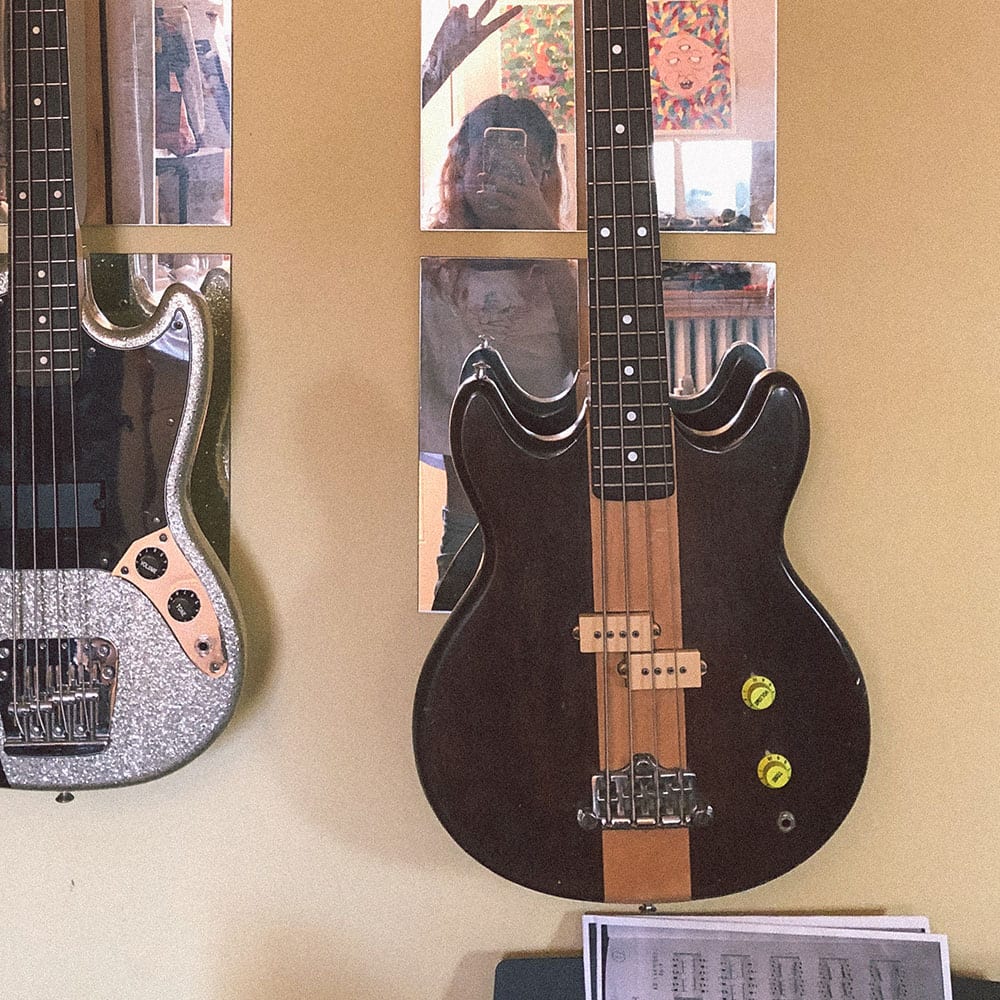
Vantage Bass. It has a really great tone, it’s a little more muted, and it’s definitely great for really specific songs I’m working on. I have a weird story that I feel guilty to tell [laughs]: it got left at my mom’s music school, and no one claimed it. We emailed all the students and teachers, so my mom said I could take it home until someone emails, and no one has in the past six years.
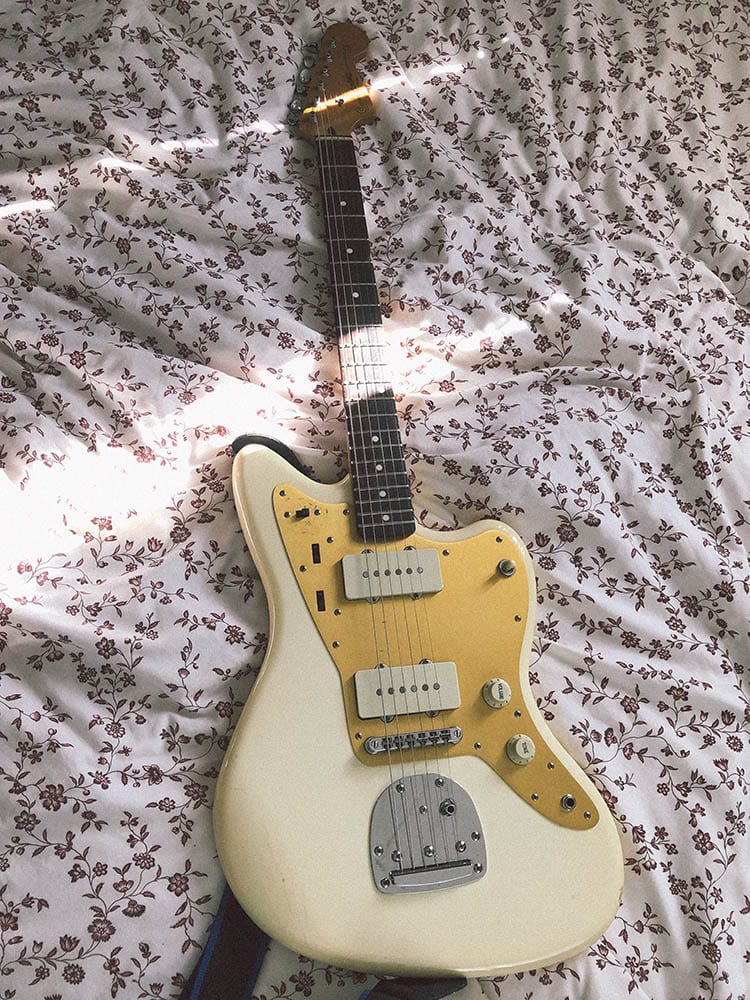
J Mascis Jazzmaster.It’s my baby. I had this really shittty Ibanez that I got as my first electric, but it wasn’t very good. I was looking for something new and saw this and recognized it from Tame Impala (they were one of my favorite bands in high school). I tried it out and immediately was like, this feels so great, the tone is awesome, and it’s really easy to play. So this has been my main guitar for five years now.
Danelectro ‘59 Vintage 12-String. When I was recording some songs in the studio a couple of years ago, my producer had this really fun double-neck Danelectro. We used a lot of 12-string while recording, and I was in this really small town called Gravenhurst and they have a really awesome music store [Currie’s Music] and I saw it there and was like, “I need to buy this for myself.” I love 12-strings as a production tool. I find them really tricky to play sometimes, because my fingers are pretty small and it’s not the most comfortable thing in the world. I’ll add it as a little sprinkle on top of a lot of my recordings.
Yamaha Reface CP Electric Piano Synthesizer.This is just a really great little guy. It’s got Wurlitzer, Rhodes, and Clav sounds. It’s really fun because it has these built-in effects like tremolo, wah, chorus, phaser, delay, and reverb. It’s really fun to play around and experiment with different sounds. It also has a built-in speaker so you can just plug it in and jam.
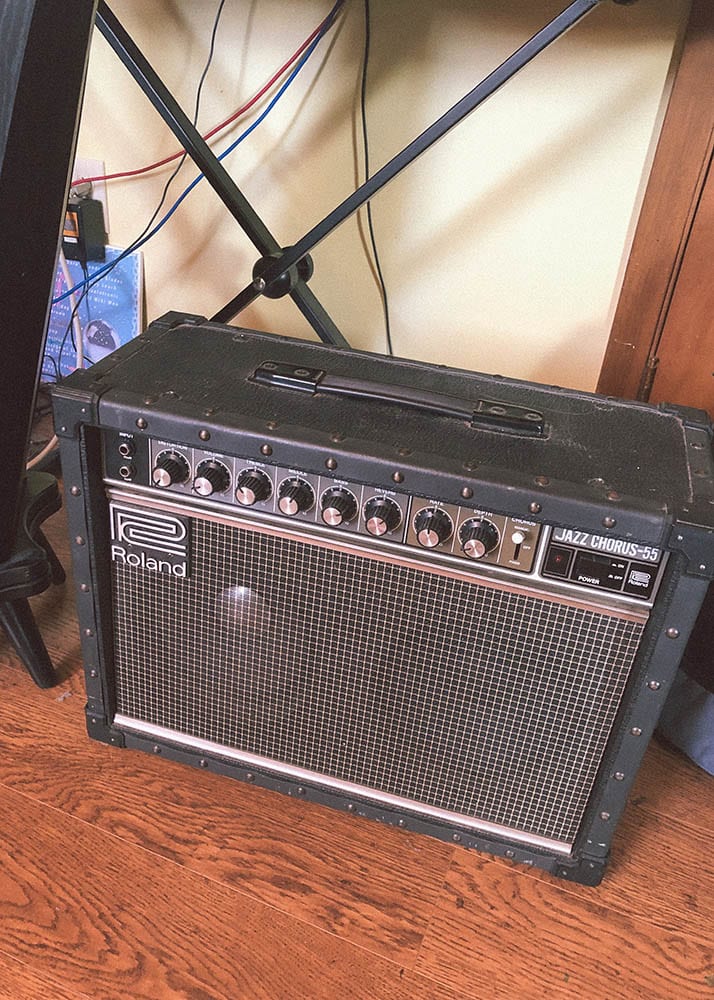
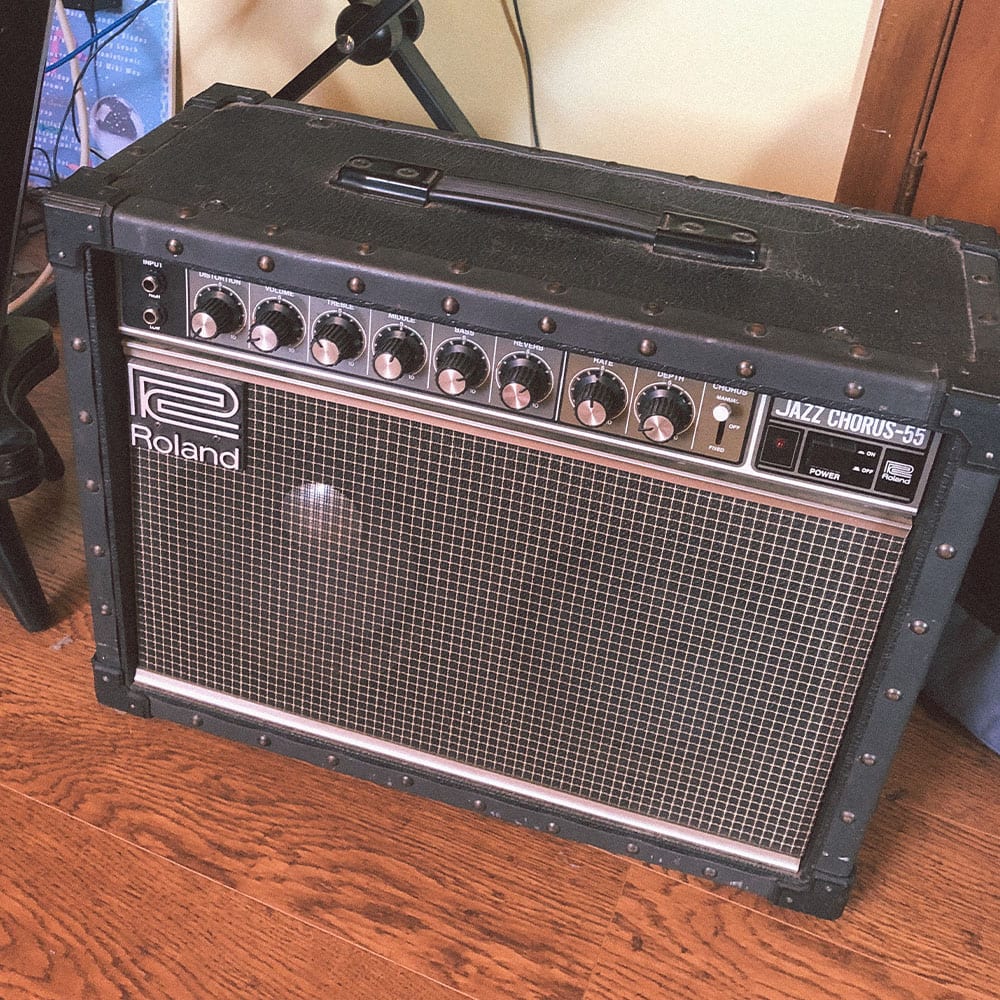
Fender Blues Deluxe.A perfect first amp for me because it’s powerful at shows and has the classic Fender sound which is awesome paired with my Jazzmaster. I also just bought a Roland Jazz Chorus JC55which is something I’ve wanted for a long time. It’s a little smaller and lighter to carry than the Blues Deluxe, and I love the clean and pretty tone I can get out of it while being able to turn up the volume and have it not gain out. They’re both awesome and I’m so happy to have them both in my collection.
A similar gem is the Roland Jazz Chorus JC-40 40-Watt 2×10″ guitar combo!
SM58 Microphone. Because I have so many different instruments, and there’s so much money to be spent around them, I’ve kept it very simple with mics. At the top of my wishlist for gear is getting a really awesome condenser mic to record vocals, but thus far the only mic that I have is an SM58 and I use it for everything.
Yamaha v5 Violin. My mom’s partner’s violin is on loan to me, which is a really beautiful old instrument handmade in the late 1800s—it doesn’t have a label so I don’t know the brand! The one that I use on tour, the Yamaha v5, is actually a student violin. It’s easier and less stressful to travel with since it’s not as valuable or delicate.
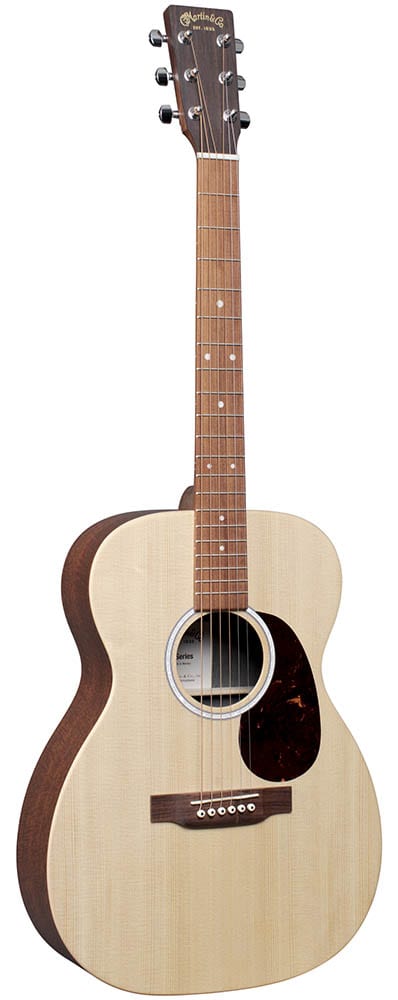
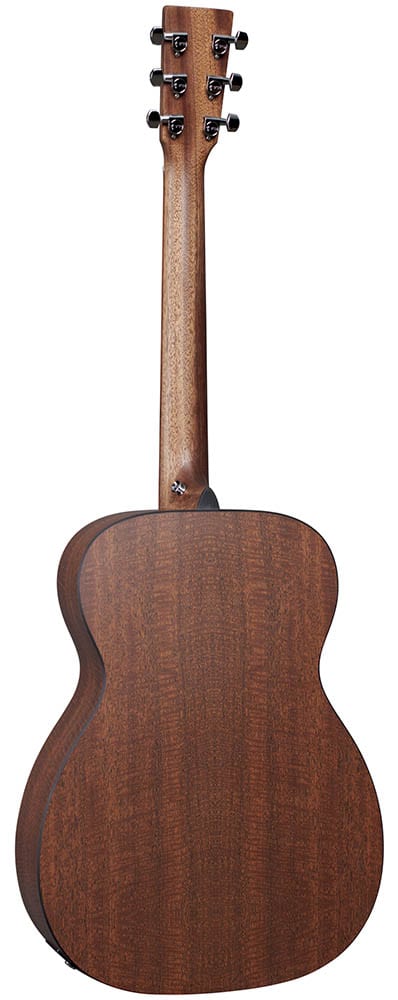
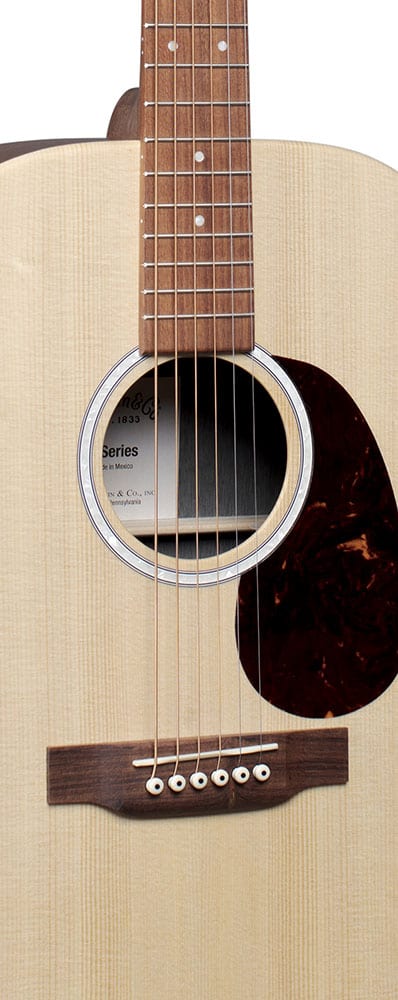
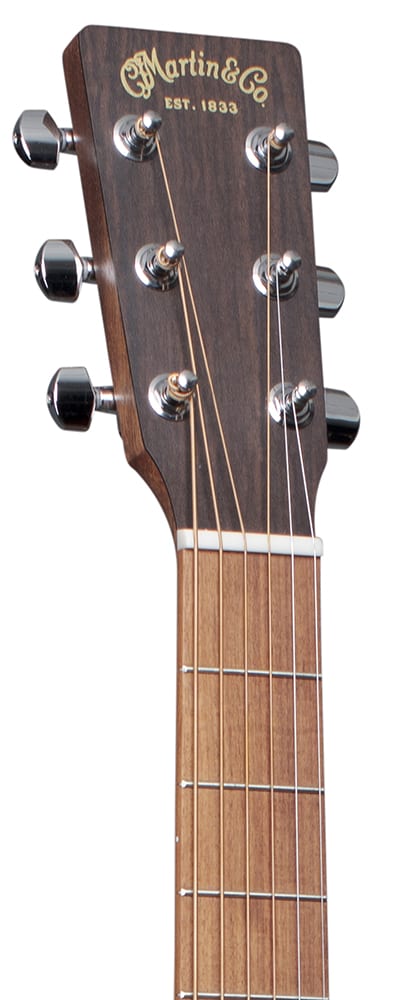
The Martin X Series was designed with affordability in mind, offering the legendary Martin tone with easy playability, durability, comfort, and style—with a price point that won’t have your wallet completely shook—which is why we’re so excited for our Martin 00-X2E giveaway!
Released this year, the Martin 00-X2E is a Grand Concert sized acoustic guitar with a Sitka spruce top, mahogany laminate on the back and sides, and a classy mother-of-pearl inlay. And it’s as satisfying to play as it is to look at: Martin’s signature slim Performing Artist neck, fingerboard, and bridge make for easy playability while the Fishman® MX electronics offers a bright clean sound for when you want to plug in and amplify.
The Martin 00-X2E acoustic guitar comes equipped with Martin’s Authentic Acoustic Lifespan® 2.0 strings and a soft gig bag with headstock, bridge, and endpin protectors as well as a water-repellent exterior and foam padding for hitting the dusty road for tour (someday) or a road trip!
The winner will be announced on this article on Monday, November 16th at noon PST
Open to all international shredders
Martin Guitars will need to collect a W9 from the winner of the guitar, and will issue a form 1099 for the 2019 tax year. By entering the contest, you are agreeing to provide a W9 to Martin Guitars as a condition to receiving the guitar.
Congrats to Kat King for winning! Thank you to everyone who entered <3
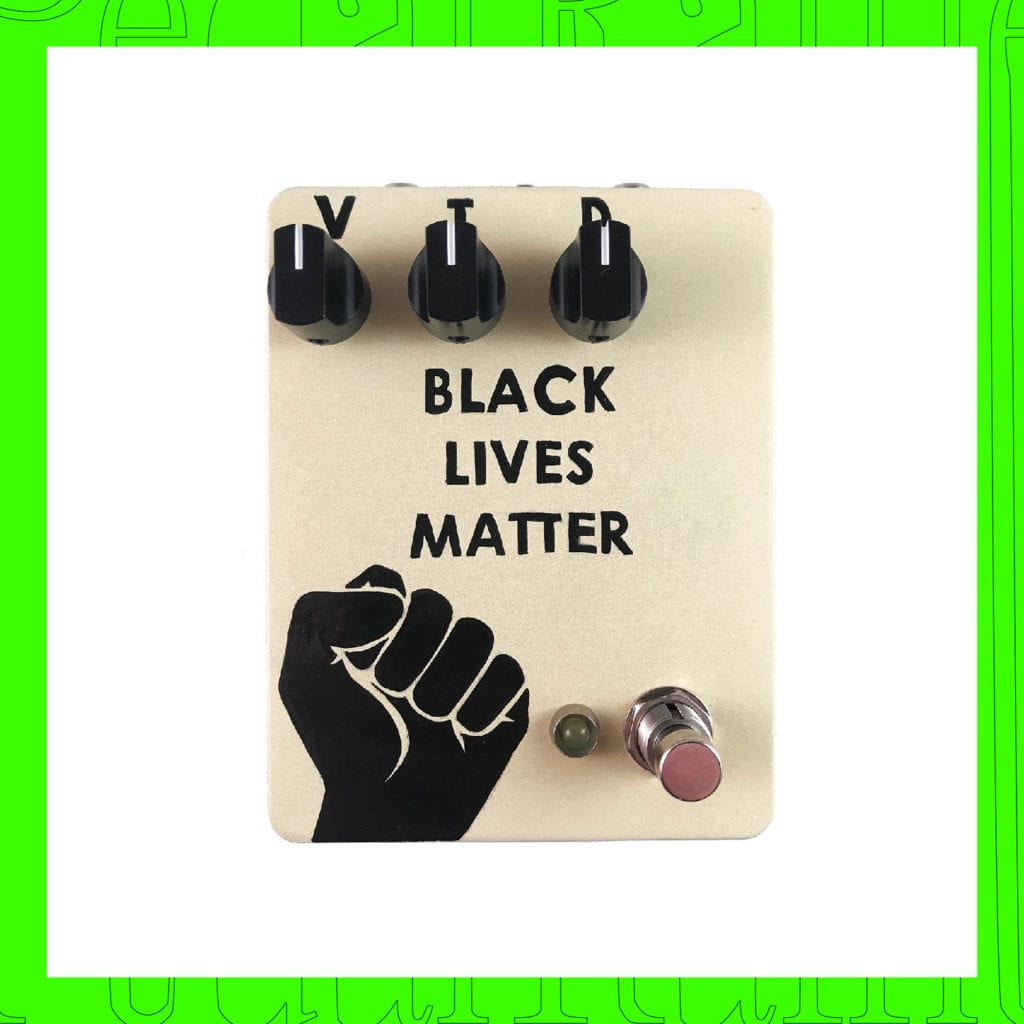
Bandmemes has created a fundraising raffle for Black lives with prizes from a growing list of boutique pedal companies. Over 18 businesses (and growing) have contributed pedals to be won, some of which are limited edition and others are throwing in t-shirts with their pedals, too.
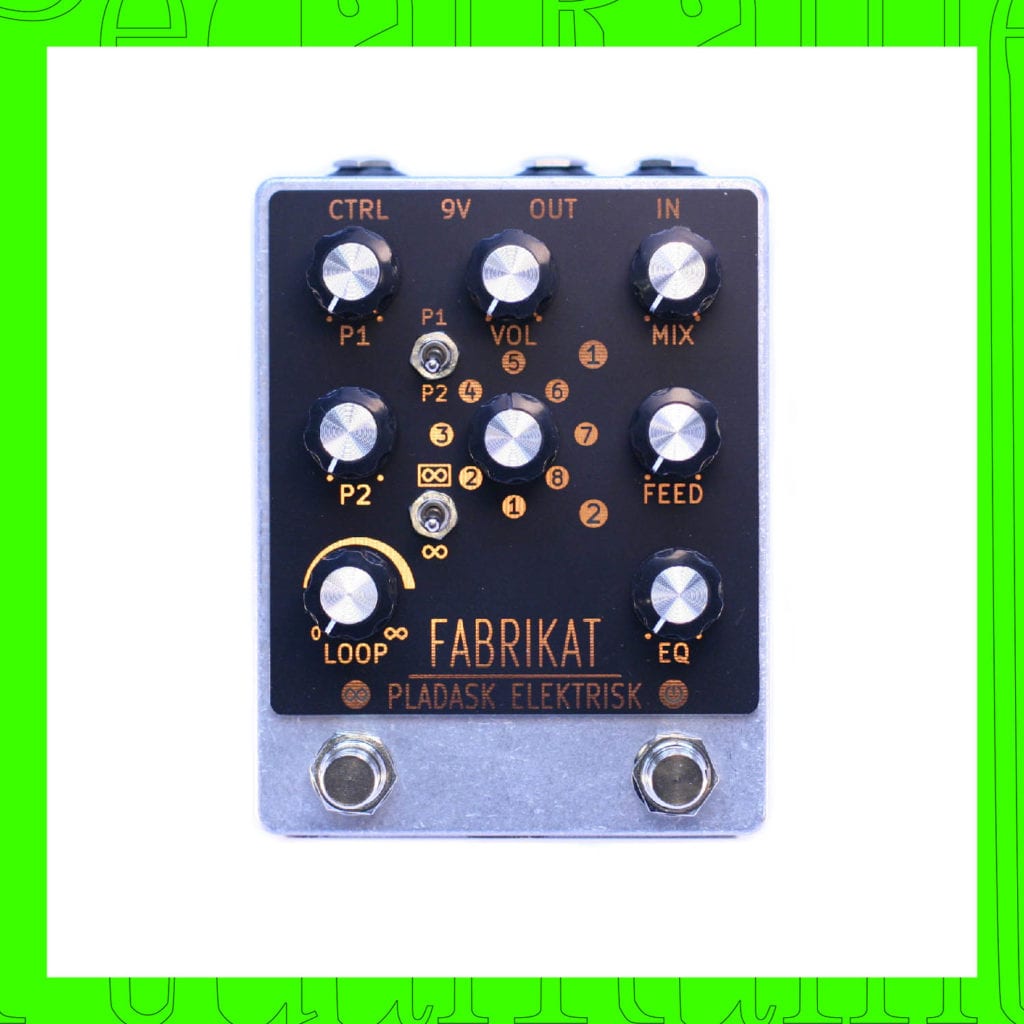
Update & Winners:
Thanks to all of your amazing donations we raised $56,455 for Black Lives Matters, Critical Resistance, and The Bail Project. Special shoutout to Bandmemes for being great and sorting through endless emails and adding up all of your receipts. That must’ve really sucked lol. CONGRATS TO THE WINNERS THOUGH! NOW KEEP DONATING AND SUPPORT BLACK OWNED BUSINESSES.
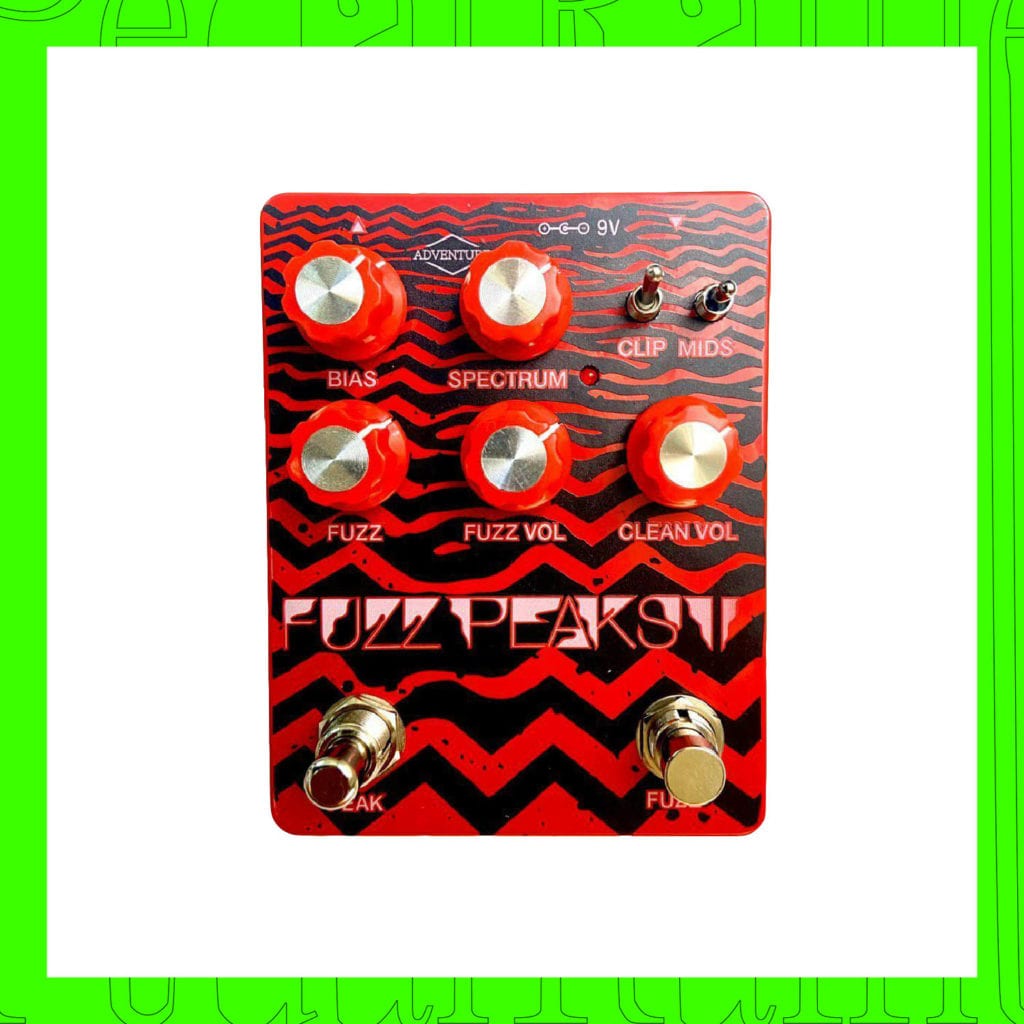
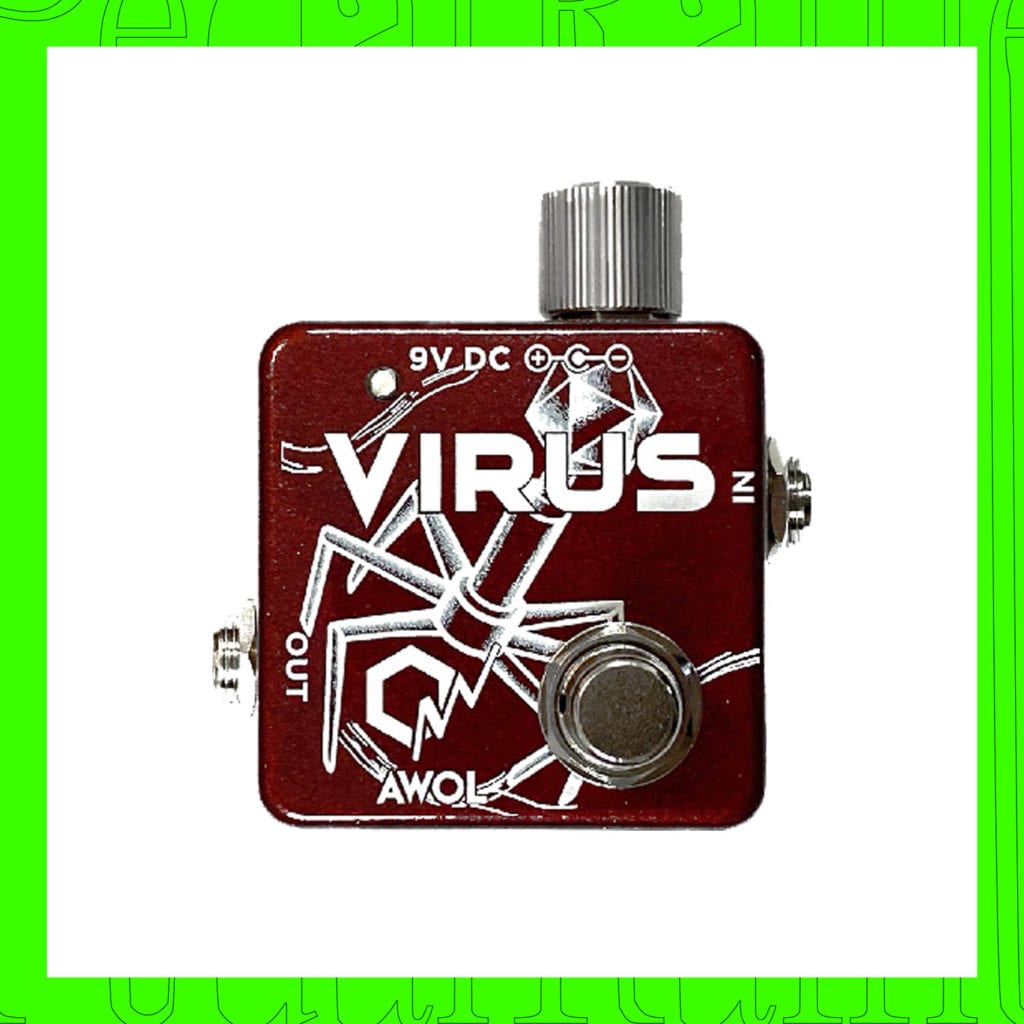
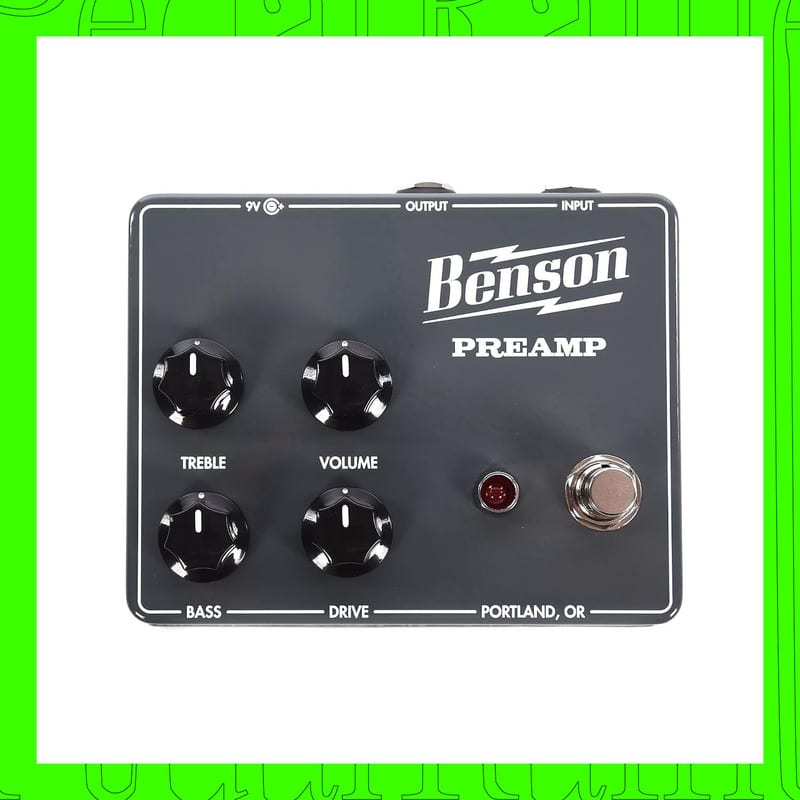
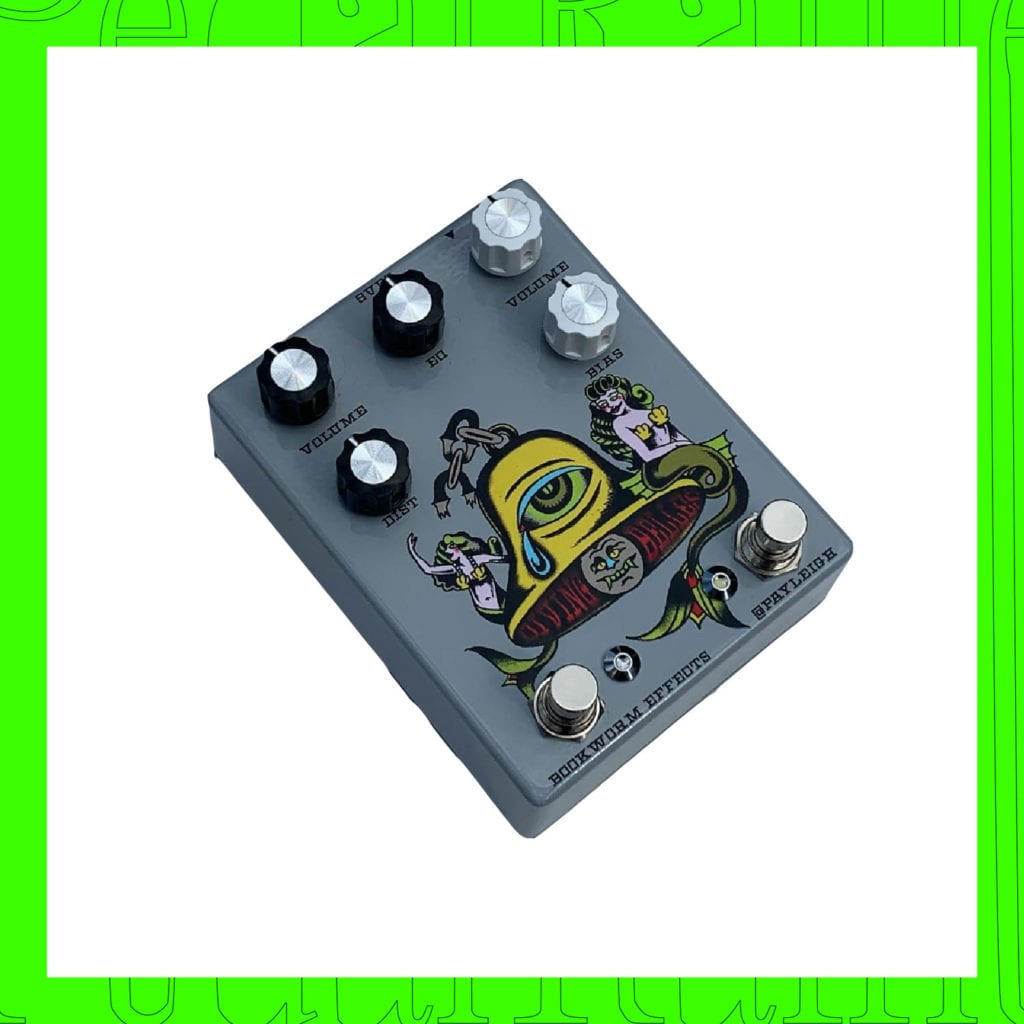
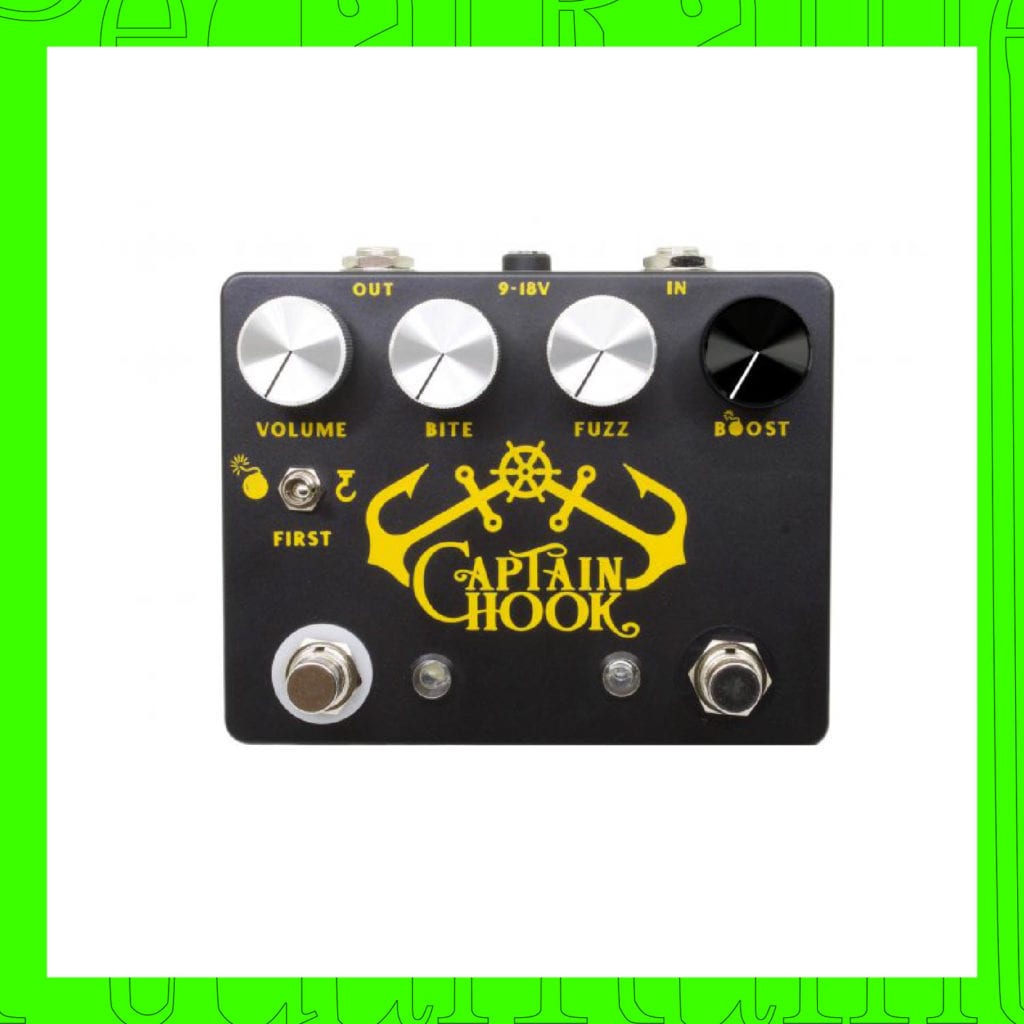
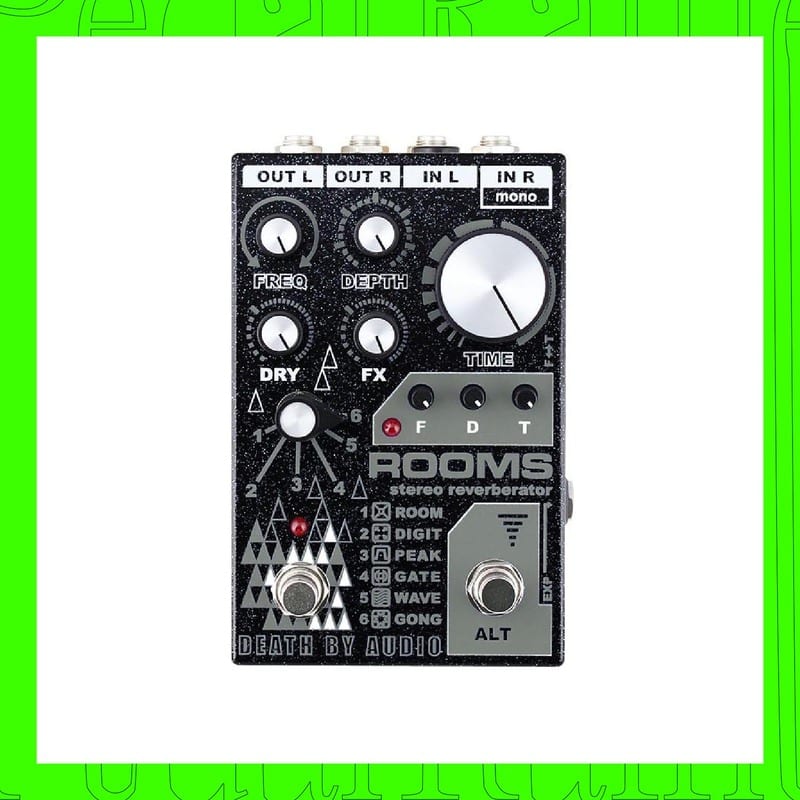
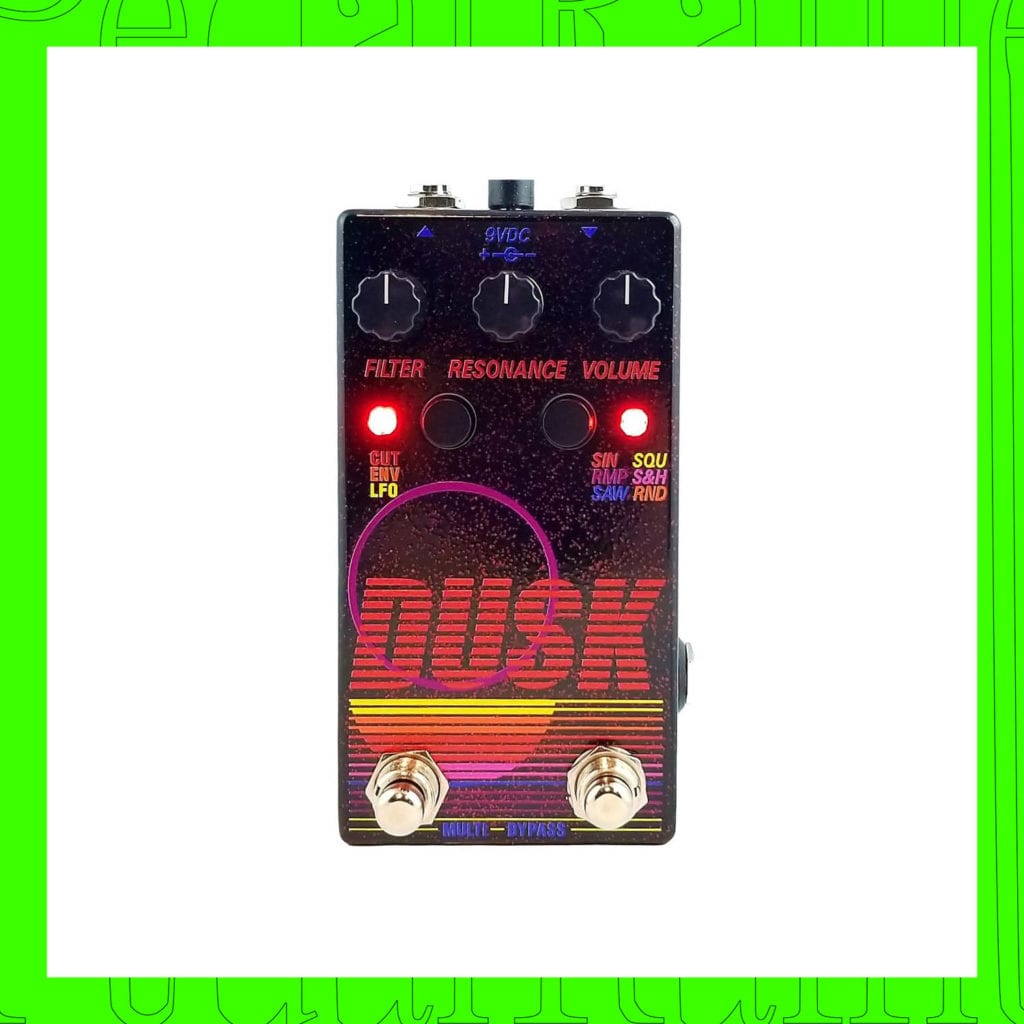
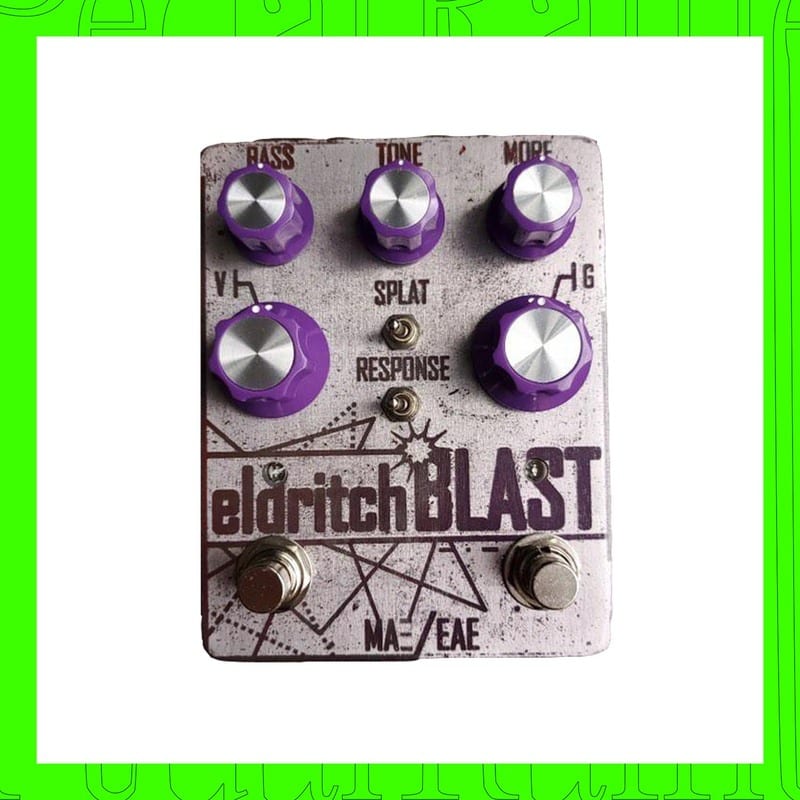
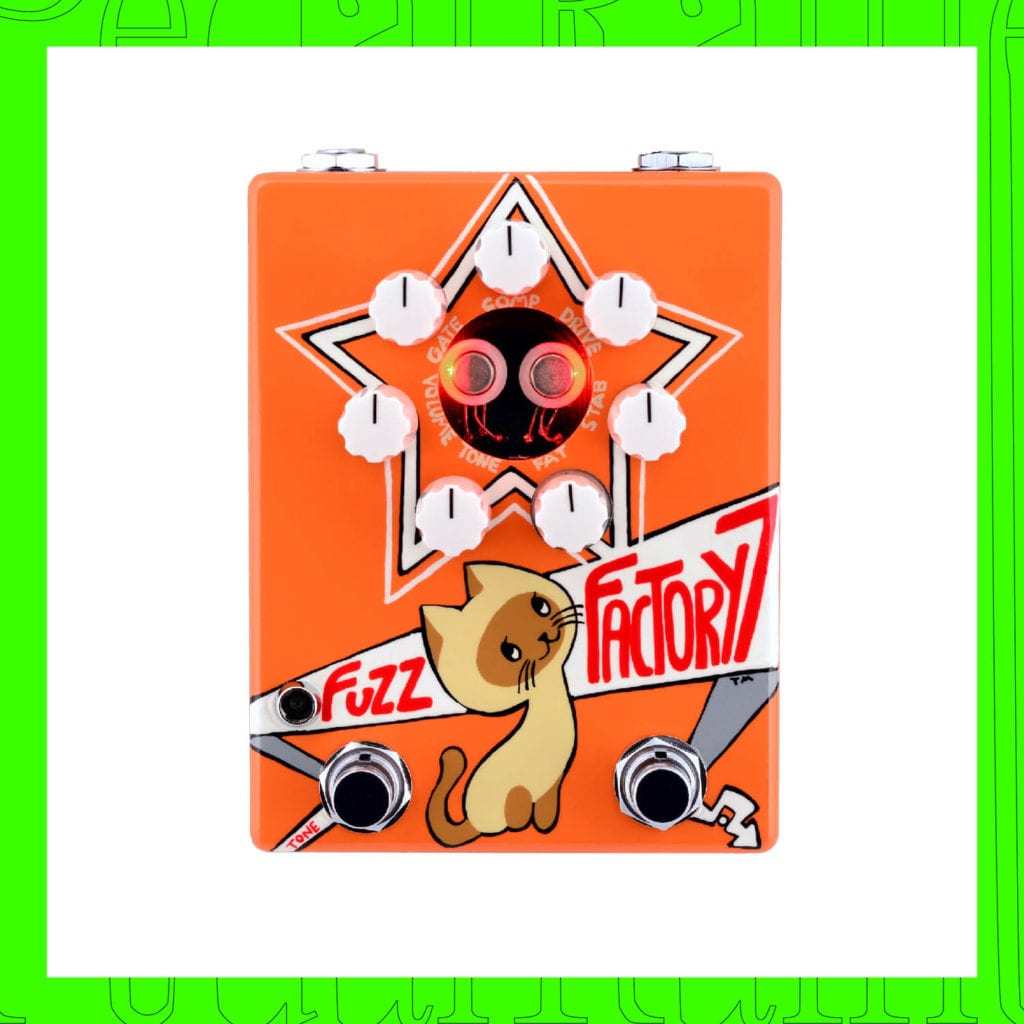
1. Abominable Electronics toke machine – Hans Michel 2. Adventure audio fuzz Peaks II – Amber Johnson 3. AWOL Virus – Clay Nielson 4. Benson preamp – Leonard Guerra 5. Bookworm diving Belles – Matthew Torbett 6. Caroline Hawaiian Pizza – Matt Herd 7. Chase Bliss Audio “JOAL” MOOD – Sean Vora 8. Chase Bliss Audio Preamp MKII – Cal Kehoe 9. Cooper fx Arcades – Greg Wolk 10. Coppersound Captain Hook – Aubrey Haddard 11. Death by audio Rooms – John Mongonia 12. Dr Scientist Dusk – Stephanie Gross 13. Electronic Audio Experiments Eldritch Blast – Emerald Chan 14. Floating Forest Dream Eater Deluxe – Hannah Rainey 15. Fuzzrocious BLM Demon – Justin Guay 16. Meris Ottobit Jr – Gianni Aiello 17. Old Blood Noise Endeavors MINIM – Tara Frye 18. Pelican Noiseworks – Isobel McMahon 19. Pladesk Elektrisk Fabrikat – Jen Steinbeck 20. Quiet Theory Prelude – Leticia Rocha 21. smallsound/bigsound Mini – Craig Schechter 22. Spruce Effects Gale – David Fried 23. TOMKAT Cloudy – Kimi Yamamoto 24. ZVEX Fuzz Factory 7 – Ben Lainer
How To Enter
Update: This Raffle is officially closed but please still consider making a donation.
The raffle will run 2 weeks and winners will be updated on this page on Tuesday, June 23rd. Open to international participants.
Make a minumum donation of $10 USD to one of the organizations below. Note: entry will only be valid if the donation is made to the organizations listed here
If you donate at least $10 to multiple charities (ie $10 to BLM, $10 to The Bail Project) that counts as multiple entries.
Pedals will be won individually.
Your receipt is your raffle ticket. Please forward your donation receipt(s) as well as your top 5 pedal wishlist to bandmemes666donations@gmail.com
2. Adventure Audio: Fuzz Peaks 2 (Red/Black finish)
3. AWOL: Virus
4. Benson Amps: Preamp
5. Bookworm Effects: Diving Belles
6. Caroline Guitar Co: Hawaiian Pizza + T-Shirt
7. Chase Bliss Audio: "JOAL" Mood
8. Chase Bliss Audio: Preamp MKII
9. Cooper fx: Arcades
10. CopperSound Pedals: Captain Hook
11. Death By Audio: Rooms
12. Dr Scientist Sounds: DUSK
13. Electronic Audio Experiments: Eldritch Blast
14. Floating Forest: Dream Eater Deluxe
15. Fuzzrocious Pedals: Demon (BLM Handpainted)
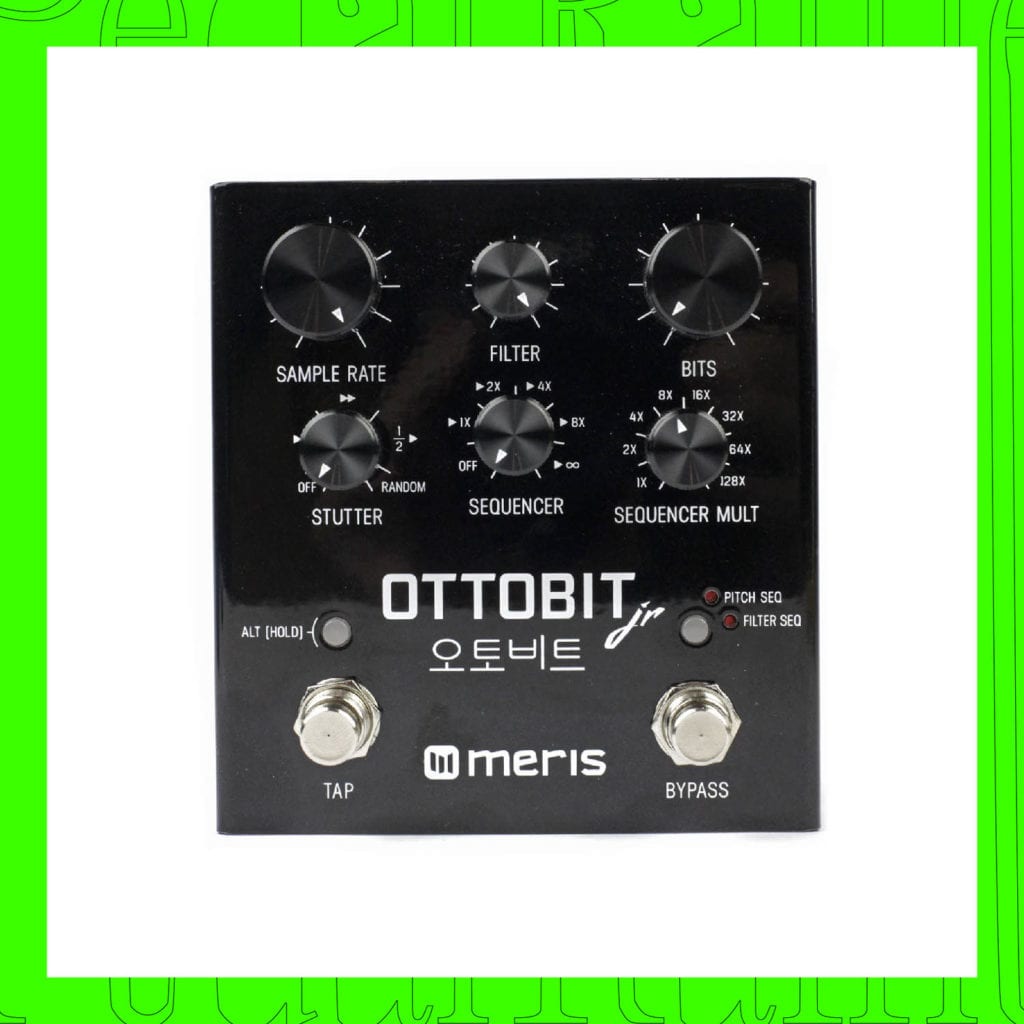
16. Meris: Ottobit Jr
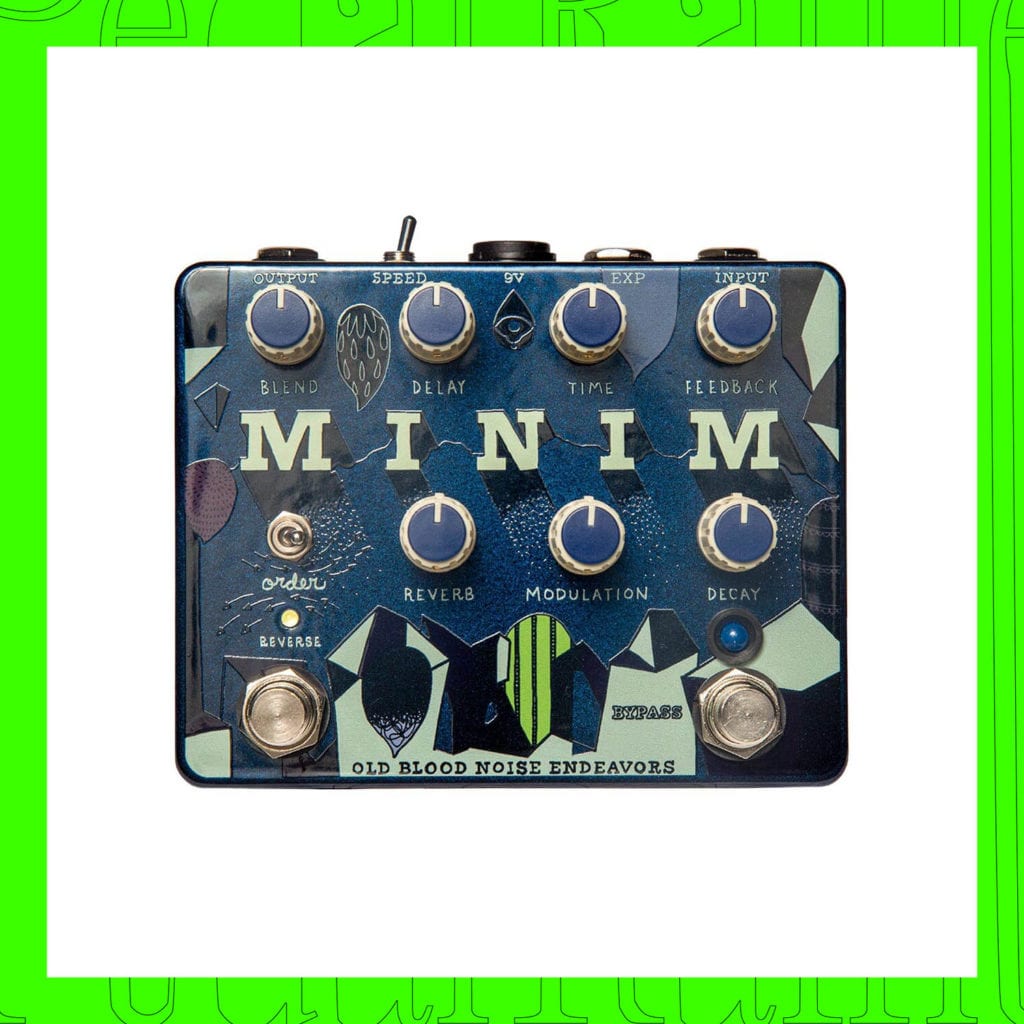
17. Old Blood Noise: Minim
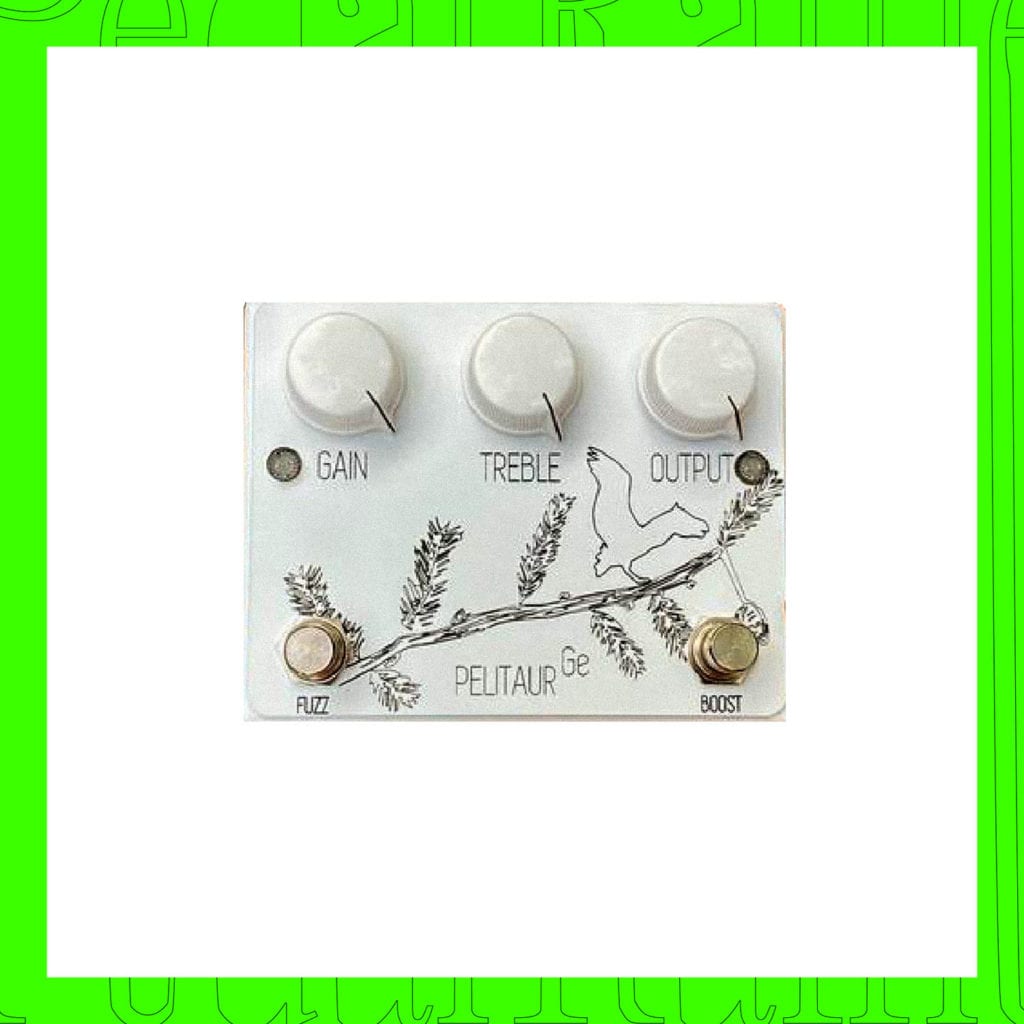
18. Pelican Noiseworks: Pelitaur GE
19. Pladesk Elektrisk: Fabrikat (Black Plate)
20. Quiet Theory: Prelude
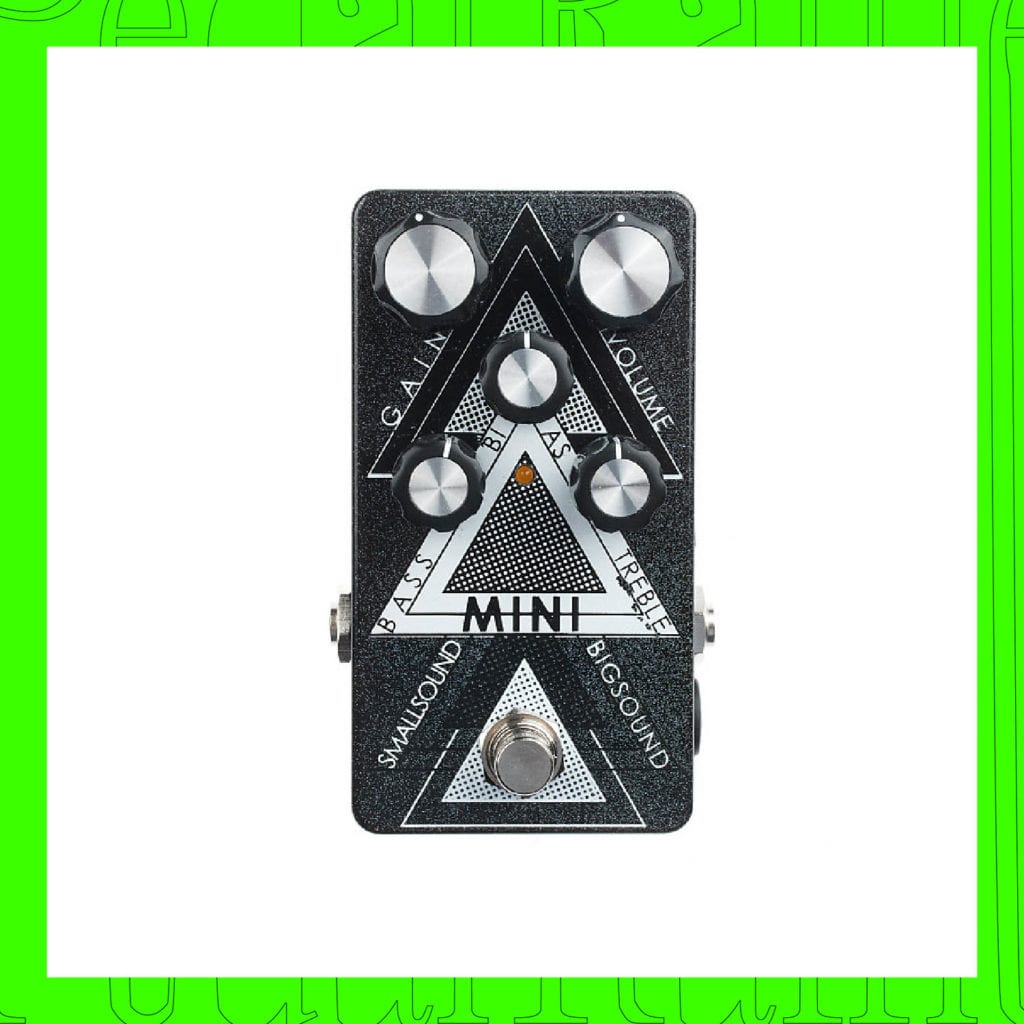
21. SmallSound/BigSound: Mini
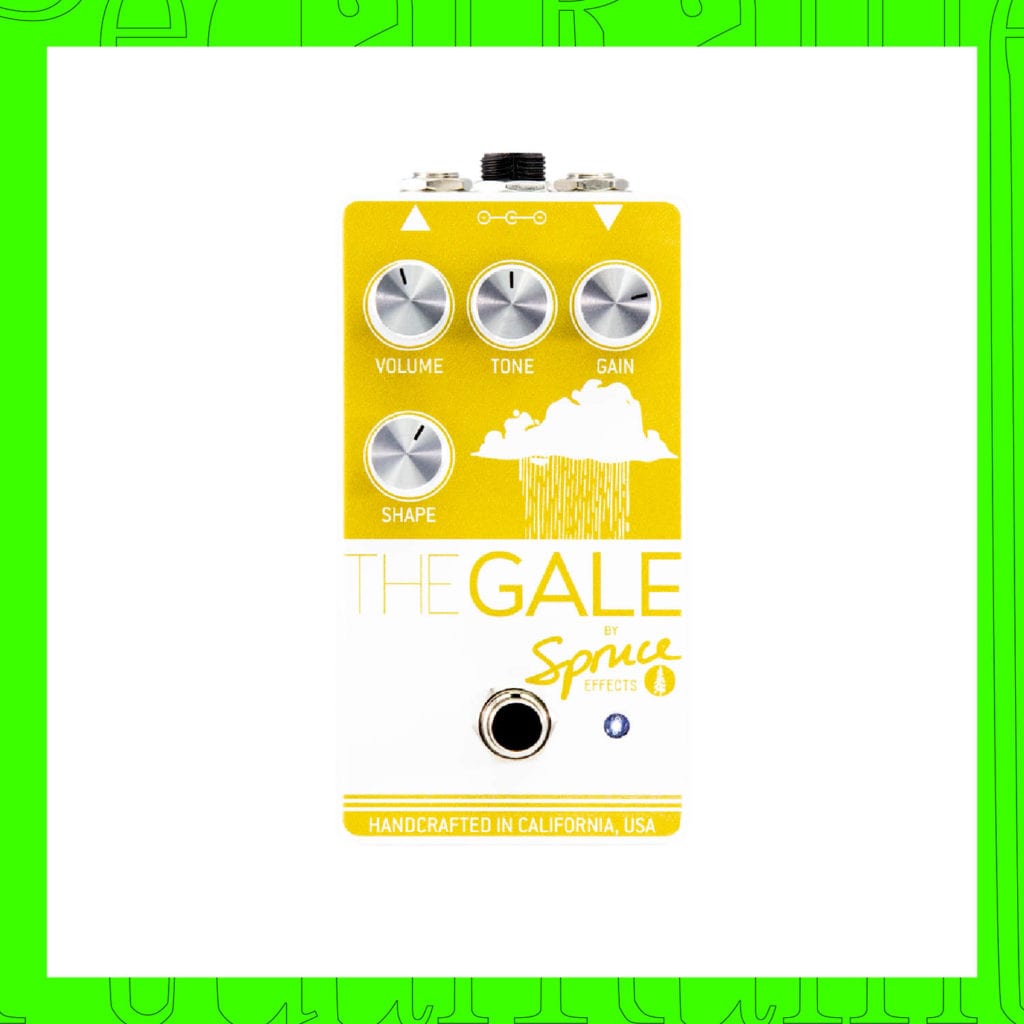
22. Spruce Effects: Gale
23. Tomkat: Cloudy
24. Zvex: Fuzz Factory 7
It should come as no surprise that gear companies can and will let you down in terms of their morals and activism, especially when it comes to anti-racist work. To be apolitical during this time—no matter your company, service, or brand—is to be actively against black lives, the very people who laid the foundations for the music industry.
We compiled a list of gear companies who are actively working towards anti-racism by putting their money where their mouths are. If you need to find yourself a new overdrive pedal without the racist rhetoric, consider supporting these companies instead!
Dusky Electronics is donating 10% of all direct sales to organizations fighting white supremacy, starting with the Minnesota Freedom Fund. This is an ongoing commitment with no expiration date, and will cycle among as many good organizations as I can find
The folks at Chase Bliss Audio have already made a donation to Campaign Zero in support of their #8cantwait initiative, and they are also holding a raffle for their Automatone Preamp MKII in support of the campaign with proof of donation and will match up to $5000. Check their Instagram post for more information on how to enter.
Surfy industries created effects inspired by classic tone. donating to NAACP Memphis George Floyd Legal Defense fund @naacpmemphis from all June sales.
From 6/1 through 6/7, Ernie Ball will donate $10,000 (the organizations they are donating to have currently not been disclosed) 100% of sales from their webstore to various charities that support music education in inner cities, small businesses affected by recent events, and those who stand for black lives.
Doug Tuttle, the brains behind Mid-Fi Electronics, is offering entry into a giveaway for a free pedal with a donation to one of the six organizations listed in his Instagram post.
“All PCBs will come with a parts list & wiring diagram – this is a very easy build and would be a great way to get into pedal building. If you don’t want to get hands on with the PCB, there is a small hole at the top center that allows it to be hung.”
On Tuesday, Boston-based Electronic Audio Experimentsoffered entry to their Hypersleep giveaway to those who donated $10 or more to the ActBlue split fund. They raised $4381, which included the full retail cost of the pedal.
We could always use news that showcases the valiant efforts of those attempting to do good by our planet, especially since we’re currently witnessing the environmental horrors of our century: marine life and drinking water inundated by plastic waste and carcinogenic toxins, the rejection of safer air quality standards by top government leaders, and the thievery and destruction of sacred indigenous land, to name a few. We smell in the air the forests of our world burning to the ground, or being removed by industries, directly decimating life-sustaining biodiversity (i.e. animal agriculture, mining, oil extraction, etc.).
Therefore, with daily increased environmental panic, it’s no surprise that an urgent issue faced by companies and communities today is how to responsibly and ethically manage our remaining natural resources, restore them, and create closed-loop production systems.
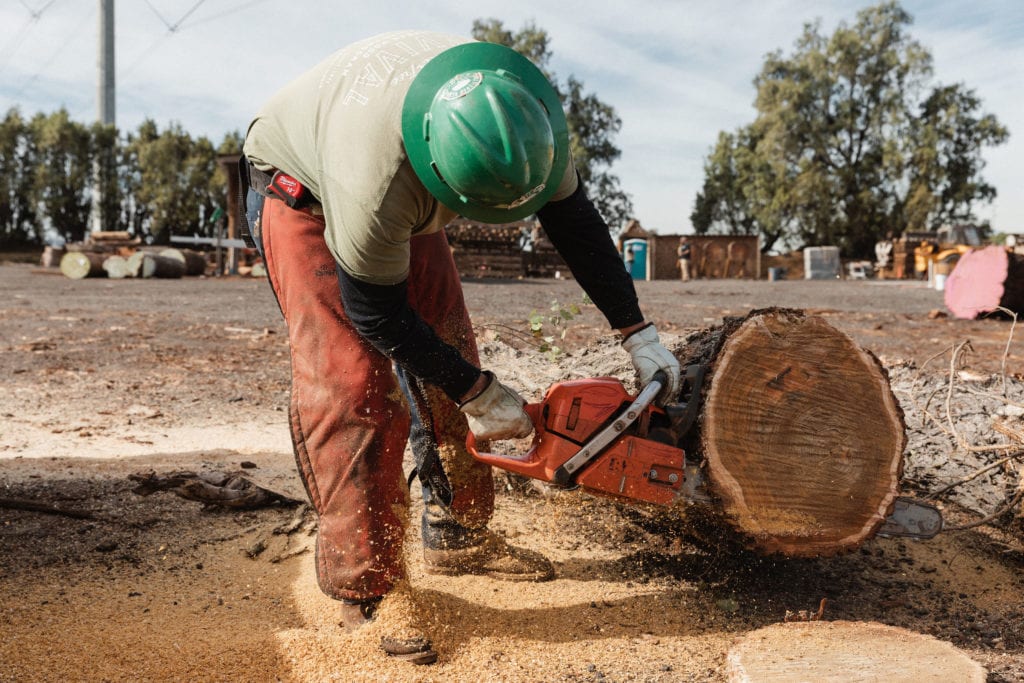
Through forward-thinking forest initiatives, such as the Ebony Projectin West Africa and the Paniolo Tonewoods Project in Hawaii, Taylor Guitars has taken a leadership position in the ethical sourcing of wood within the guitar industry. Now, Taylor is conducting research to identify and revitalize underutilized (often wasted) environmentally preferable resources that can be incorporated into their guitar production lines for good.
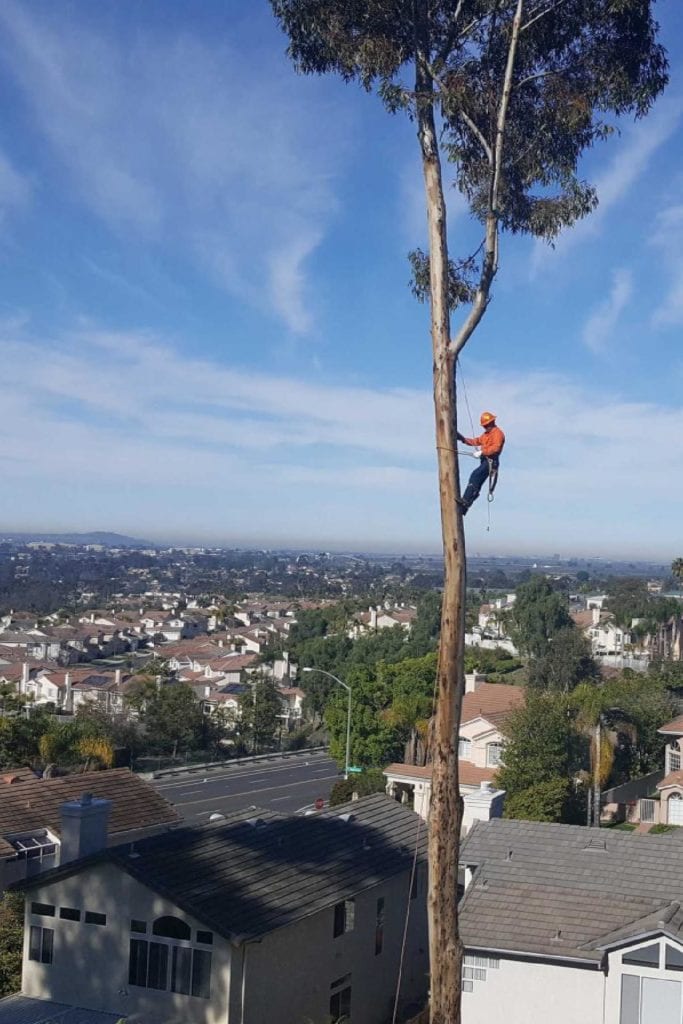
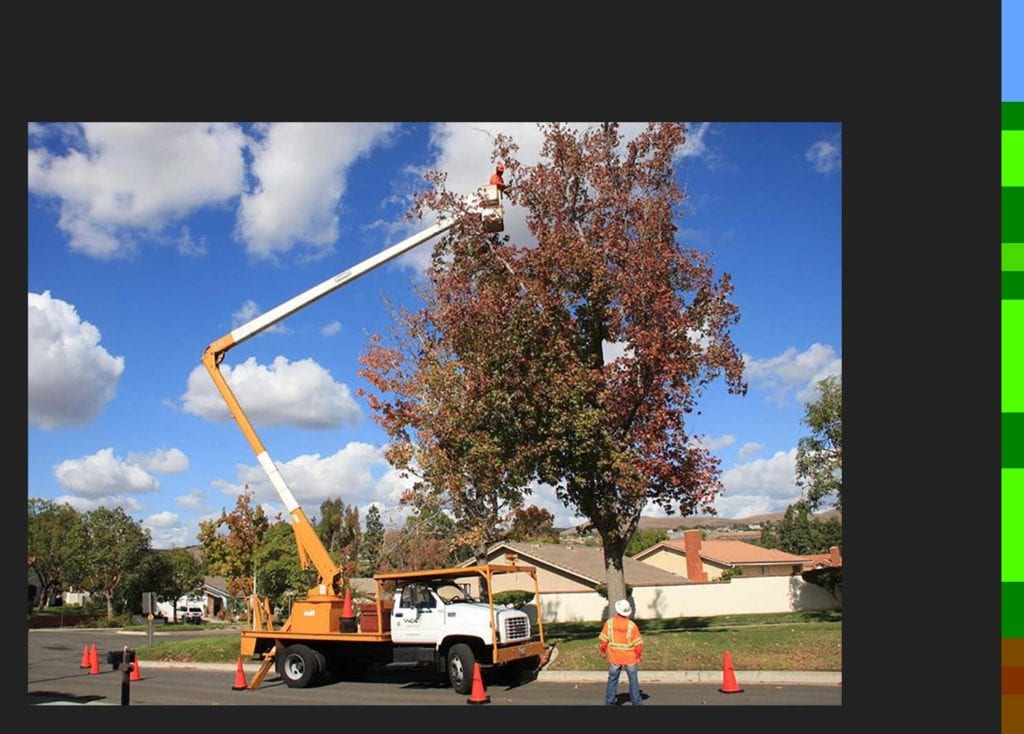
Their solution? Building partnerships with local arborists and cultivating a relationship with urban forests.
Urban forests—literally referring to the trees you see in your backyard and along city streets or highways—offer residents a multitude of benefits: soil erosion reduction, improved water conservation and quality, abatement of harmful air pollution, noise absorption, wildlife habitat support, and mental health advantages. However, city trees are being removed faster than they are planted due to disease, natural death, human-environment interactions… the list goes on.
And where do these often high-quality end-of-life trees go? Historically, local dumps and landfills have been deployed, though more recently, as a result of increased disposal fees, arborists have found it more cost effective to turn removed city trees into firewood or mulch. The good news is that in recent years concerned arborists, local communities, and companies like Taylor Guitars, who realize that urban forests are an underutilized resource and important part of maintaining city ecosystems, are collaborating on and researching how to creatively remedy the unnecessary cradle-to-grave lifespan of city trees.
The result, if successful, could mean that by turning what is deemed by the city to be a waste product into something of value—such as a quality Taylor guitar—we could not only offset our dependence on standing forests, but also create a renewable economy that fosters vibrant, healthy urban landscapes. Scott Paul, the Director of Natural Resources Sustainability for Taylor Guitar Writes:
“If organized more holistically, the urban wood waste stream could better be utilized for a wider variety of higher-value products, creating jobs and income to bolster small business, taking pressure off natural forests elsewhere, and perhaps ultimately feeding back into the grossly under-resourced maintenance of existing trees alongside programs that put new trees in the ground.”
________
So, what does an organized, holistic approach to the urban wood waste stream look like in action?
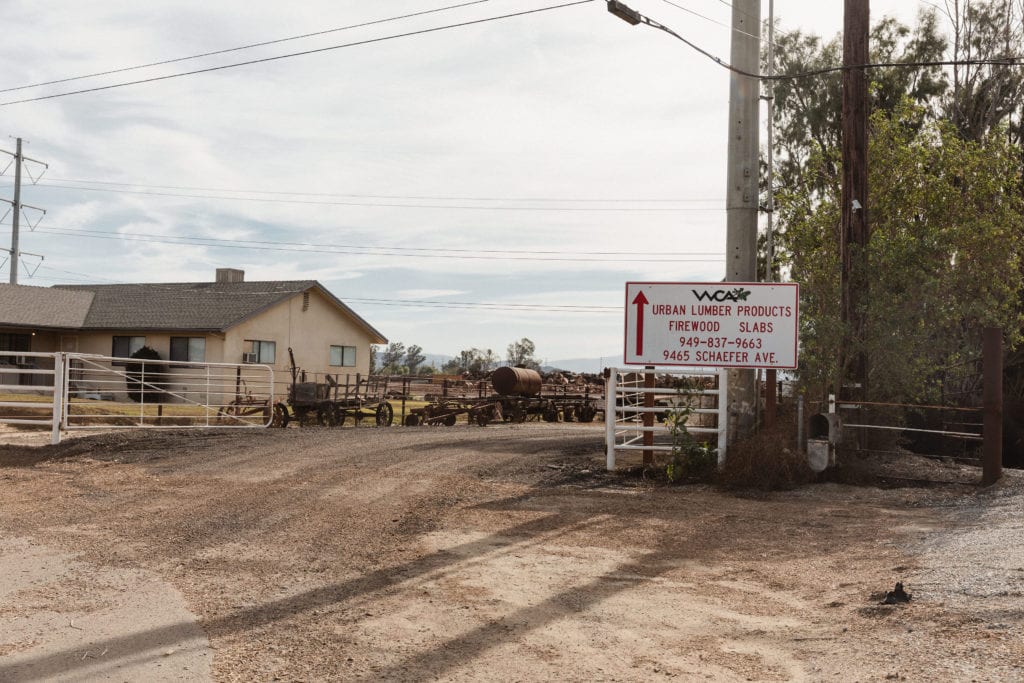
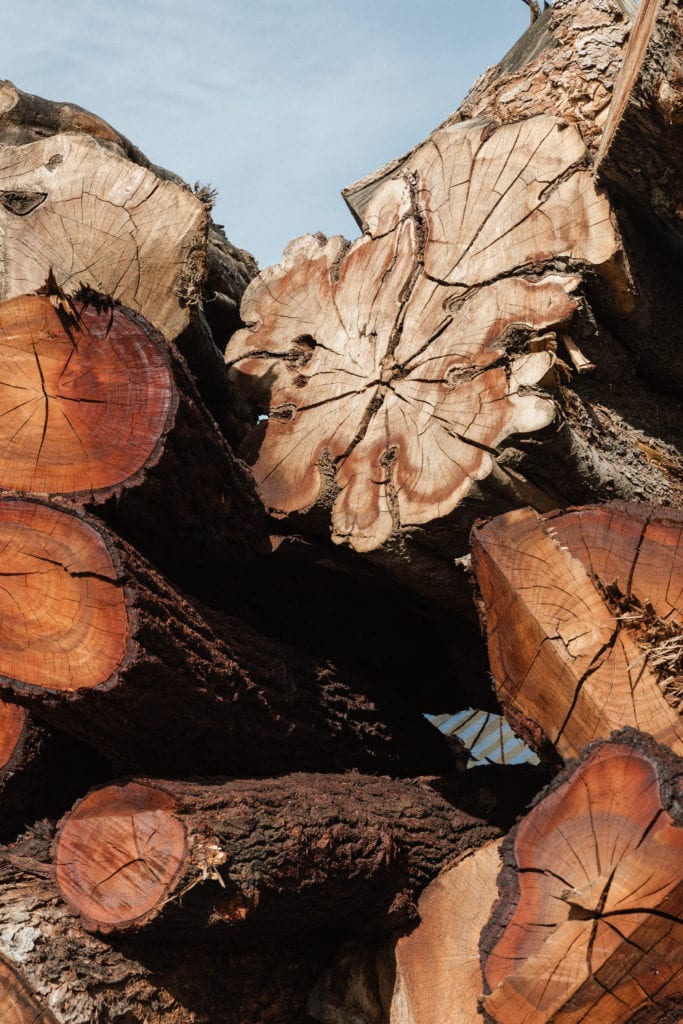
Well, let’s start with Taylor Guitars’ current end-of-life tree pick: Urban AshTM, known as Shamel or Evergreen Ash (Fraxinus udhei). Native to regions of Mexico and Central America, Urban AshTM has been planted consistently throughout California since the 1950s and is valued for being a fast-growing shade tree. However, like everything else, nothing lasts forever.
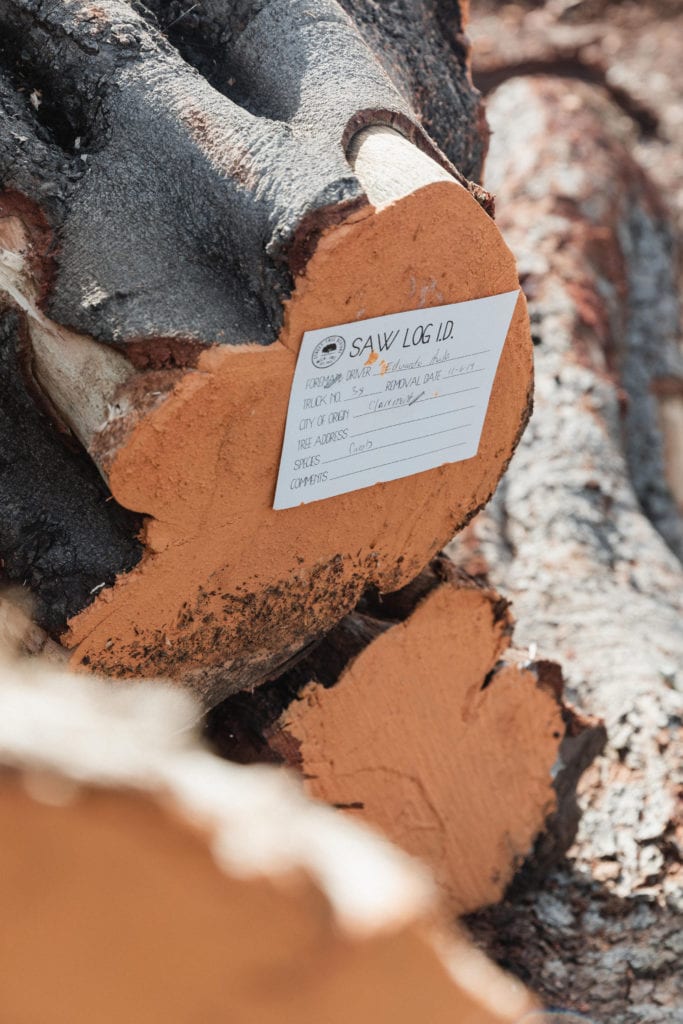
To manage and care for trees of all ages, whether newly planted or soon-to-retire, West Coast Arborists (WCA) have developed unique inventory software programs that document the species, health, size, and maintenance history of every tree in every city where they work. This technology allows WCA to reasonably forecast when a city will likely decide to have a tree removed, offering interested partners like Taylor Guitars a reasonable amount of certainty in regard to what species (in this case, Urban AshTM) will flow through their removal process. To offset this removal rate of city trees, WCA plants between 18,000 to 20,000 new trees per year and are applying in partnership with Taylor Guitars for grants to plant even more. This give-back aspect of the process is crucial not just to the health and sustainability of urban landscape and the community benefits it provides, but also to the longevity of what could be an environmentally beneficial production line.
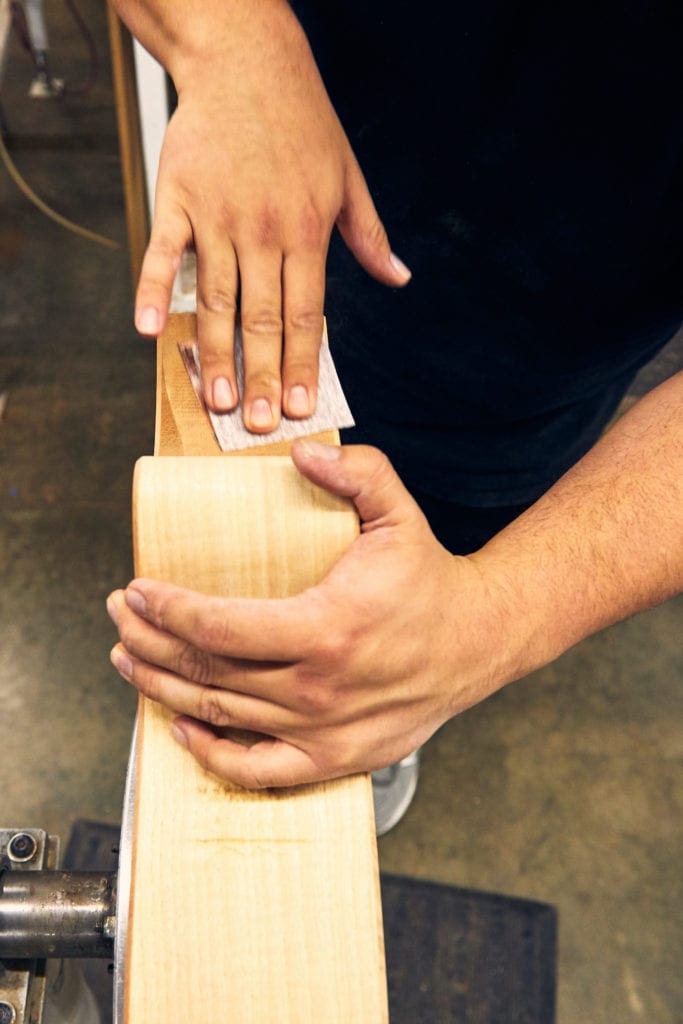
But can tree species from our local urban communities ensure the same quality as traditional tonewoods sourced overseas?
Taylor Guitars believes yes—and they do. The recent release of Taylor’s Builder’s Edition 324ce acoustic-electric guitar celebrates this accomplishment by using Urban AshTM from Los Angeles County streets to build both the back and side panels. Because of Taylor’s relationship with WCA, it appears that there’s enough soon-to-be-fallen Urban AshTM to support Taylor’s Builder’s Edition 324ce for decades to come, modeling how best practices and processes for ecological responsibilitywithin the guitar industry can be achieved:
“We start by looking at the resources we use. And the primary resource is wood. Thus, our flagship projects relate to species that we traditionally use to make guitars. And each project is remarkably unique, reflecting the complex realities of the regions, their cultures, the ecosystems, and of course the specific tonewood species involved. All are connected, however, by our underlying commitment to try to give back to the people and places where we source while attempting to create a better future for the tonewoods used by our company to build guitars. We have other projects in development that we hope to talk about in the year to come.”
We now wonder what possibilities lie ahead if more companies follow Taylor Guitars by working with local arborists to cultivate responsible and environmentally conscious economic relationships with urban forests? So far, our understanding is:
Every end-of-life city tree used to make a guitar, a table, a chair or for that matter any other product made of wood is one less taken from forests and/or fragile ecosystems
Increased public awareness of the untapped environmental and economic benefits of city trees promotes replanting and maintenance—further benefiting a closed-loop sustainably conscious production system
More businesses invested in urban forests and environmentally responsible practices could make urban centers more habitable for all species, leading the way for other industries to follow suit
With other projects in development, Taylor Guitars aims to strengthen their relationships with sustainable product manufacturing for as long as possible. “No one knows what the future will bring, but we do know that sourcing tonewood in 20 years will be very different than it was 20 years ago,” says Scott Paul. “Taylor sees sustainability as a journey, not a destination. We will forever look for ways to improve our sustainability.”
While there is research still to be done, Taylor’s sustainability initiatives serve as a reminder to everyone that all of us are required to look ahead through a lens that puts our planet first, more urgently than ever before. We can do so by strengthening our understanding and creatively approaching how natural resources can be sourced and replenished—establishing strong partnerships that actively and ethically give back to the communities affected by the land being utilized.
This interview originally appeared in She Shreds Magazine Issue #19, released December 2019.
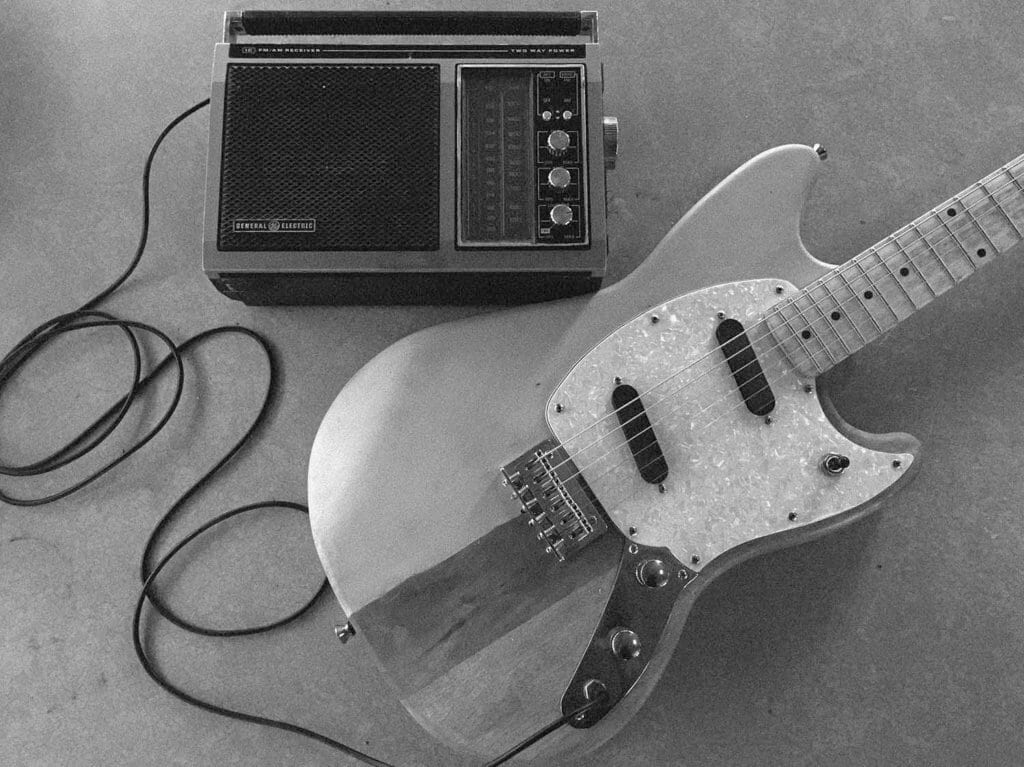
Learning how to build an amp from an old radio is not only a sweet upcycling project, but it’s also so easy that it blew my mind. The coolest thing is how unique each radio can look and sound: an older radio might offer a vintage or low-fidelity tone, while a newer radio might offer more portability or a cleaner sound. Your new amp will be one of a kind!
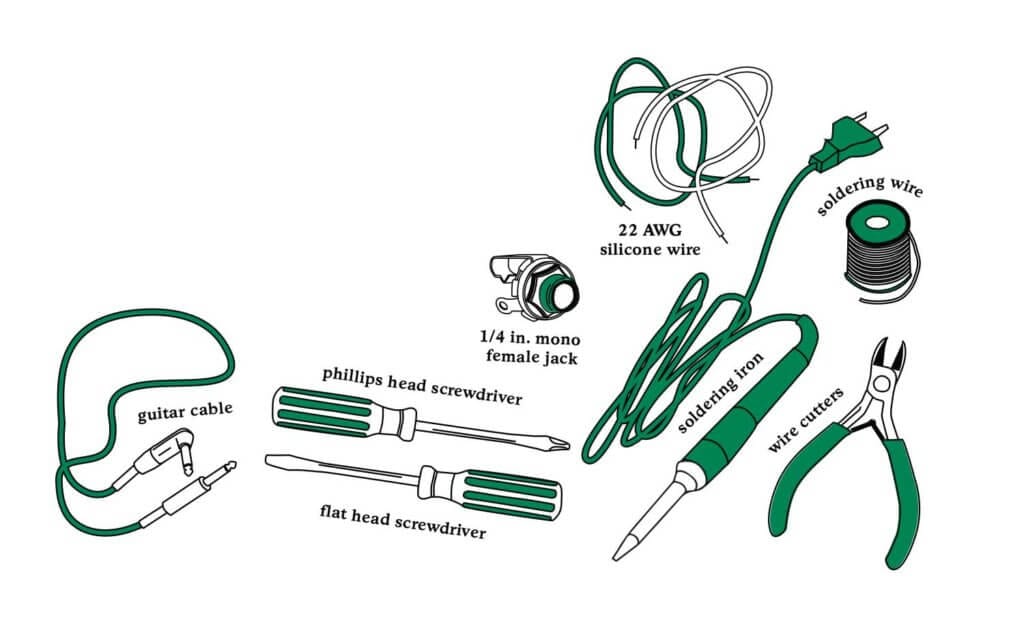
Here’s everything you’ll need to complete this project:
Radio
Soldering iron*
Soldering wire*
22 AWG silicone wire
1⁄4” monofemale jack
Phillips head screwdriver
Flathead screwdriver (or something flat)
Wire cutter (or scissors)
Guitar & instrument cable
Drill (optional)
*If you’ve never soldered anything before, here’s a link to a cool video to help you get started.
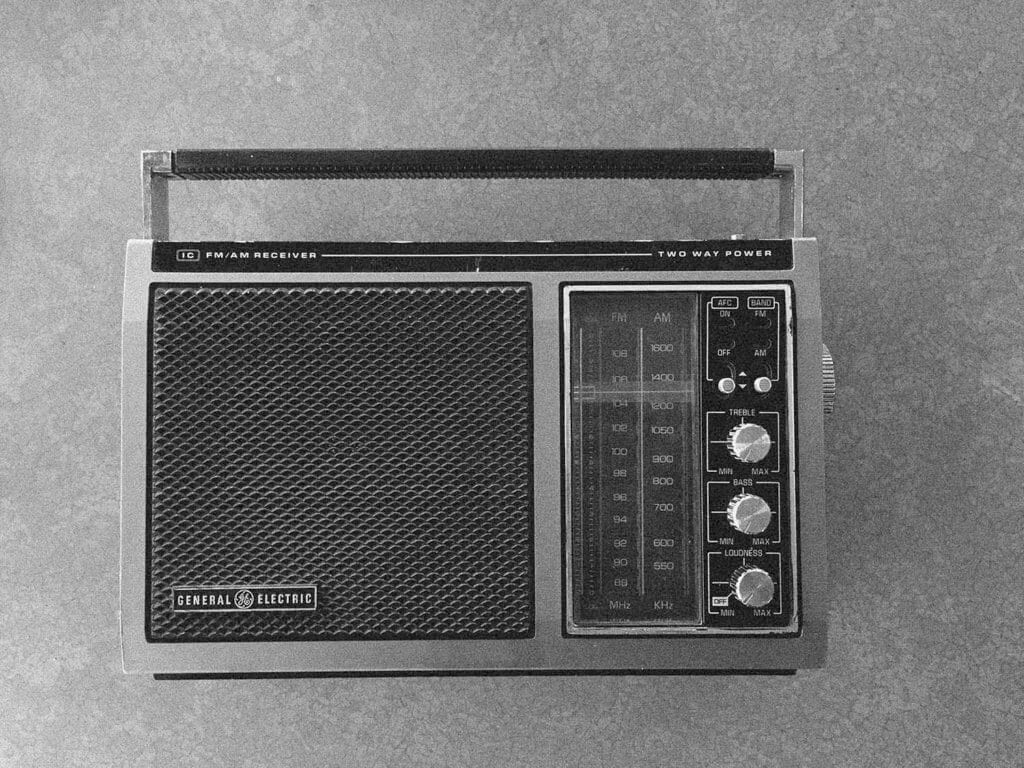
Step One: Choosing Your Radio
Finding your perfect radio could be as easy as taking a trip to the local thrift store or doing a quick search on eBay. When on the lookout, try keeping in mind which features are most important to you. Some radios have tone, equalizer, or squelch knobs that would allow you to have more control of your final sound. Some are battery-powered, have a built-in handle, or a headphone jack—all of which would make them a sweet travel companion.
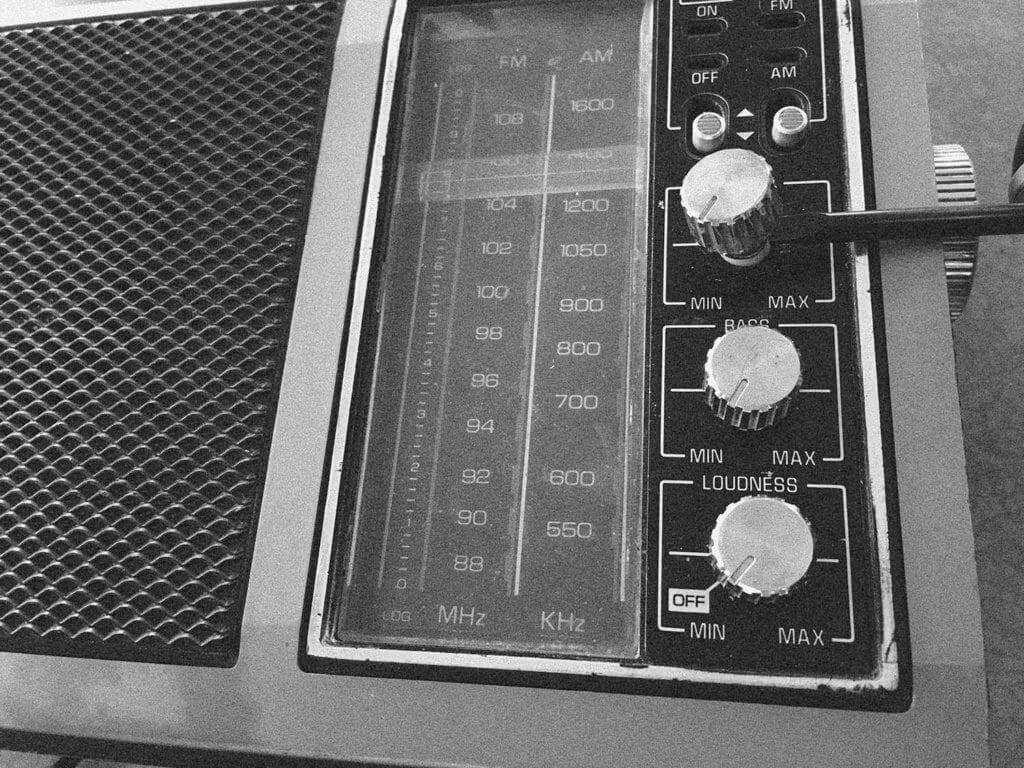
Step Two: Rip That Machine Open
Once you’ve found your dream radio, it’s time to rip it open (as gently as possible).
To start, you’ll need to remove any knobs or switches from the radio. This can be done by placing a flathead screwdriver in the space between the knob and body of the radio and lifting it up.
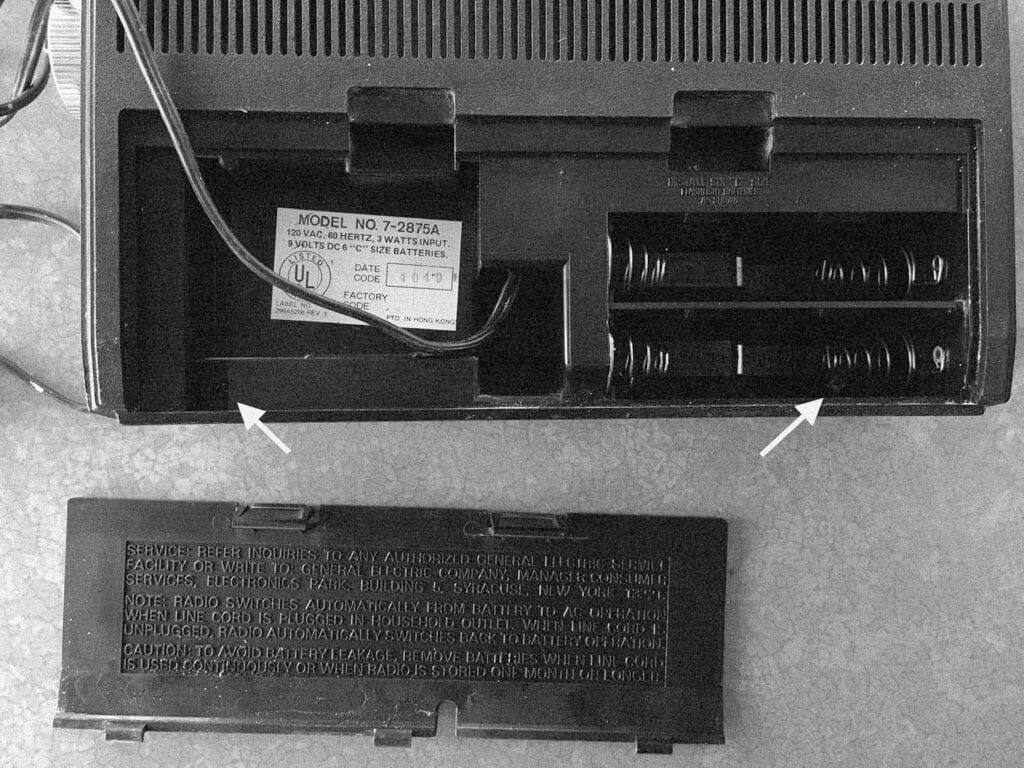
Next, you’ll need to remove any screws holding the outer casing together. These will usually be found in the corners on the back of the radio, and sometimes there may be one or two hidden in the battery tray.
Once you’ve removed all of the screws, opening up your radio could be as simple as pulling one side apart from the other, but you might need to stick your flathead screwdriver in the lip between each side for leverage. (Similar to the knobs.)
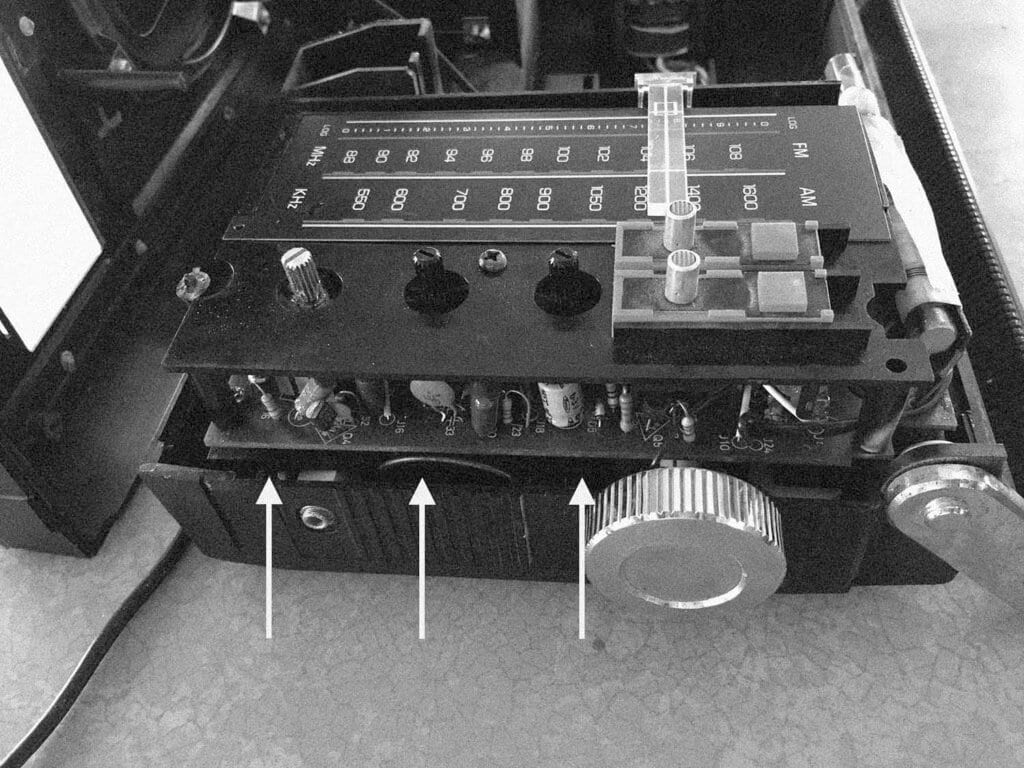
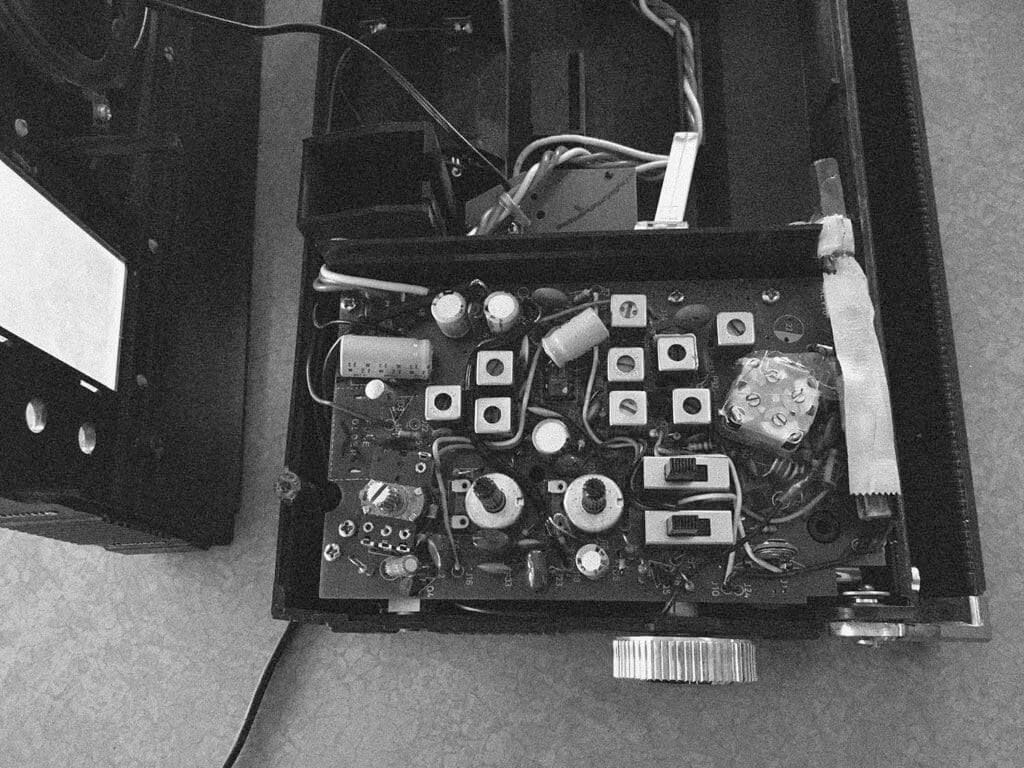
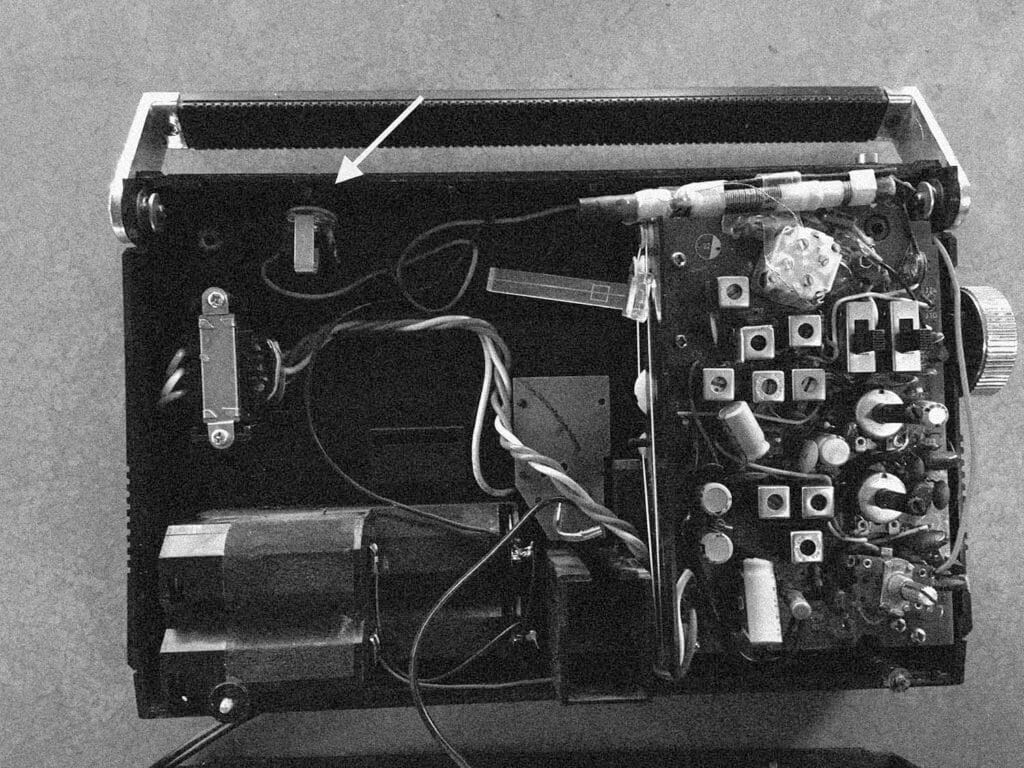
Now that your future amp is ripped open, it’s time to locate the circuit board. Mine was protected under my radio’s control plate. They’re pretty easy to recognize, but yours might be flipped over or protected like mine, so you’ll need to remove any screws holding it or its cover in place to gain access.
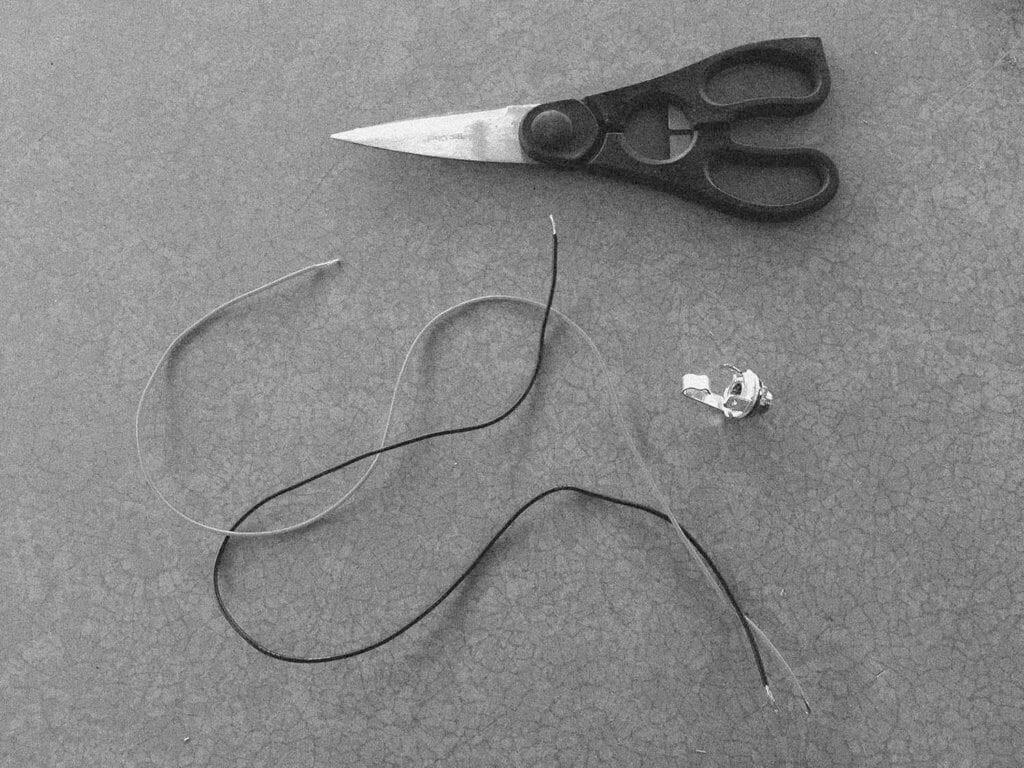
Step Three: Prepare Your Jack
Now you’ll need to get your quarter-inch jack ready for the job of its lifetime… Start by cutting yourself a couple pieces of wire. Make sure to give yourself enough slack for when it’s time to decide where your jack will rest. Next, you’ll need to strip both ends of each wire to expose them. I used scissors to do this, but a wire cutter or wire stripper would be the better option.
Now that your wires are prepared, you’ll need to solder them onto your jack. When looking at your jack, you’ll notice two small pieces sticking out across from each other. These are called solder lugs. One will be connected to the center of the jack and slightly shorter; this part of the jack is called the sleeve and will be for your ground wire. The other will be more towards the outside and slightly longer; this part of the jack is called the tip and will be for your hot wire. To understand the difference between the tip and the sleeve, take a look at your instrument cable. It also has a tip and sleeve that are usually separated by a thin black line. On the cable, the tip is hot and provides the sound coming from your guitar and the sleeve acts as a ground signal that helps contain any unwanted noise coming from the guitar. The jack conducts these signals when your cable is plugged in.
If you have multi-colored wire, this makes the organization of this step much simpler. I used my black wire as my ground wire and soldered it to the center lug of my jack. Then I used my red wire as my hot wire and soldered it to the outer lug of my jack.
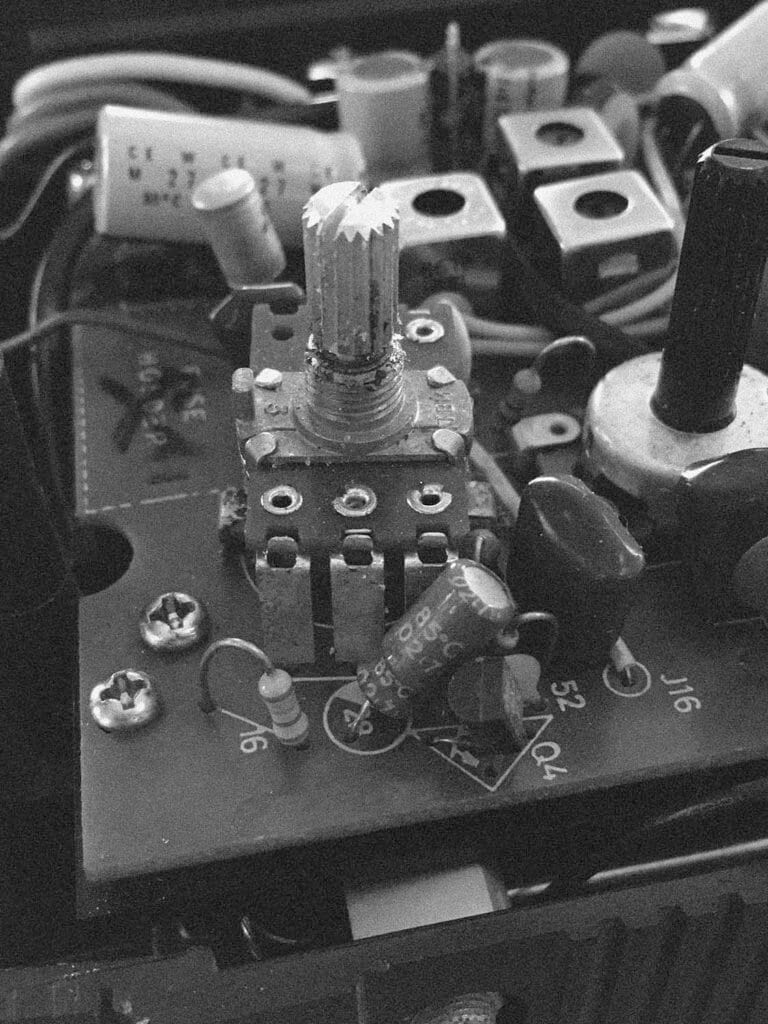
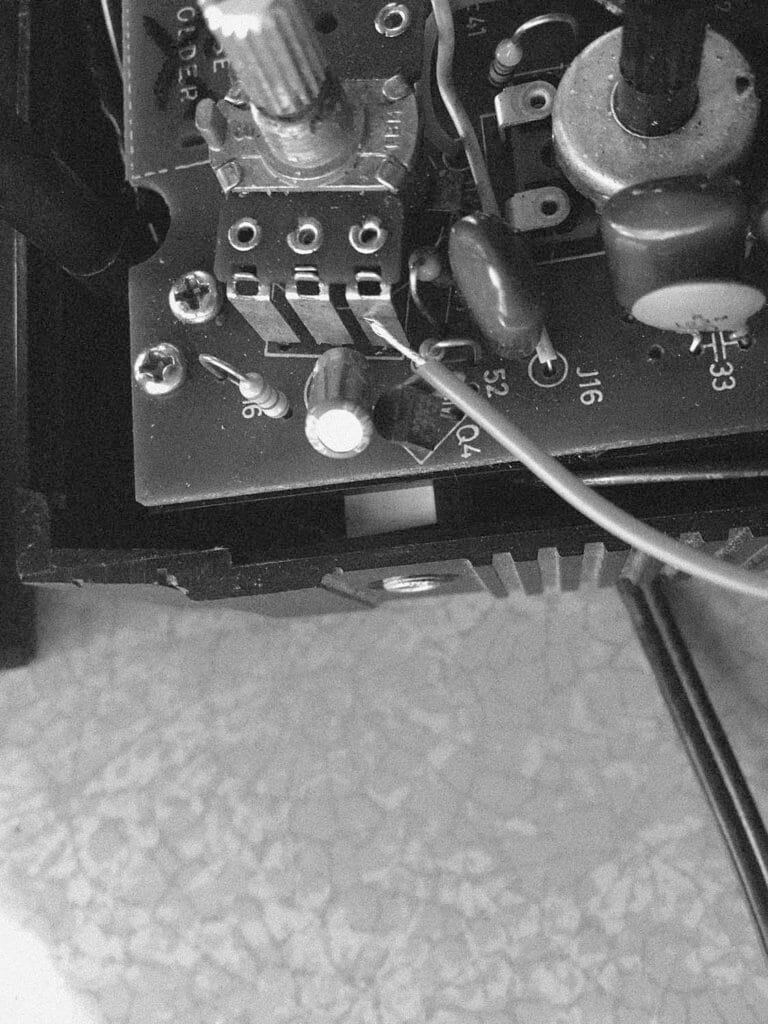
Step Four: Locating the Volume Pot
With your jack prepared, it’s time to figure out where to connect it on the circuit board. You’re looking for the piece called the volume pot. It’s pretty easy to find because it’s what your volume knob attaches to. It’s also easily recognizable because it will have multiple solder lugs. Here’s what mine looks like:
To find out which lug you’ll be attaching your wire to, you’ll need to do a little experimenting. Start by plugging your instrument into your jack.
Next, you’ll need to find a negative point on your radio to solder your ground wire to. The easiest spot to find is the negative terminal used for the radio’s battery case. Something should already be soldered there, so you’ll just need to solder your wire to the same spot.
Now you’ll need to power on your radio. With your hot wire in hand, locate the volume knob and start placing the tip of your wire on each lug while strumming your guitar or playing your instrument. You’re looking for the lug that not only amplifies your instrument, but also allows the volume knob on the radio to control your instrument’s volume. Once you’ve found it, turn your radio off and solder your hot wire onto it.
Step Five: Putting It Back Together Again
Now that you’ve got the amp working, it’s time to put it back together again.
First, you’ll need to find a home for your jack. Unplug your instrument cable and experiment with different spots on the amp. You’ll need to make sure your jack has enough room to not interfere with the other parts coming from the circuit board, and that you’ll be able to close your radio completely.
Once you’ve found your spot, cut a hole into the casing of the radio that’s big enough to place the tip of your jack into. After removing the washer and nut from your jack, cut your hole using a drill or sharp object. When your jack fits through, reattach the washer and nut to secure your jack in place.
Next, you’ll need to reattach your circuit board and/or cover if you removed them. Following that, close your radio up and reattach the screws and knobs that were removed at the beginning.
If you’ve made it this far, then you should be the proud new owner of a sick guitar amp that you put together yourself! Pretty sweet, right?
Yamaha is so much more than keyboards and motorcycles. In fact, they make some of the most accessible guitars used by a few of our favorite musicians.
One of the most significant elements about Yamaha is their desire to push forward rather than rehash what’s already been done. “Yamaha isn’t reliant on nostalgia,” says LG of Thelma and the Sleaze, and player of the Yamaha Pacifica. “They want to keep pushing boundaries and trying things out.” And this is also true in their designs, customer service, and image—rather than uphold the tired portrait of rock gods and goddesses, they aim to showcase a genre-bending lineup of musicians to inspire novices and long-time shredders alike.
Let’s be honest—when Yamaha comes to mind, most of us think of keys or motorcycles. But have you ever wondered why one of the biggest manufacturers of pianos started making guitars in the first place? Yamaha’s history traces back to 1887 with founder Torakusu Yamaha, a pioneer in the production of Western musical instruments in Japan. Yamaha mostly focused on organs and pianos until the early 1940s, when they started building guitars. After such success with piano production, the company decided to manufacture a variety of instruments to provide more musical opportunities to their customers. This shift came before rock music became widely popular, and eventually Yamaha opened a guitar factory later that decade.
Fast forward to the 1960s when Beatlemania exploded, resulting in an increased demand for guitars that retailers couldn’t keep up with, especially in the United States. At this time, Yamaha already had 20 years of guitar building under their belt, and began exporting guitars outside of Japan, setting out on the path to becoming the largest instrument manufacturer in the world.
Over the years their lineup grew to cater to all kinds of guitarists, covering everything from the pretty ordinary to the frankly absurd, but a few things stand out in particular:
In the 1980s, Yamaha introduced the APX electro-acoustic guitars, with smaller, thinner bodies, more comfortable electric guitar style necks, and onboard pickups. APXs were designed especially for guitarists taking to the stage and are still one of the world’s best-selling electro-acoustic guitars.
In the 1990s, with the introduction of the Pacifica series (originally a high-end guitar developed for LA session players), Yamaha revolutionized what guitarists could get on a budget with the Pacifica 112. At a price where most brands still used plywood bodies, pickups that squealed, and tremolos that didn’t stay in tune, the Pacifica 112 was a genuinely stage ready guitar.
In 2015, the most recent addition to the Yamaha lineup was the Revstar range, with which they took design cues from the contemporary café racer motorbikes of the 1960s, as well as celebrating the Japanese roots and philosophy of the brand. The development for Revstar took a different approach to conventional guitar design, bringing together a unique combination of players, industry experts, and industrial designers specializing in fields as diverse as aircraft, furniture, and hotel design to drive an outside-in perspective.
So, what makes today’s Yamaha guitars reliable? And why should we care?
She Shreds spoke with four groundbreaking artists on the Yamaha roster to truly understand how a company, who celebrated its 50th anniversary in 2016, keeps moving forward in the guitar industry—not only through craftsmanship, but also accessibility, playability, and artist relations.
LG of Thelma and the Sleaze, Yamaha Pacifica PAC311H Electric Guitar
When it comes to a guitar to take on tour, LG looks for an affordable, quality instrument: “At the end of the day, I need a guitar that is versatile, because my band plays with a lot of dynamics and different genres. But also, it’s gotta look good, and able to be thrown in a van. It’s gotta be about quality—I don’t want to align myself with a company that isn’t worth people’s money.”
LG often plays a Yamaha Pacific PAC311H electric guitar, and took it with her on a couple of tours with Thelma and the Sleaze. “The P-90 and humbucker are sick,” she says. She also loves that the Pacifica is the perfect weight for her, and that it’s only gotten better with age over the two years she’s been playing it. Aesthetically, she really likes the natural finish and the tortoise-style pickguard. “Everyone who talked to me after our shows was like, “What is that?” And I was like, ‘It’s the Yamaha Pacific. You can literally get one for 300 dollars.’”
She adds that when she was a little girl, she didn’t see herself reflected in guitar media: “I was a little girl once, reading guitar magazines or looking at guitar ads—I have a lazy eye, I was poor. There are kids out there who don’t look like models, who aren’t pretty, and they don’t want to be. They need to see women they can aspire to be like.”
So, when LG was featured in a Yamaha guitar ad, it blew her mind: “Yeah, you don’t think I should be in a guitar ad, but that’s why they put me in there. And that’s amazing. There are a lot of people with lazy eyes, and it’s silly to say, but I’m a good representation of what you can do with that lazy eye.”
Laura Jane Grace of Against Me! and The Devouring Mothers, Yamaha CSF3M
Laura Jane Grace is no stranger to the touring life, so she knows exactly what she needs while traveling internationally. When she went on an overseas Against Me! tour in 2019, she was restricted in what gear she could bring on the plane, so she went looking for an acoustic-electric guitar that could fit in an overhead compartment. Grace needed something that would be easy to grab, bring in the hotel, and have in the van—but that also sounded good both when played unplugged and through a DI. She reached out to Yamaha, and they suggested the Yamaha CSF3M, a parlor-sized acoustic-electric guitar.
“Sometimes it’s really easy with an acoustic guitar, played through a PA, to feel like you’re playing a ukulele. You know, that sound you get back—this thin, boring acoustic sound,” says Grace. “Finding a guitar that’s the best of both worlds is hard to do.”
The CSF3M has become Grace’s go-to acoustic guitar with both of her bands, using it on solo and full-band songs: “Playing it live or alone in my room, I just really love it. There’s something about smaller-bodied acoustic guitars.”
Check out the 2018 debut album from Laura Jane Grace and the Devouring Mothers, Born to Rot, and our cover story with her in She Shreds Issue #9.
Dre Babinski of Steady Holiday, Revstar RSP20
It’s all about playability when it comes to the guitars Dre Babinski plays. The singer-songwriter aka Steady Holiday needs a smaller-bodied electric that’s easy to play, and light enough to wear for an extended period of time. In March, Babinski connected with Yamaha at SXSW, when they approached her about playing their showcase with one of their guitars. “I had a few conversations with a rep, and told him what I was looking for and tried a few styles,” she says. “I really connected with the Revstar.”
On the lighter side, the Revstar makes it more comfortable for Babinski to play through an entire set. She also appreciates the size: “It has a narrow and thin neck, so it’s easy for me to get around the instrument, which is something I struggle with—I’m a pretty small person.”
Babinski claims that she’s still very much in her formative years of songwriting, and usually only sees opportunities like the one with Yamaha offered to artists further along in their careers. “I’m not a shredding guitar player, I feel like a novice in some ways,” she says. “But this is the stage of an artist’s career when they need the most support, when they literally need a guitar. With Yamaha, it’s more about what worlds people are building, and what they want to get behind.”
Gabriela Quintero of Rodrigo y Gabriela, NCX Custom
Gabriela Quintero, rhythm guitarist in the Mexican acoustic guitar duo Rodrigo y Gabriela, has a lot of acclaim. The band has released five studio albums, three live albums, and one EP; they’ve contributed to major motion picture soundtracks; they’ve toured internationally and even performed at The White House for President Barack Obama; and they were recently nominated for a 2020 Grammy for Best Contemporary Instrumental Album for their 2019 album, Mettavolution.
So, they’re well on their way to legendary status.
As a rhythm guitarist with percussive duties, Quintero often worries about her live levels and quality of sound. “We play very high energy gigs,” she says. “People are clapping and standing, so the levels need to be really strong, almost as if I were supporting a high energy, hard rock band.” Quintero worked with Yamaha to create guitars that have powerful technology to recreate what she plays unplugged. Regarding her current NCX custom stage guitars, she says, “I can reproduce that acoustic sound at really high levels, so it sounds like an explosion of rhythms and percussive energy. The pickup system of the NCX Custom guitar is very complicated in that it uses multiple pickups mounted in specific locations of the body to support my percussive playing style. However, when we started talking with Yamaha about the New NX Signature Label Guitars, we realized we would need to go with a new pick-up system that would accommodate all styles of music and players.”
Yamaha recently released the new Yamaha NX Series of nylon string guitars, which includes their Rodrigo Y Gabriela NTX-5 & the NCX -5 Signature Label guitars. These guitars are powered by Yamaha’s brand-new Atmosfeel pickup systems, which are so simple to use with only three knobs to dial in what you need when playing at home, the studio, or the stage with complete confidence. “I don’t know how it works, I just know that it works, that’s what I know.”
Listen to Rodrigo y Gabriela’s Grammy-winning 2019 release, Mettavolution.
Our Official Newsletter
She Shreds Media: Our mission is to educate, empower, and inspire people through unexplored musical and cultural landscapes. Our vision is to continuously refine, redefine, and reimagine the possibilities of how music connects us, ensuring an inclusive and accessible music community 100% of the time.