Pedals Pt. 5: Building-Your-Own (Simple) Pedalboard!
This Summer She Shreds has hosted monthly workshops at our HQ in Portland, OR, based on the subjects of guitar, management, and recording. In May we focused on restringing your guitar, and June was all about pedals.


If you’ve never heard the term pedalboards before, it can refer to the entire board AND the pedals affixed to it, or just the blank board itself. They allow you to secure your pedal chain to something portable so when you move it you just have to plug and unplug it from the power source or the wall!
Note: If you haven’t already, take some time to get caught up with part 1, part 2, part 3, and part 4!
Lots of companies make boards that you can buy, like Pedaltrain or Boss. Some of these have power supplies and other features built in with carrying cases. These might be a good option for you if you don’t have access to woodworking or crafting supplies.
You can also just use a simple wood board for a pedalboard, though—which is what you’ll be creating in this lesson! Sometimes it’s nice to add a slight slant to the board you’re building, like a wedge under the back edge, if you have two rows of pedals so you can more easily reach the pedals on the row furthest from you! Pedalboards can be whatever you want them to be, though, I’ve even seen people use skateboard decks with the wheels removed as boards.
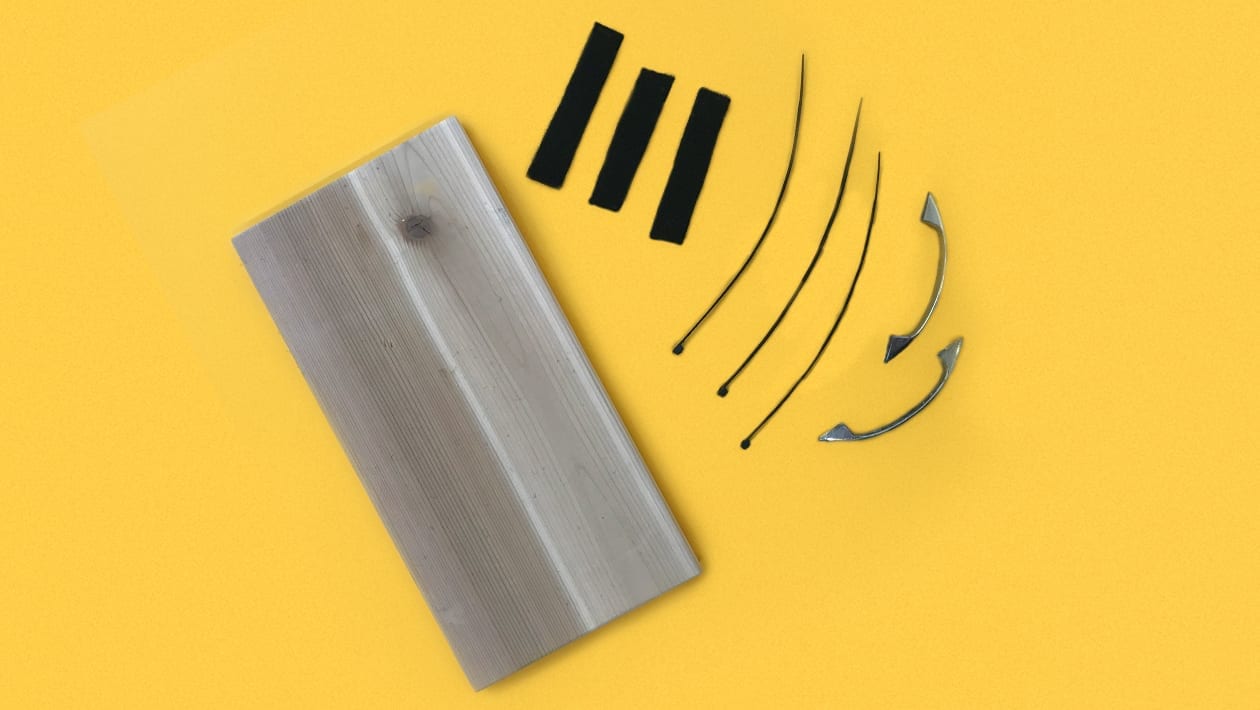
You will need:
- A piece of wood sized for your pedals
- Handles we got ours from a recycled wood center but anything like this will work
- Screws in this lesson we will use zinc plated #8-32×1″ machine screws
- Drill and the appropriately sized drill bits and head for your screws
- Velcro you can find rolls of velcro at any home improvement store
- Scissors to cut the velcro if necessary
- Zip ties to organize your cables
Pick the dimension of your pedalboard
For this lesson we will use a 6″ x 2′ of thick 3/4″ plywood donated by ADX. Any type of wood will do,though, and other sizes include:
Add the handles on your pedal board
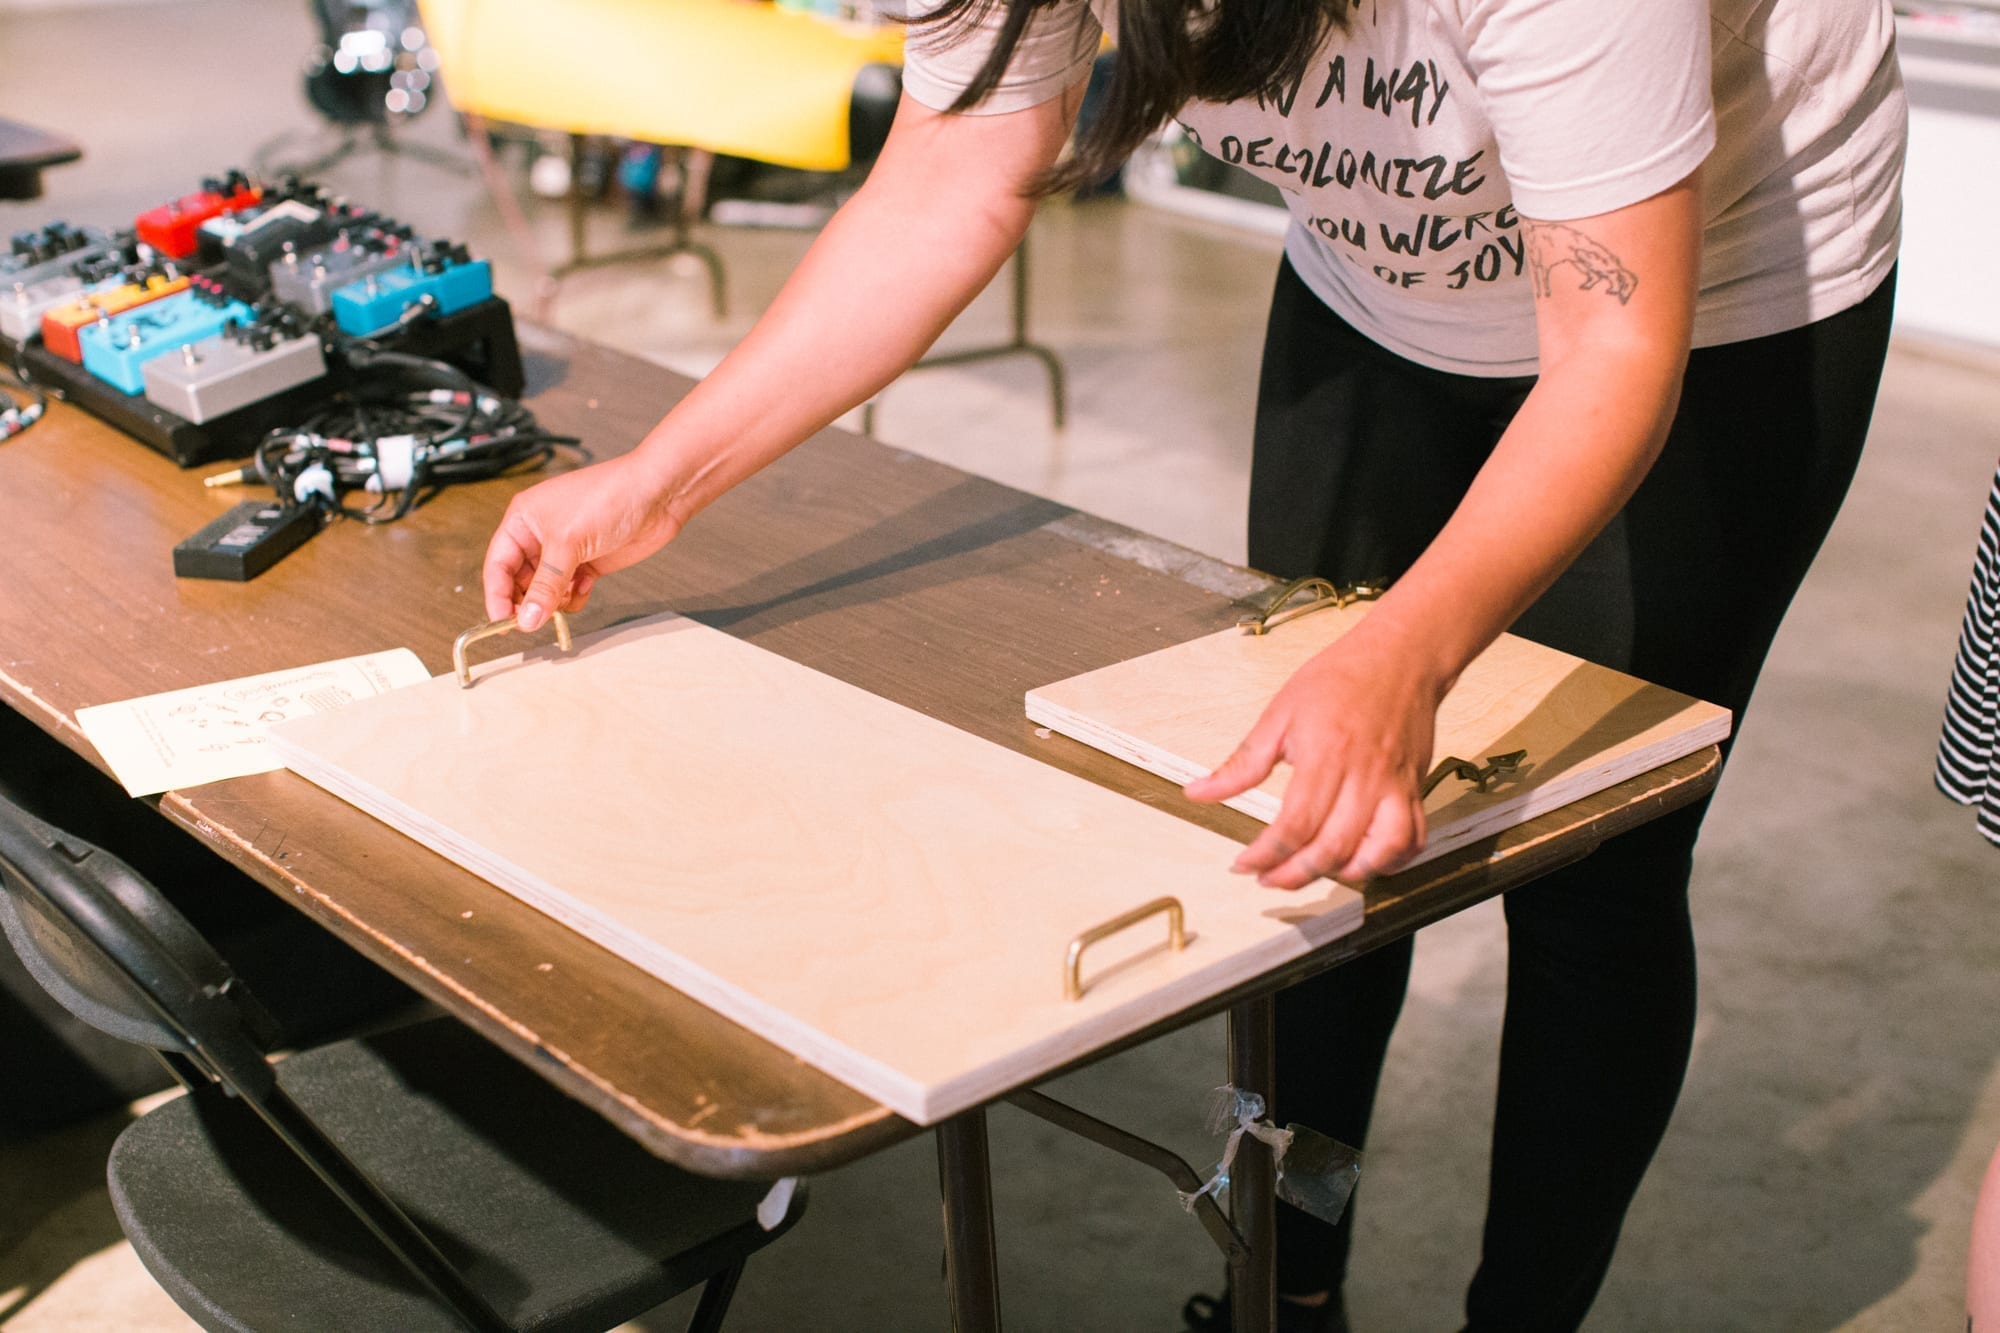
First: Get your drill and your drill bit (we’re using a drill bit sized 11/64) to make a hole through the wood before inserting the screw otherwise the screw might not go through the wood on its own.
Second: For where to place the holes, measure the distance from the center of each hole on the handle, then make marks on the wood with a pencil to know where to drill the holes. Mark and drill the first hole, then check the measurement to make sure you get the exact spacing before drilling the second hole.
*Note: We used 3/4″ thick plywood. The screw length needs to be exact for the type of handles we used, which depends on the thickness of the wood and the depth of the screw hole on the handle! We used 1″ screws.
Add your velcro
Ok SO, adding your velcro and how to do it truly depends on the aesthetic and *vibe* you’re looking for. Personally, I love for as much of the wood to show as possible so I won’t be telling you to cover your entire board with velcro. However, I also want to be able to move my pedals around and therefore I won’t be distributing the velcro in calculated pieces.
First: if you have a thick roll of velcro like the image above, measure the space between your handles with an inch of space on both sides (for your patch cables to fit!), and cut that amount from the roll of velcro.
Second: Simply take your scissors and cut that strip in half then place the two strips on your board with info room between them to evenly hold down your pedals.
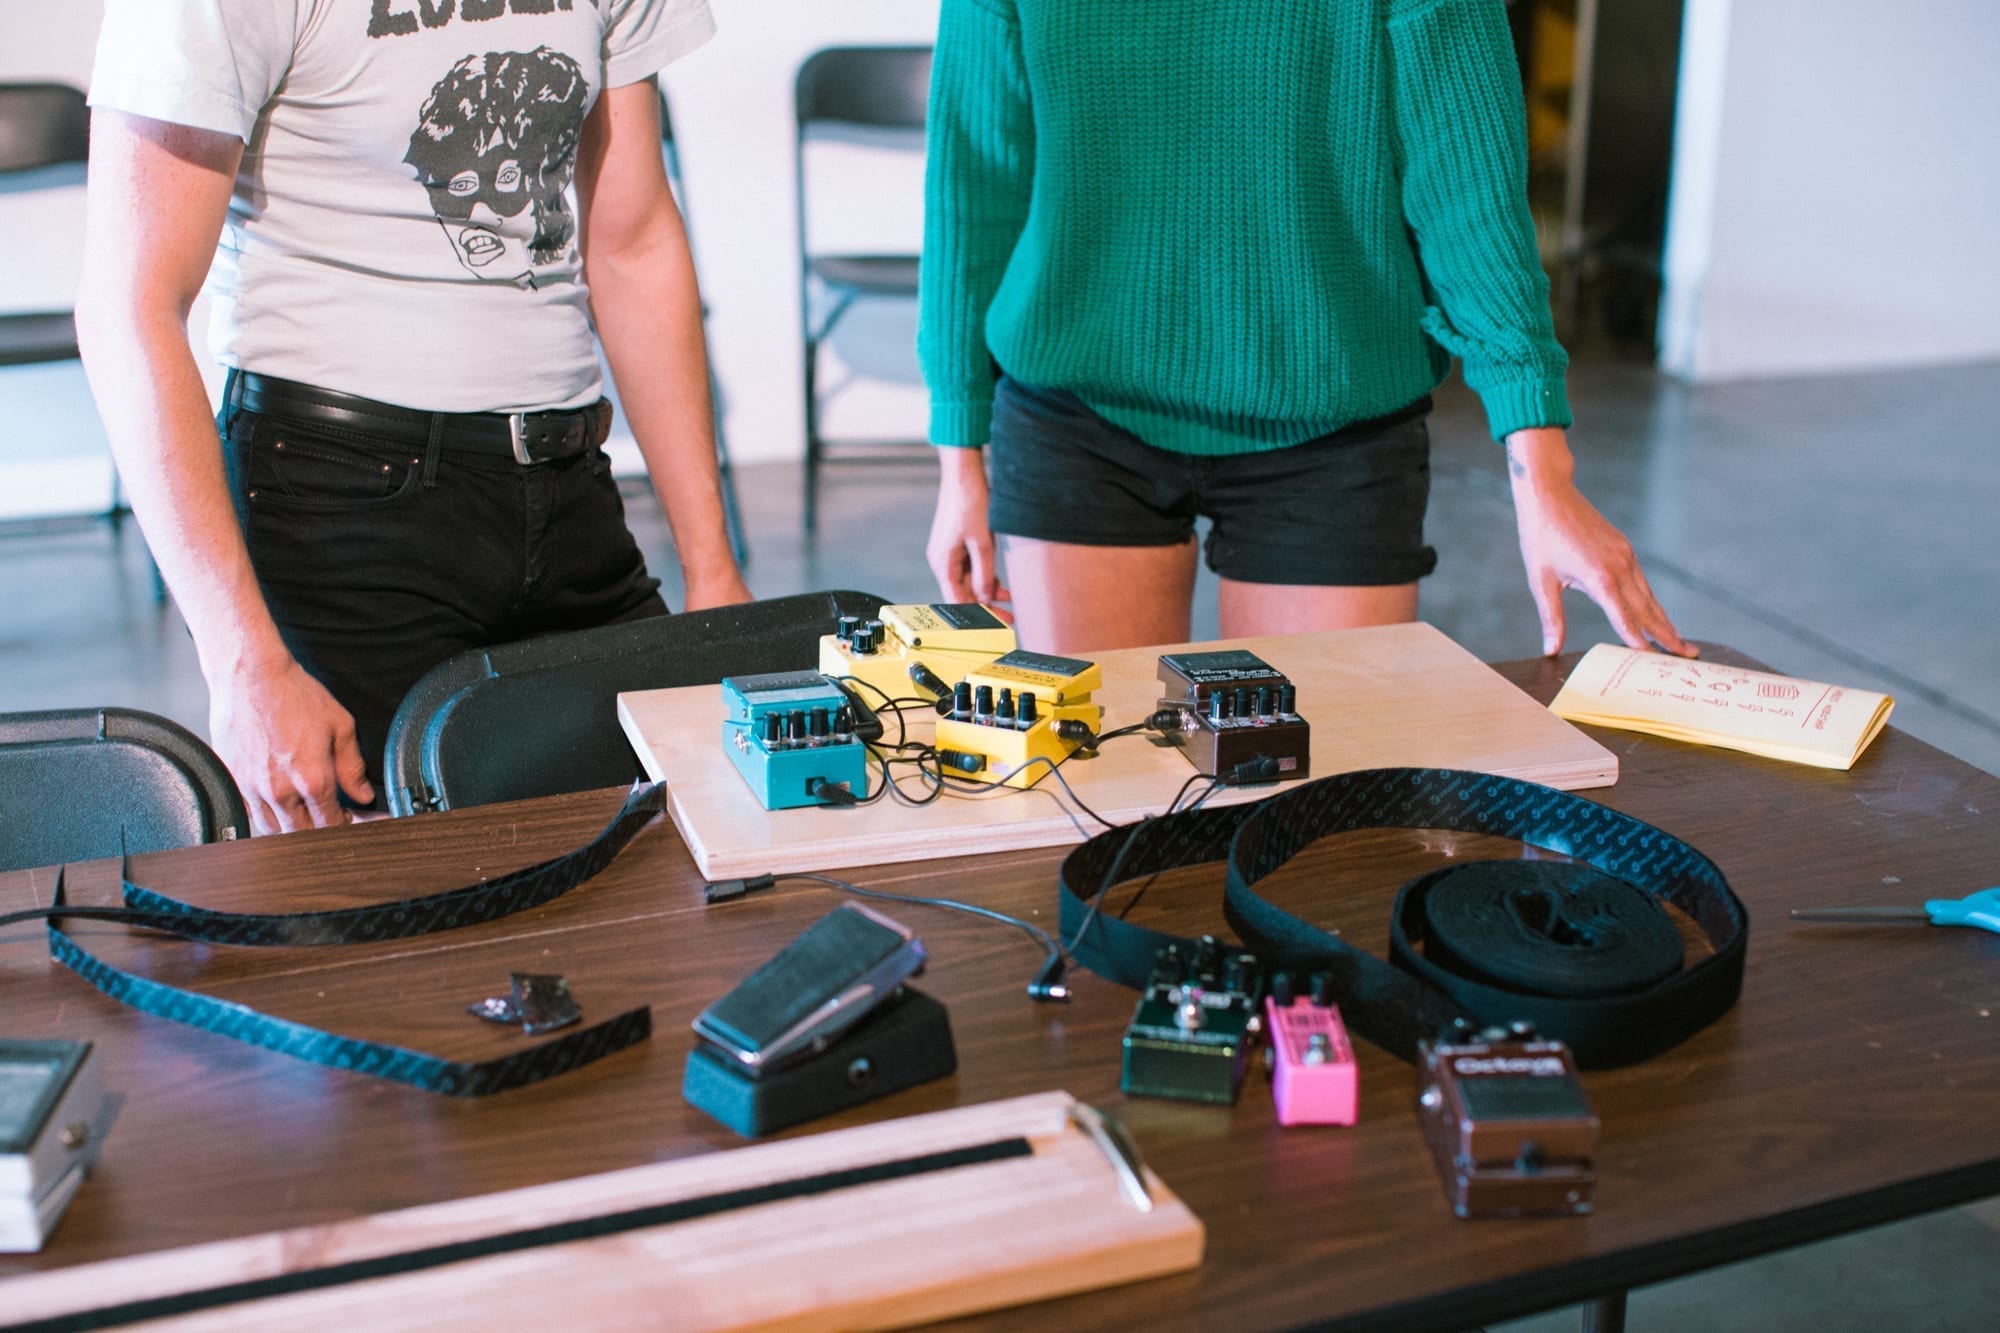
Decide on your pedal configuration
If you haven’t already go back to lesson 4 and get that on lock!
Add your pedals, cables and connect with your power supply
To make sure you have the appropriate cables and power supply check out part two and part three!
Zip tie your cables to organized perfection
Usually I find that velcro works best because you can change your pedal chain order more easily that way. Zip ties are great if your pedalboard has slats and you don’t want to get sticky velcro on your pedals. ALSO: Zip ties work great for cable organization on your pedalboard!
Gather your patch cables and power supplies into clean loops and bundles and tie them together with the zip ties for a cleaner look.
Just make sure to keep some wire cutters around to easily remove the zip ties in case of cable failure during your live show.
 Because this is about pedals and pedalboards, I won’t go very deep into rack gear, but I like to remind musicians and gear nerds that it’s there nonetheless.
Rack mount effects units are very similar to effects pedals in that they can be put into the signal path (such as the path between a guitar and amp) and effect the signal. They come in all the same varieties as effects pedals – reverb, tuners, EQ, etc. – but they are long rectangular units with wings on each end that have holes so you can screw them into racks, both portable and bigger more permanent studio setups. Many rack effects units allow for control pedals to be plugged in so you can still control the unit with your feet, too. These can be a good option for players who want all their effects in a rack that is easily portable and safe from whatever crazy stuff goes on onstage or around where you’re playing.

More posts
-
 By: Cynthia Schemmer
 -
Powered By: Fender
-
By: Cynthia Schemmer
-
By: Cynthia Schemmer
-
By: Leila Sidi
-
By: Leila Sidi
-
Powered By: Reverb
-
Powered By: Marshall Amps
-
Powered By: Positive Grid
-
By: She Shreds


Comments
[…] If you already own the tools required in the plethora of DIY templates available online (including this tutorial we posted last year), then building your own board can be quite an affordable and rewarding […]
Pingback by The Guide to Building a Your Own Pedal Board On a Budget on July 25, 2019 at 7:00 am